
Wall & Surface Repair
RivetVale / Home Repair
Wall &
Surface Repair
Practical repair supplies and tools for patching damage, filling imperfections, smoothing walls, preparing surfaces, and restoring a cleaner finish throughout everyday home repair work.
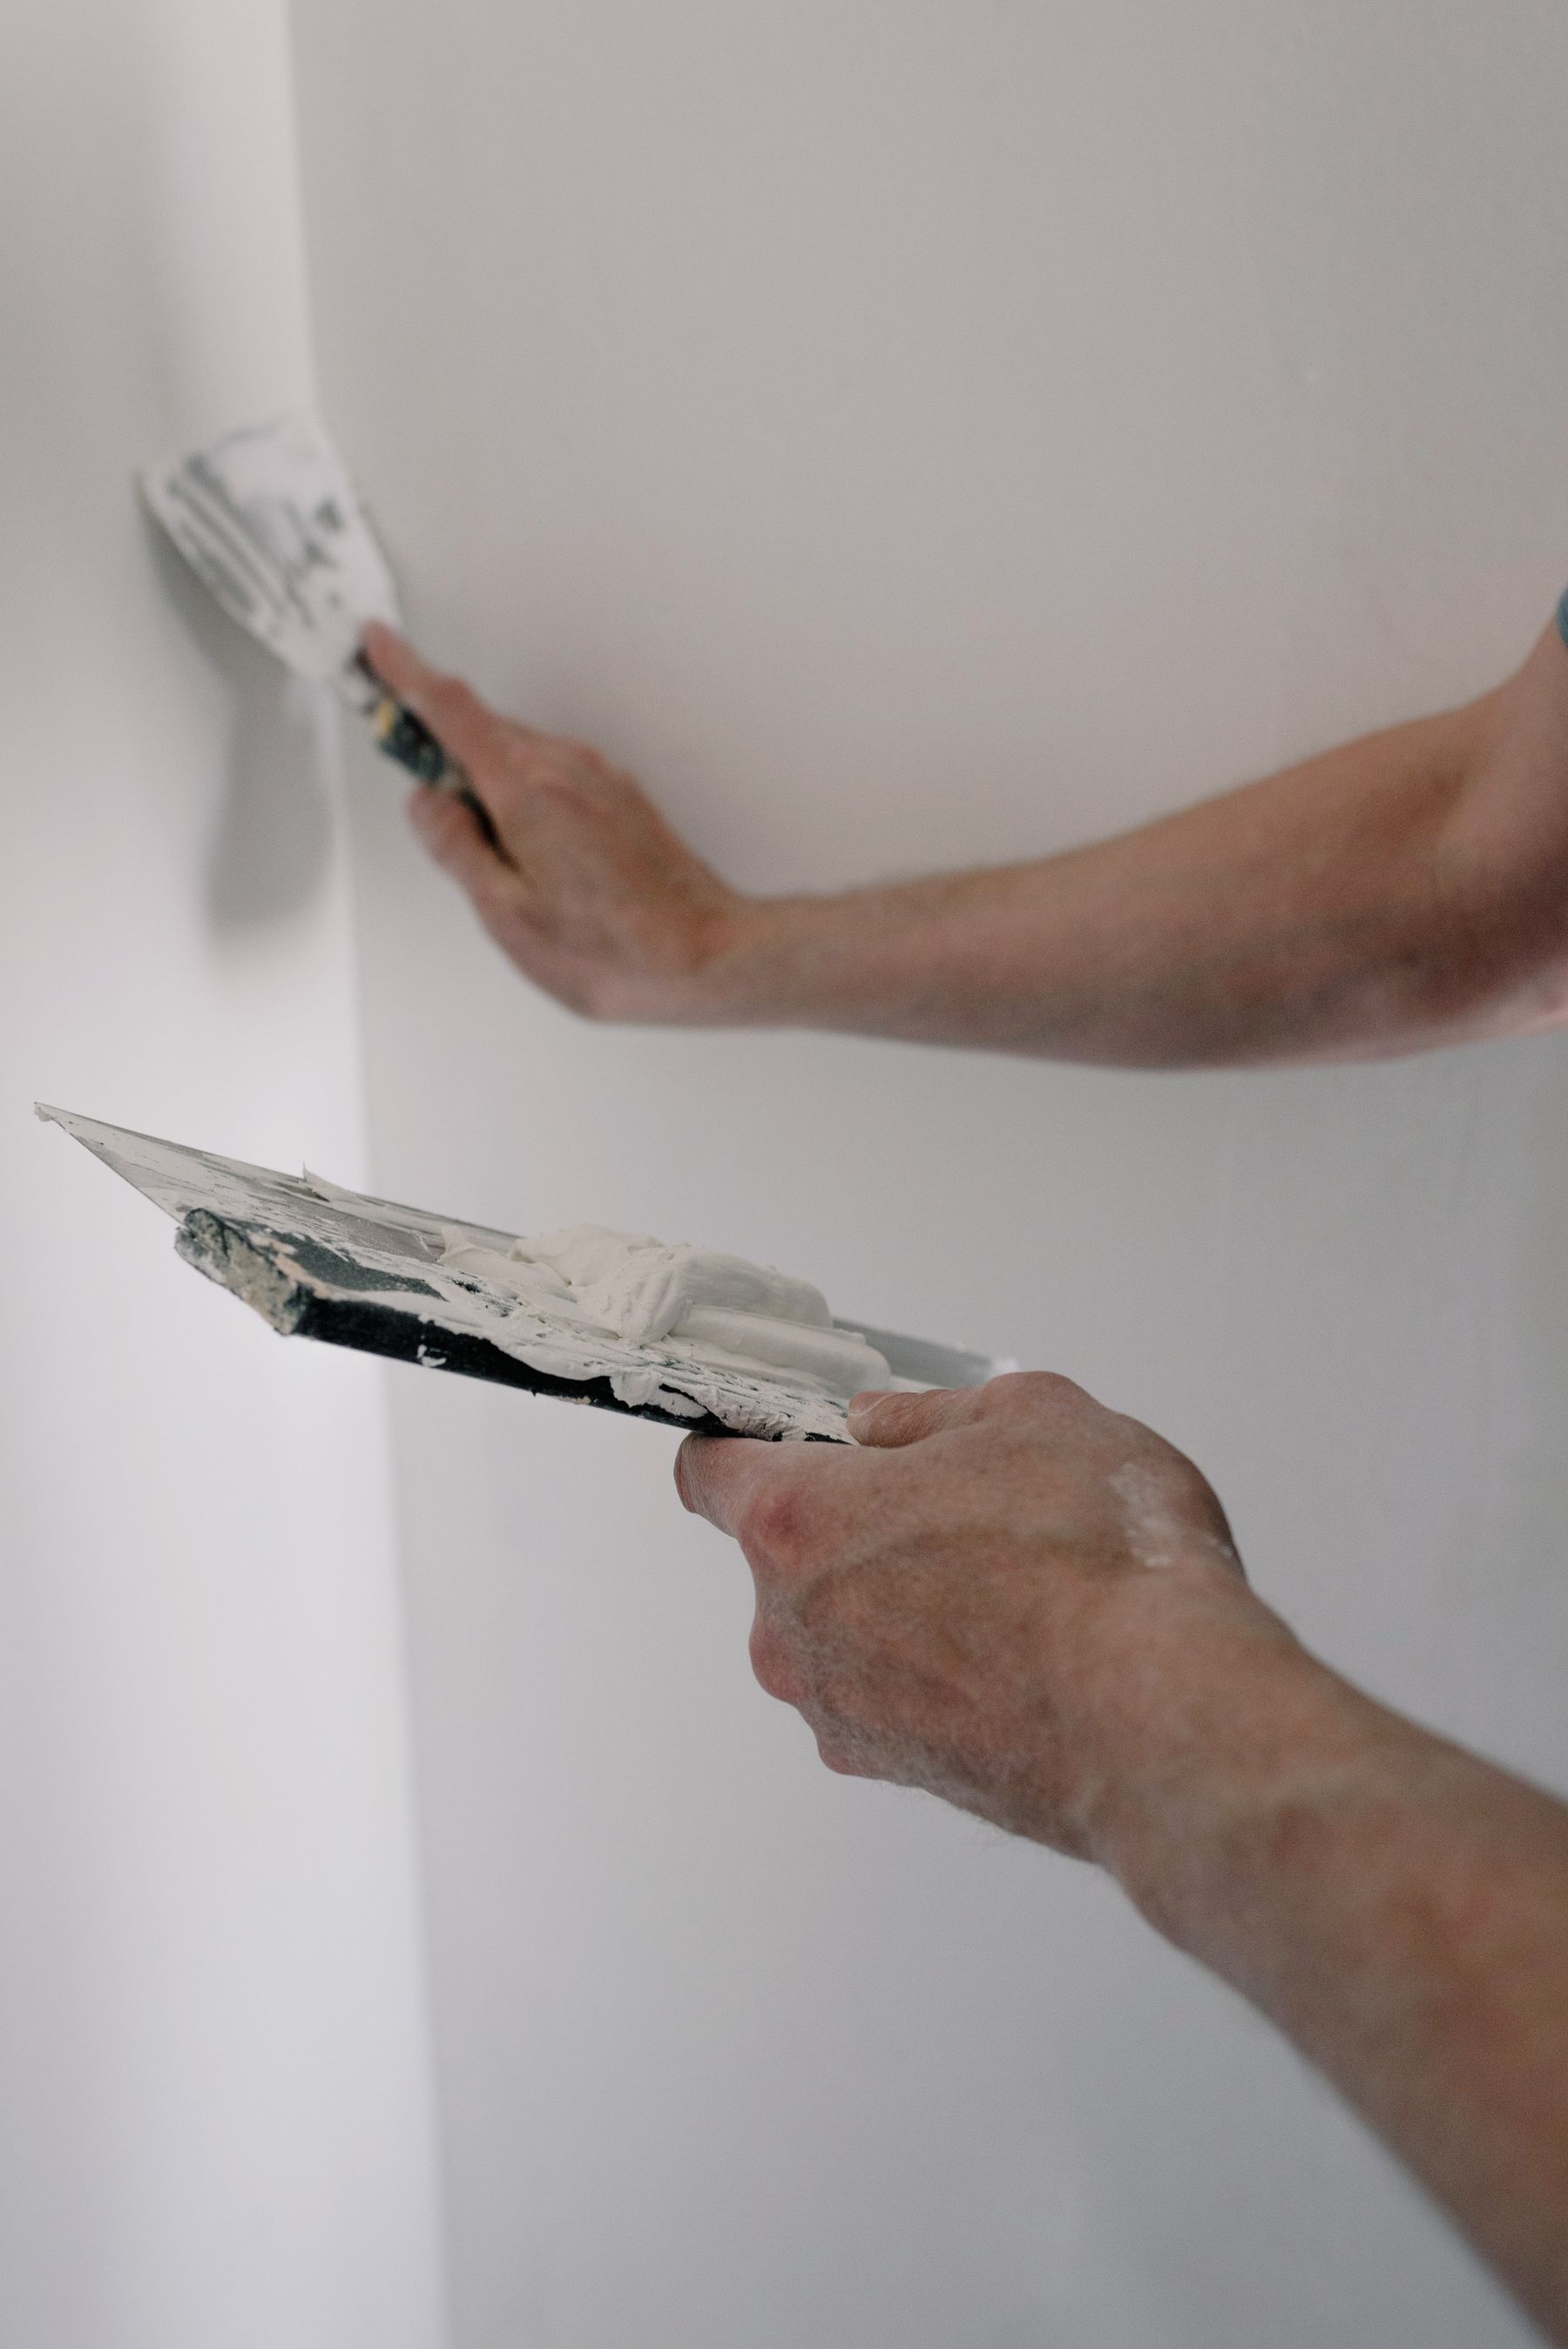
Repair Essentials
Repair the surface before the finish.
A cleaner wall repair begins by identifying the damaged area, removing unstable material, filling the surface carefully, and refining the repair until it transitions smoothly into the surrounding wall.
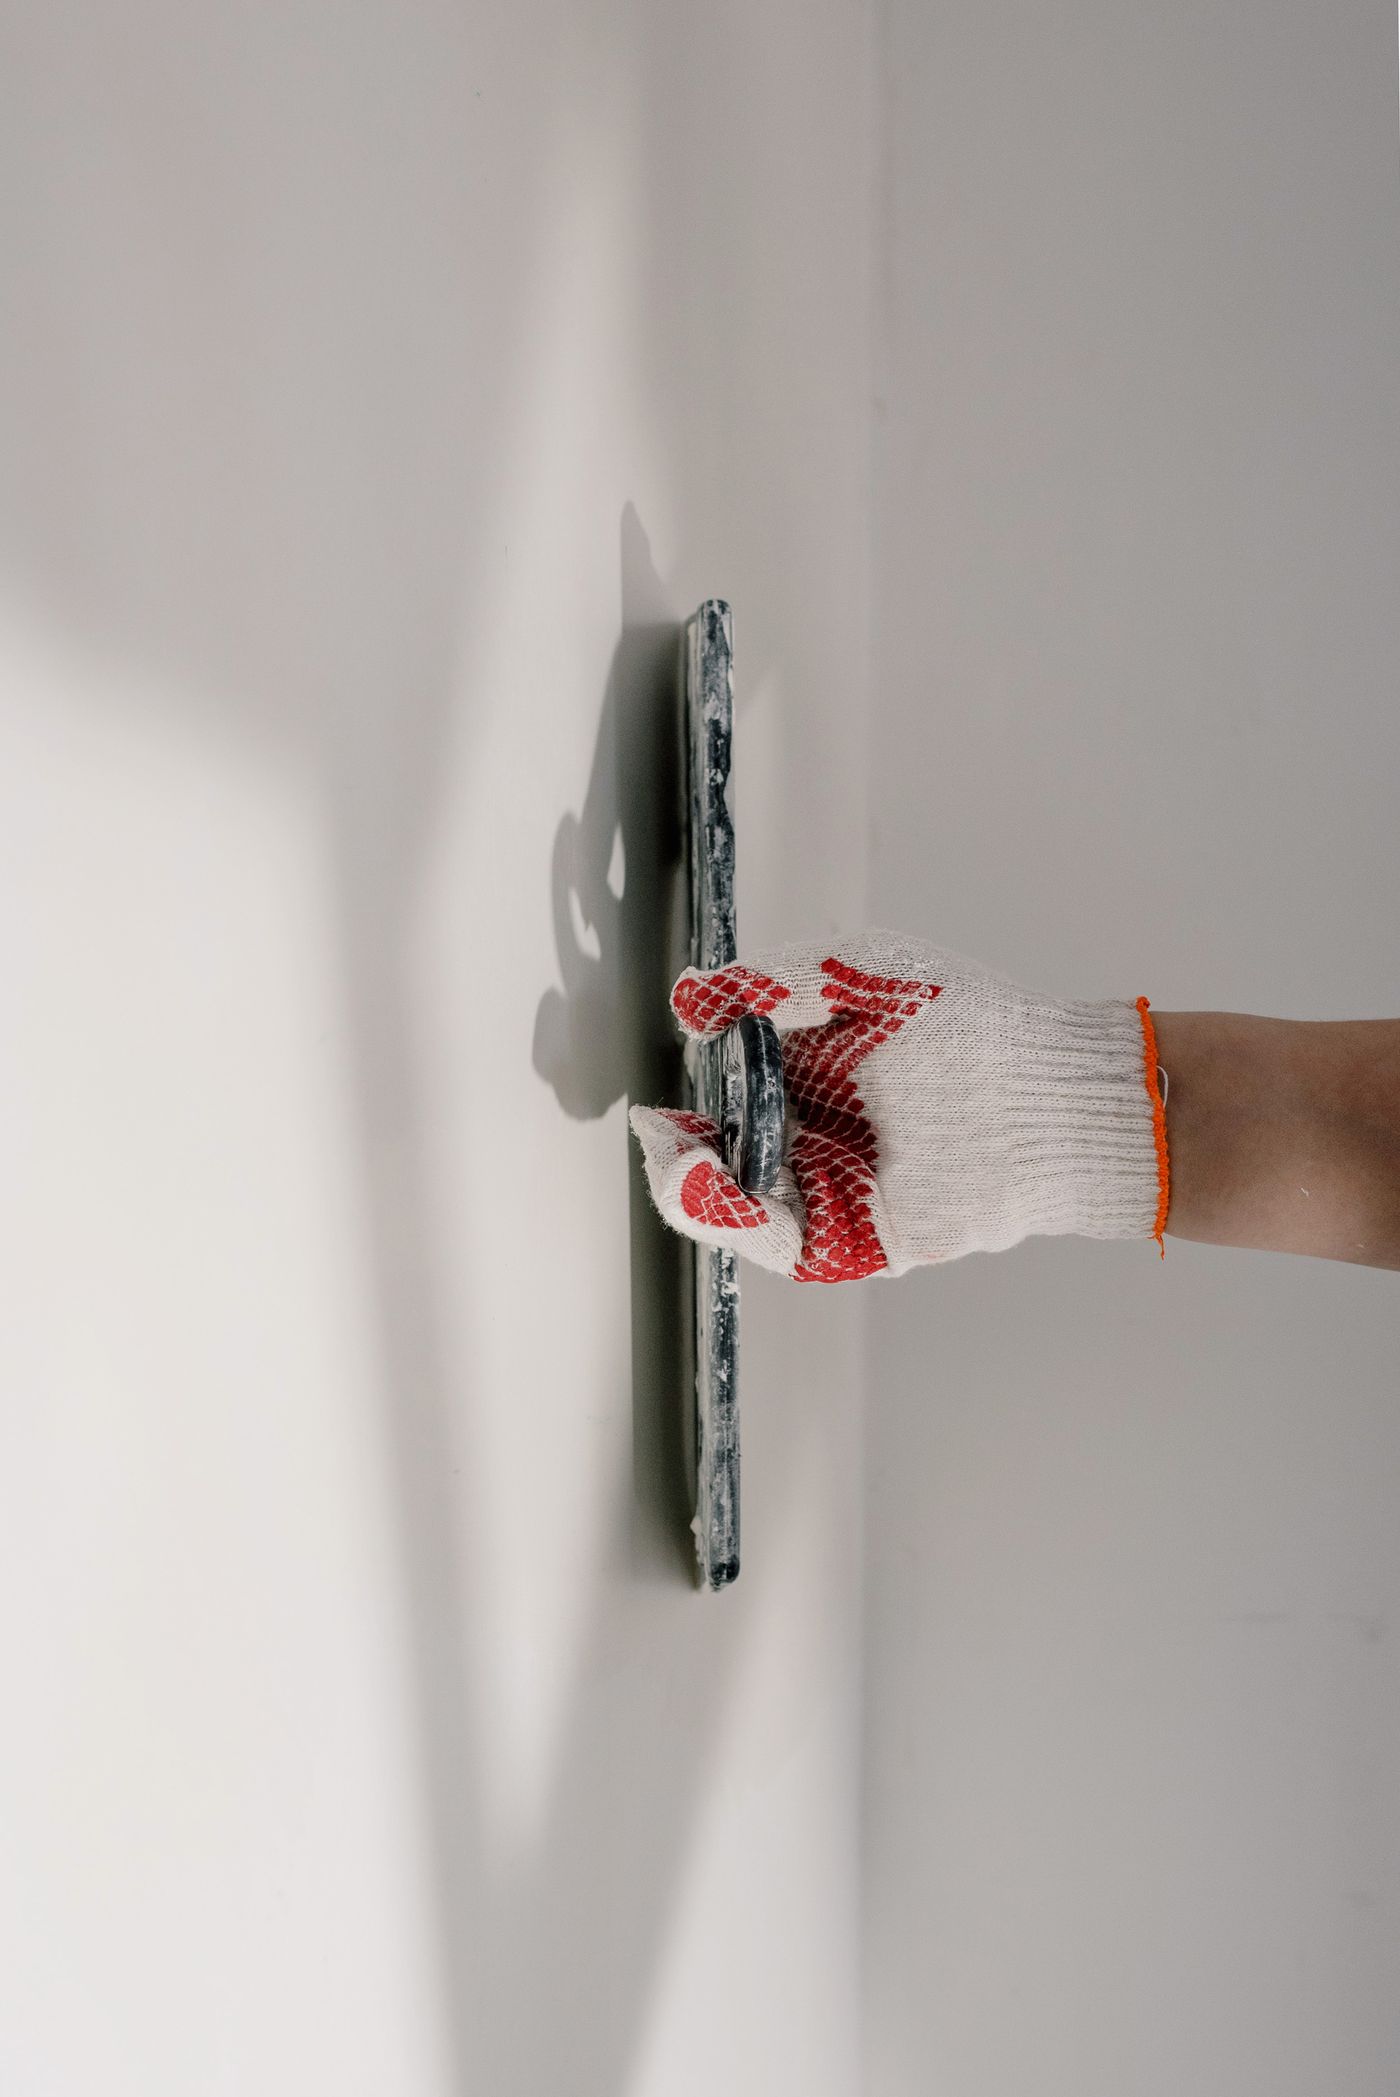
Patching & Filling
Repair supplies for filling holes, shallow damage, surface imperfections, and other localized areas before smoothing and finishing.
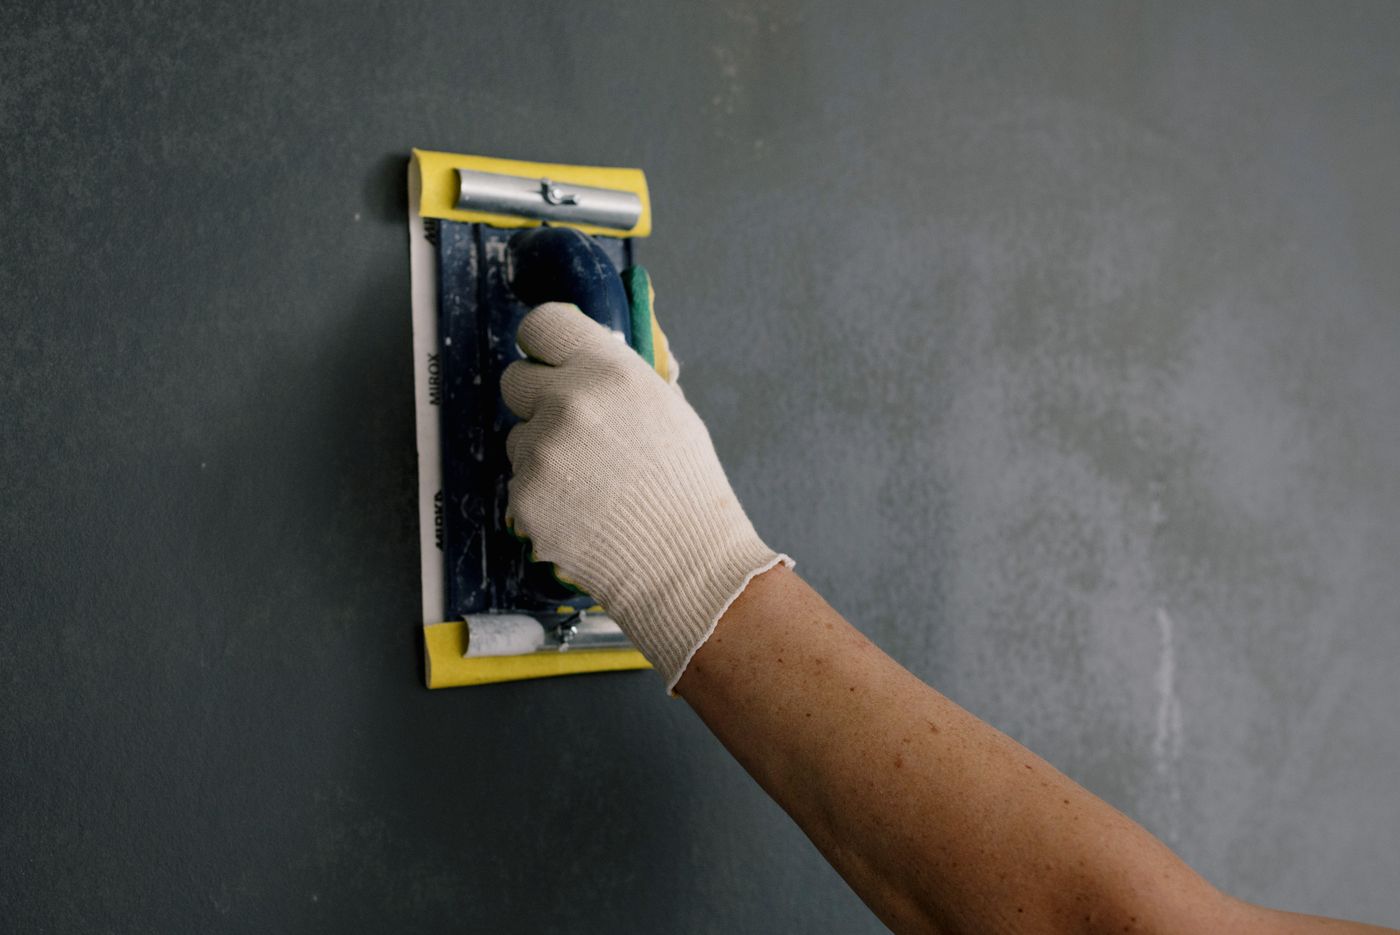
Scraping & Surface Preparation
Hand tools for removing loose material, refining repair edges, spreading compound, and preparing damaged surfaces for additional work.
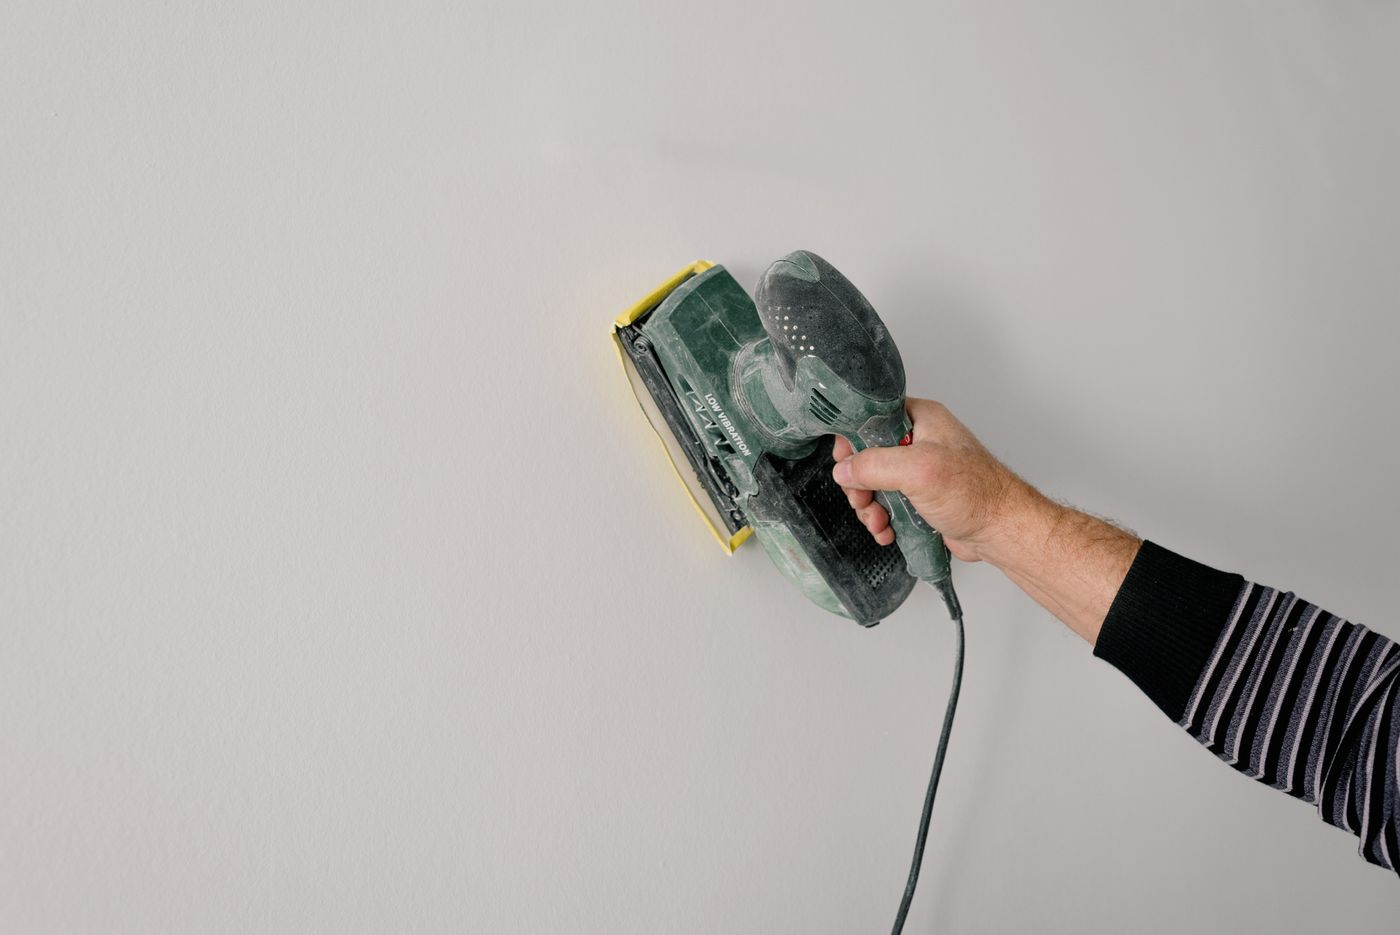
Sanding & Smoothing
Surface preparation tools for reducing high spots, blending patched areas, and refining walls before final finishing work.
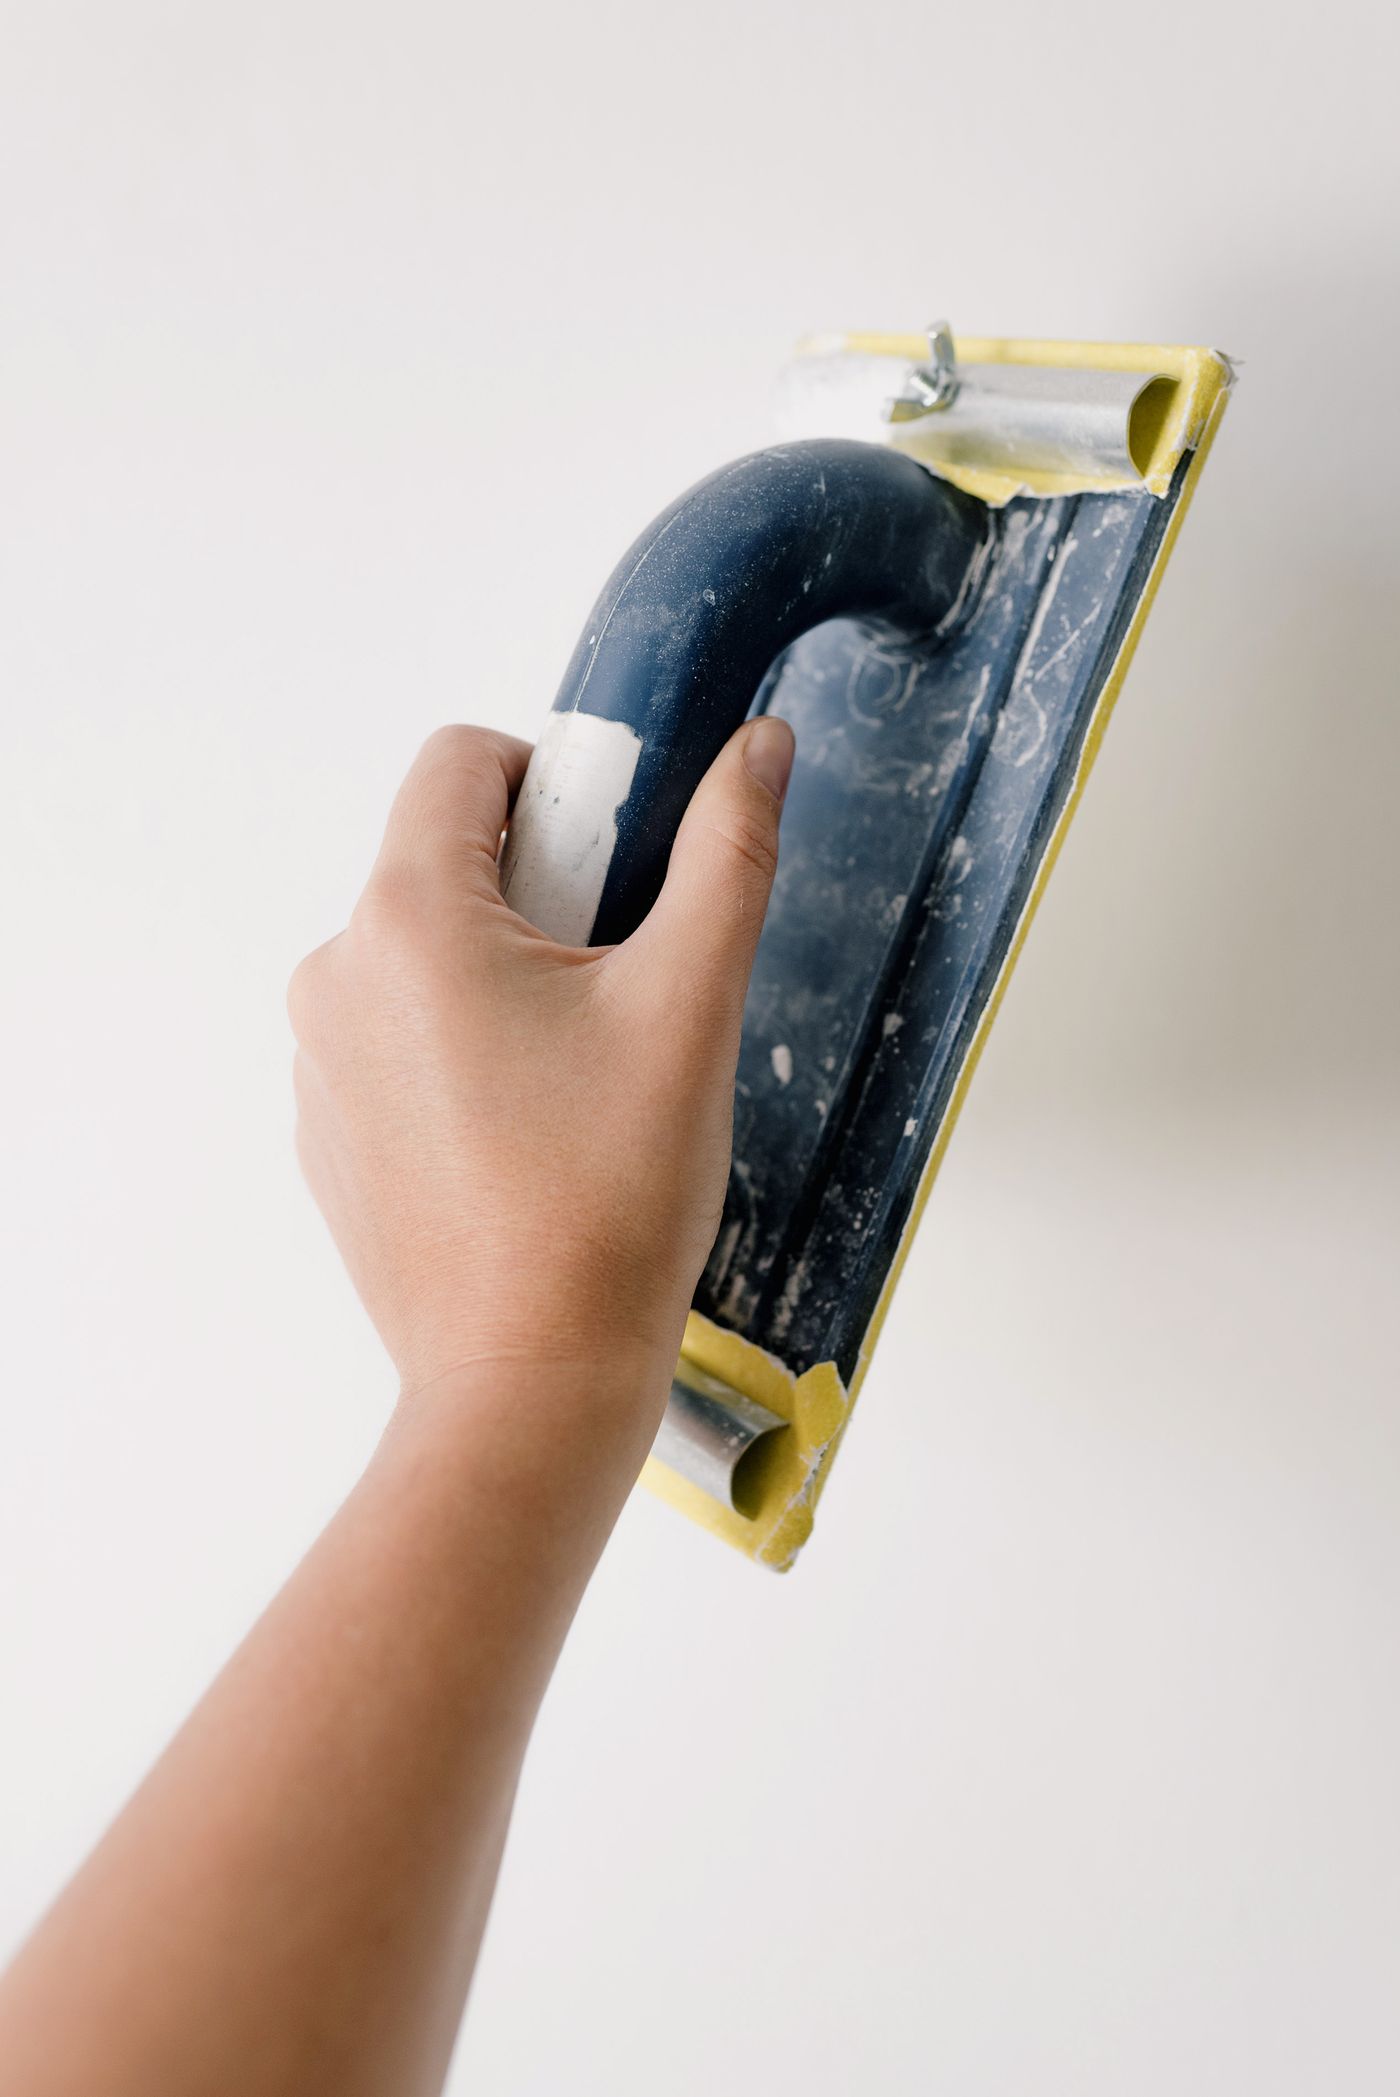
Surface Restoration
Practical materials and tools for correcting uneven areas, repairing worn surfaces, and preparing walls for the next stage of the project.
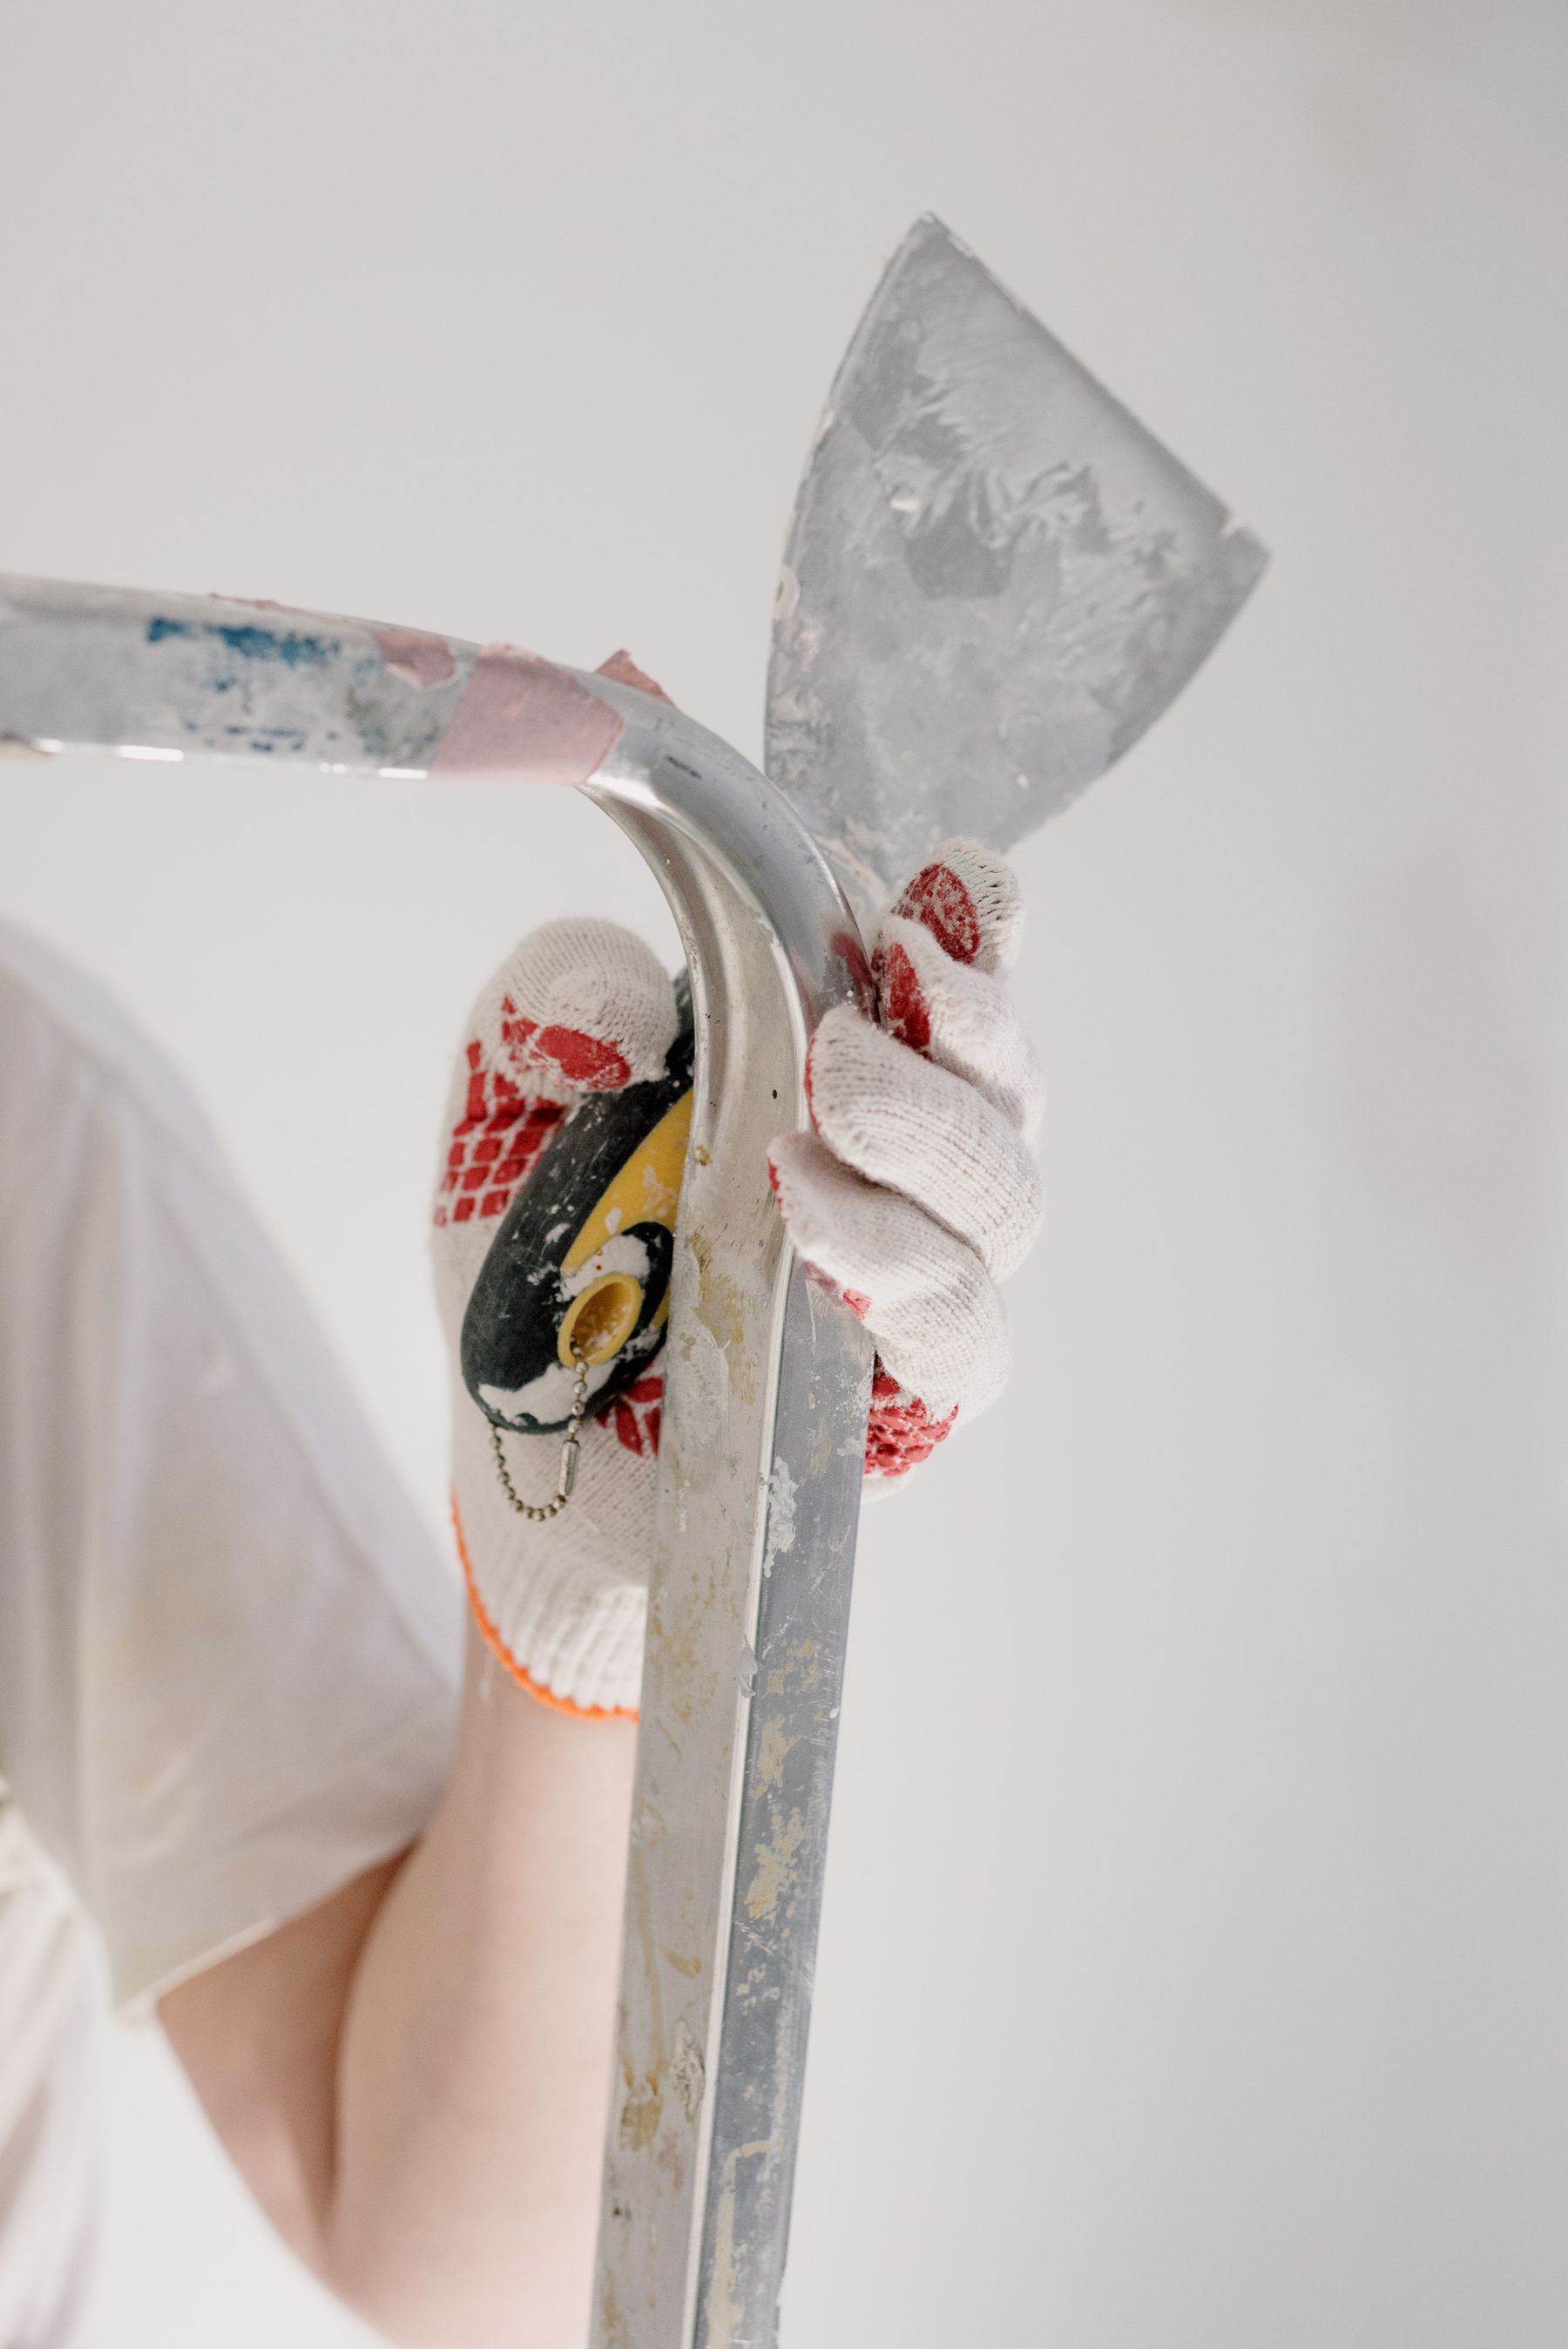
Repair Method
Build the repair in controlled layers.
A localized wall repair is easier to refine when the surrounding surface is stable and the repair material is applied deliberately. Prepare the damaged area first, build the patch carefully, and refine the transition before moving to final surface preparation.
- Remove unstable material. Clear loose edges, dust, or damaged material that could interfere with the repair surface.
- Fill the damaged area. Apply the appropriate repair material without spreading unnecessary buildup across the surrounding wall.
- Level the transition. Use a suitable scraper or trowel to blend the repaired area into the existing surface.
- Refine before finishing. Allow the repair to reach the appropriate condition before sanding or completing the next surface-preparation step.
Common Repair Work
From small damage to surface preparation.
The same core process applies across many wall repairs: stabilize the damaged area, rebuild the surface, refine the repair, and prepare it for the next finishing stage.
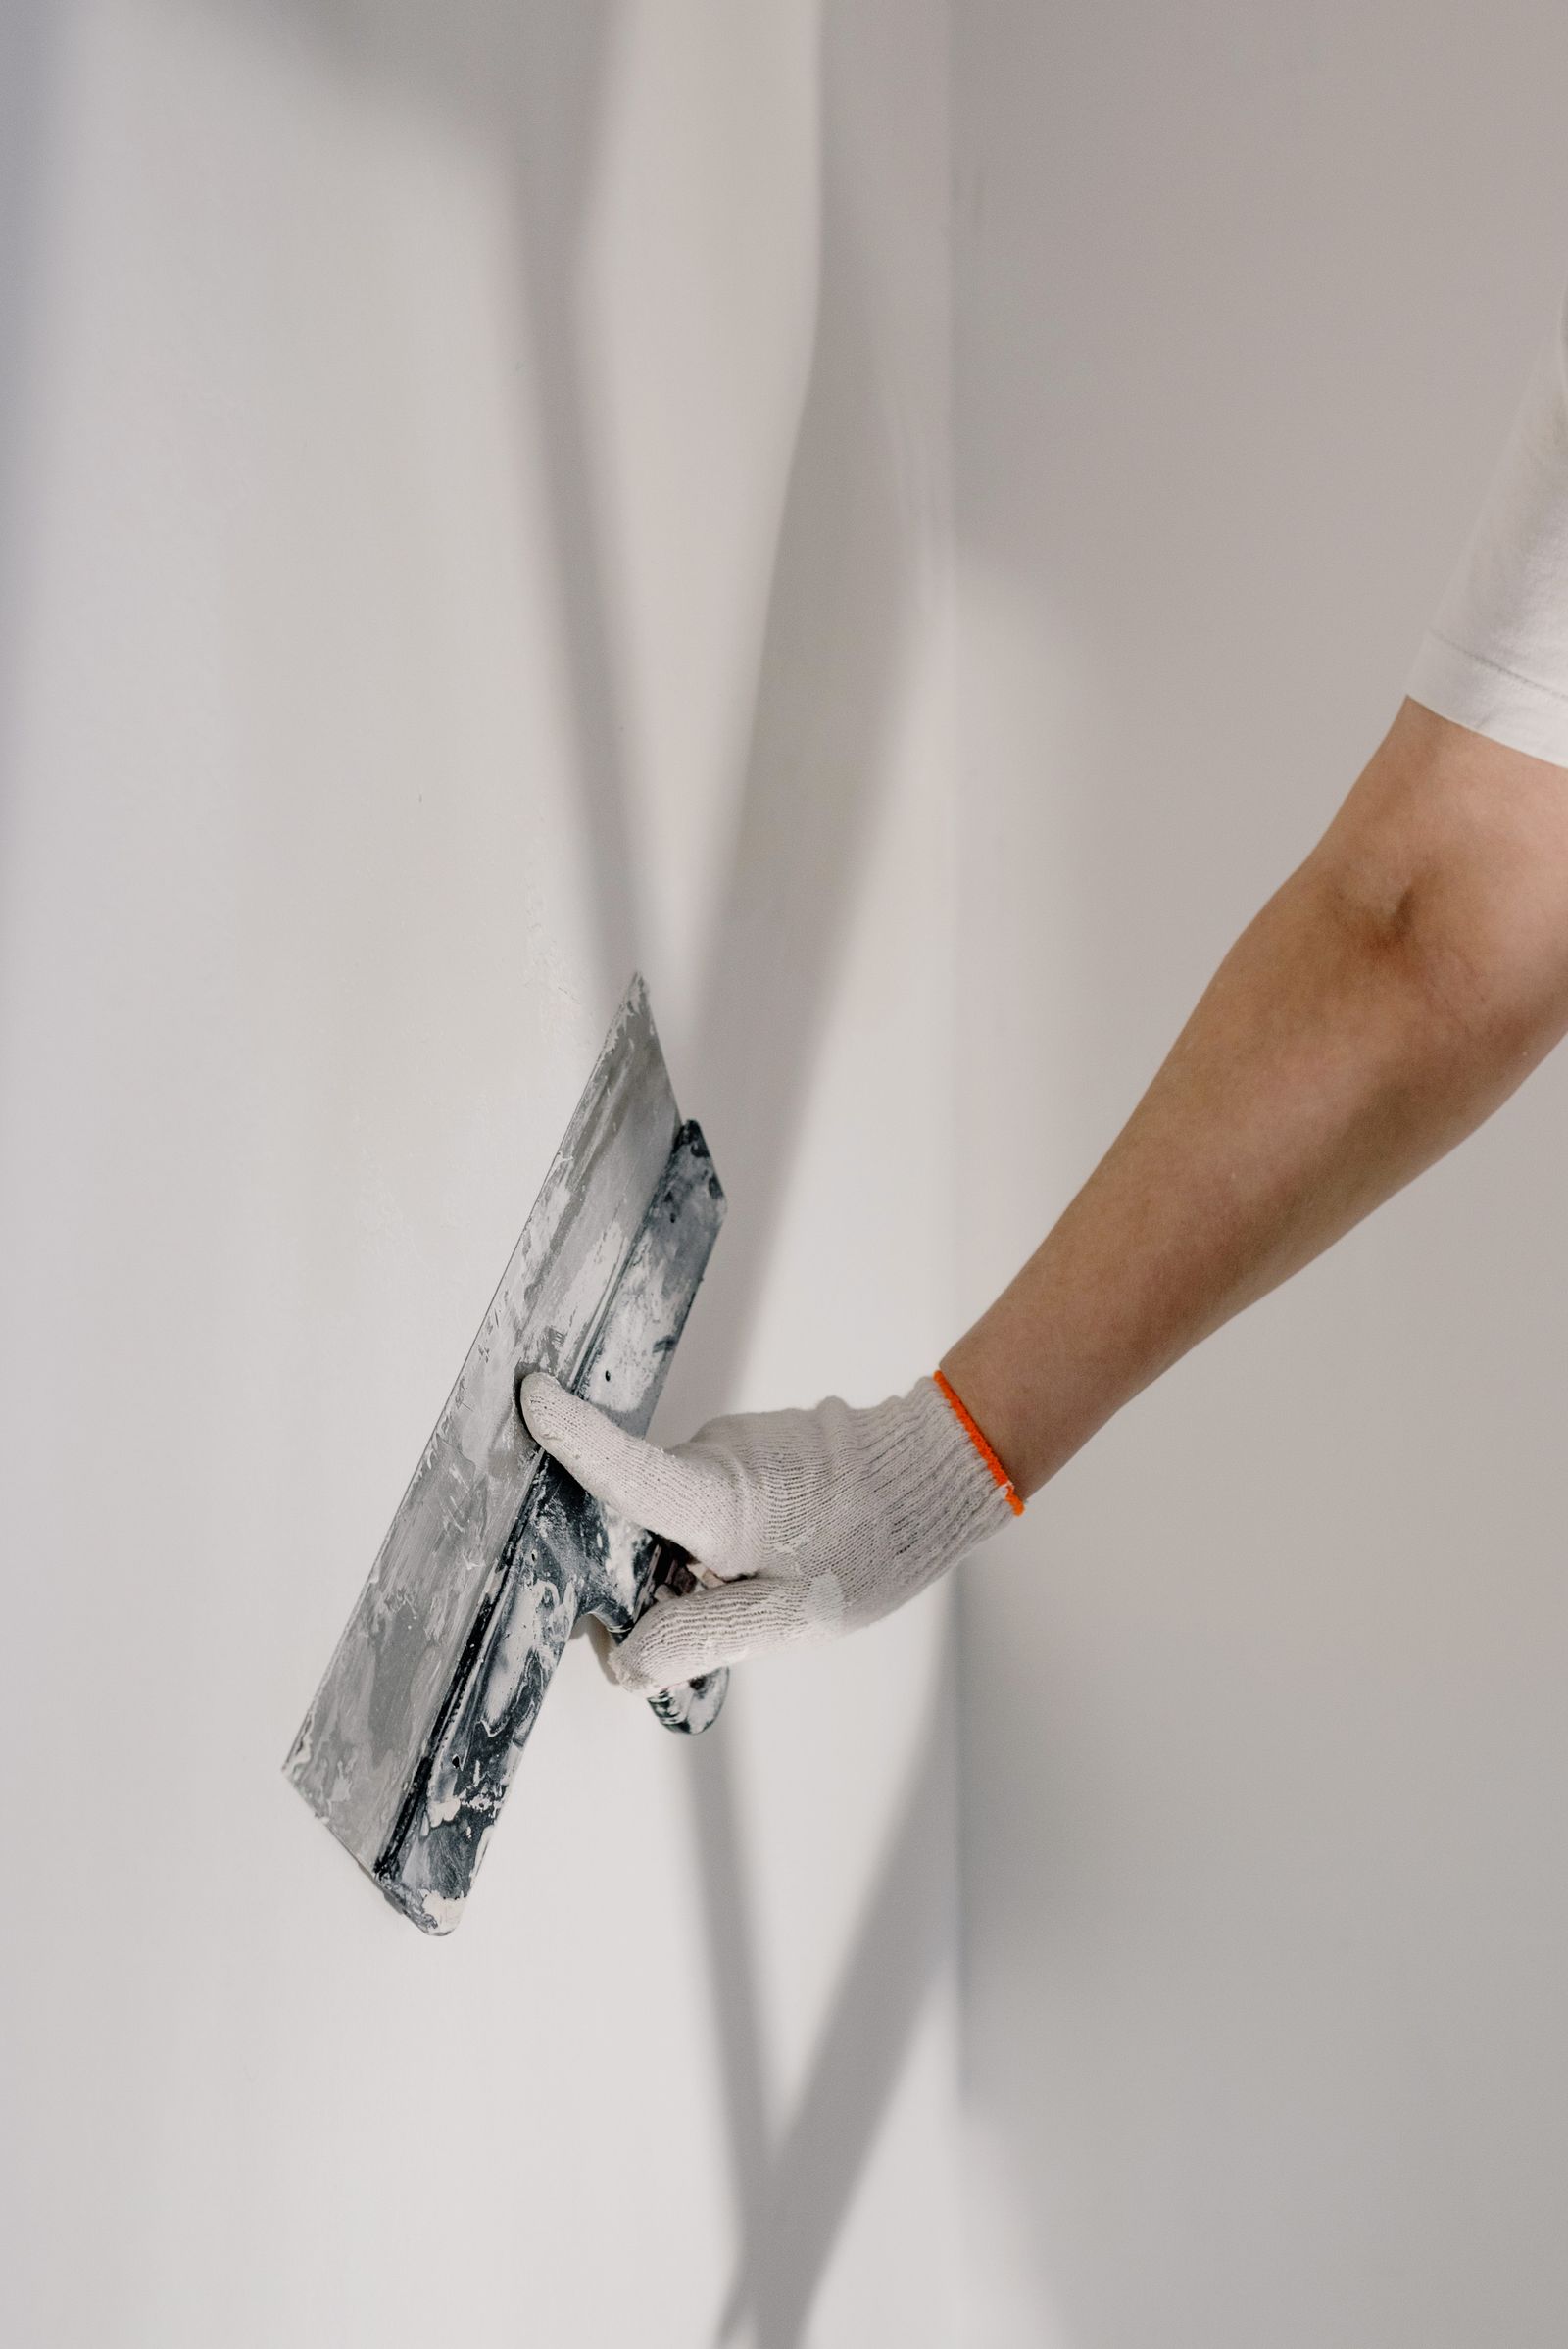
Patch Holes & Imperfections
Prepare localized damage, apply repair material, and build the surface back toward the surrounding wall before final smoothing.
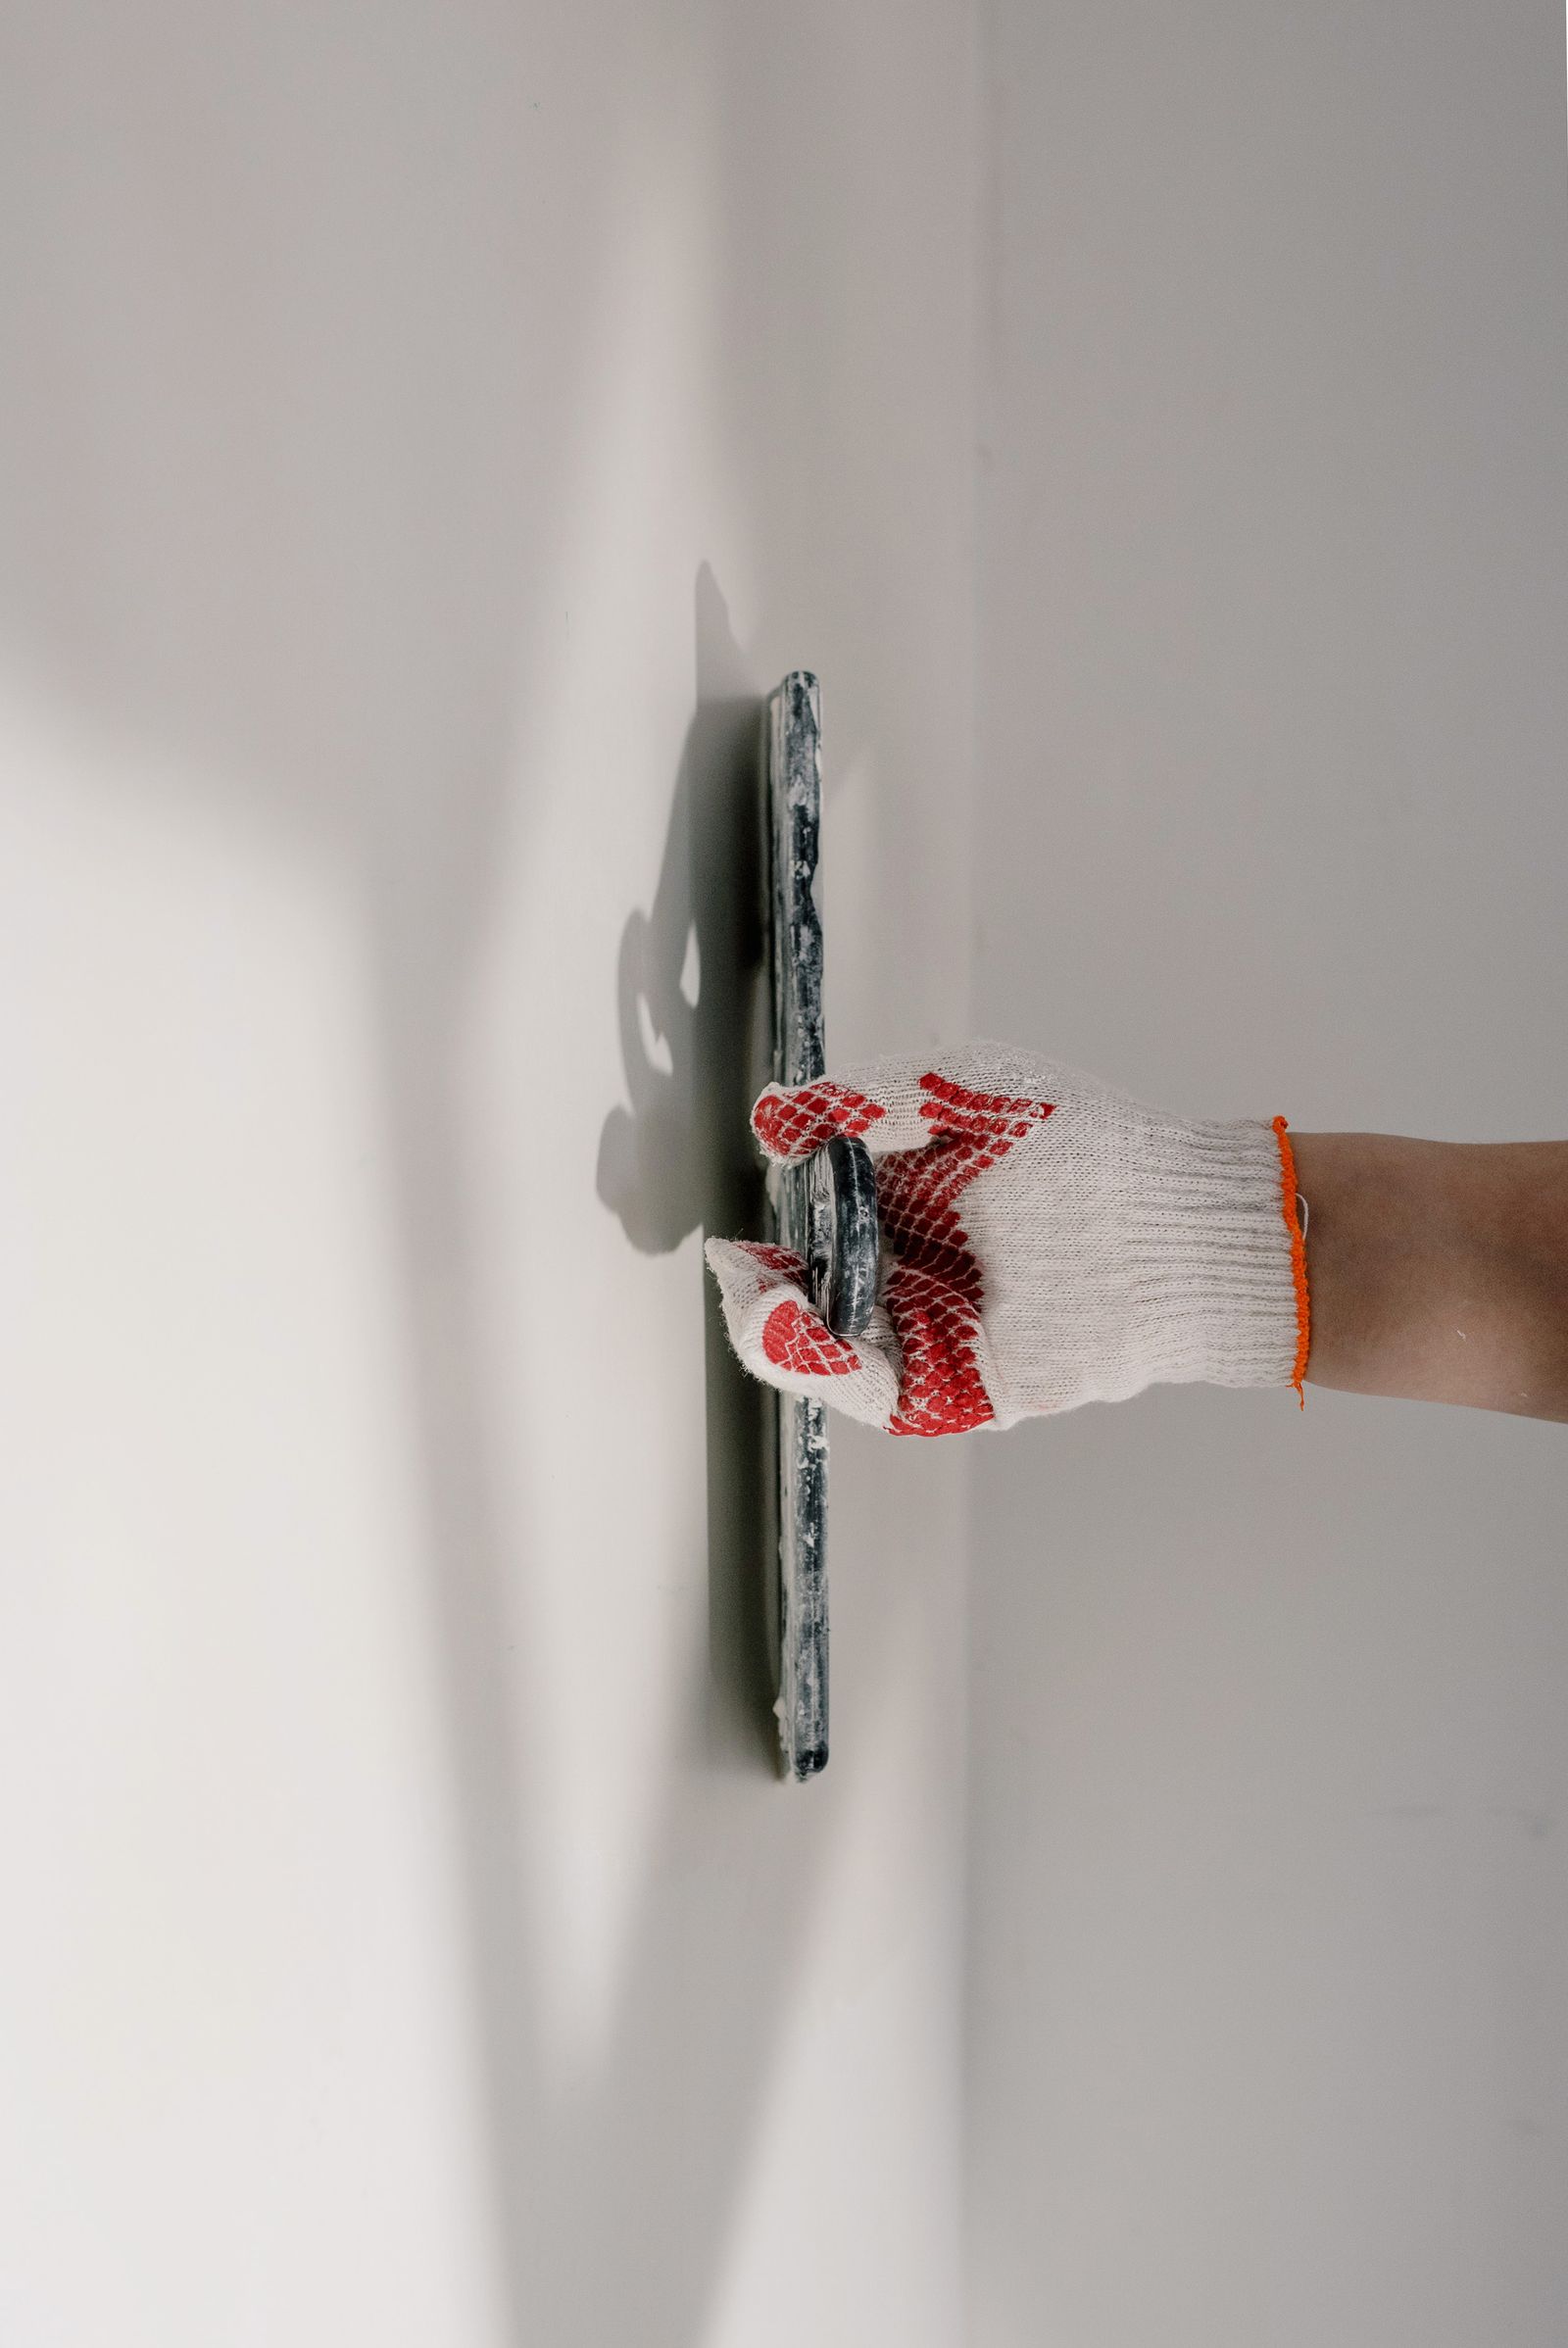
Level & Blend Repairs
Refine raised edges and transitions so the repaired area sits more evenly with the surrounding surface.
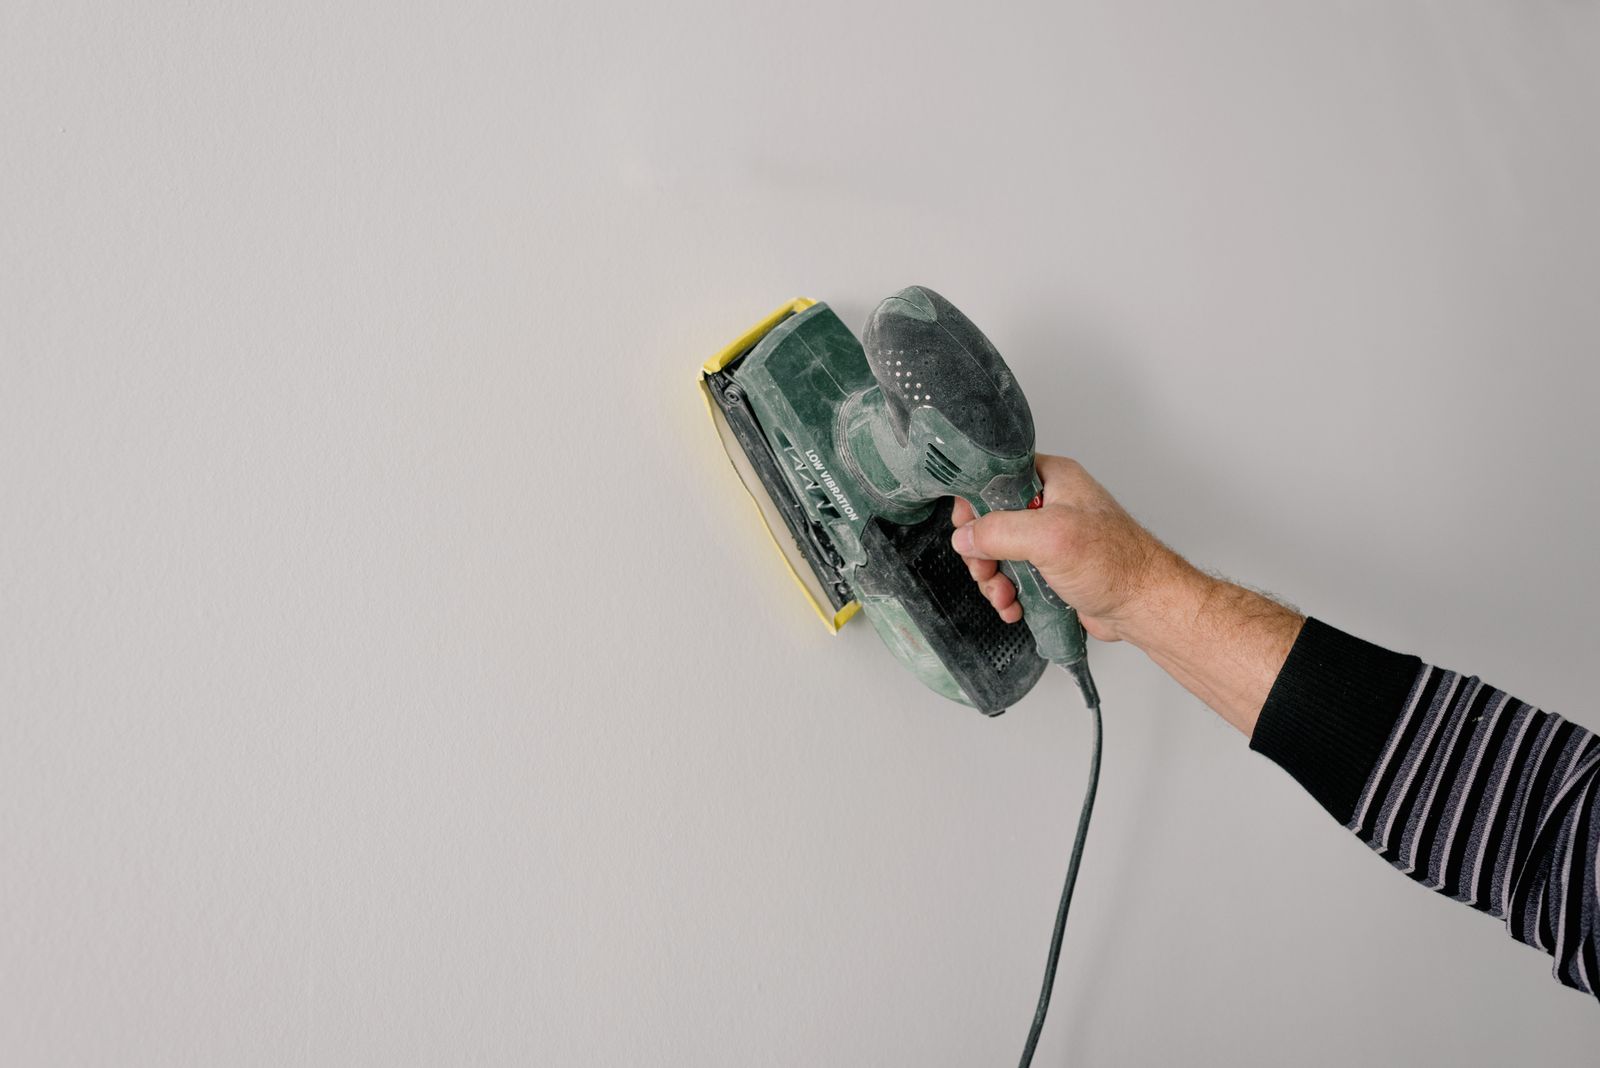
Smooth Before Finishing
Sand and refine repaired areas where appropriate to create a cleaner transition before the wall moves to its next finishing stage.
Repair Guide
Match the repair method to the surface.
Before selecting wall repair supplies, inspect the type and extent of the damage, then review the individual product information for its intended application.
Inspect the damage.
Identify whether the area involves a small hole, shallow defect, uneven patch, worn surface, or another localized repair condition.
Prepare the surface.
Remove loose material and create a clean, stable working area before applying patching or filling products.
Build the repair.
Apply the appropriate repair material and use suitable hand tools to control thickness, coverage, and surface transition.
Refine the surface.
Inspect the repaired area and complete the appropriate smoothing or preparation work before moving to the next finishing stage.
Stabilize the damaged area and remove material that could interfere with the repair.
Apply the appropriate repair material to rebuild the damaged or uneven surface.
Blend the repair into the surrounding wall with controlled scraping or smoothing.
Inspect and prepare the repaired area for the next finishing stage of the project.
RivetVale Support
Working through a wall repair project?
Contact RivetVale with questions about products, product information shown on our store, orders, shipping, returns, or choosing a practical starting point for your wall and surface repair work.