
Plumbing Repair
RivetVale / Home Repair
Plumbing
Repair
Practical tools and repair supplies for pipe connections, fittings, faucets, valves, leaks, maintenance, and everyday plumbing work around the home.
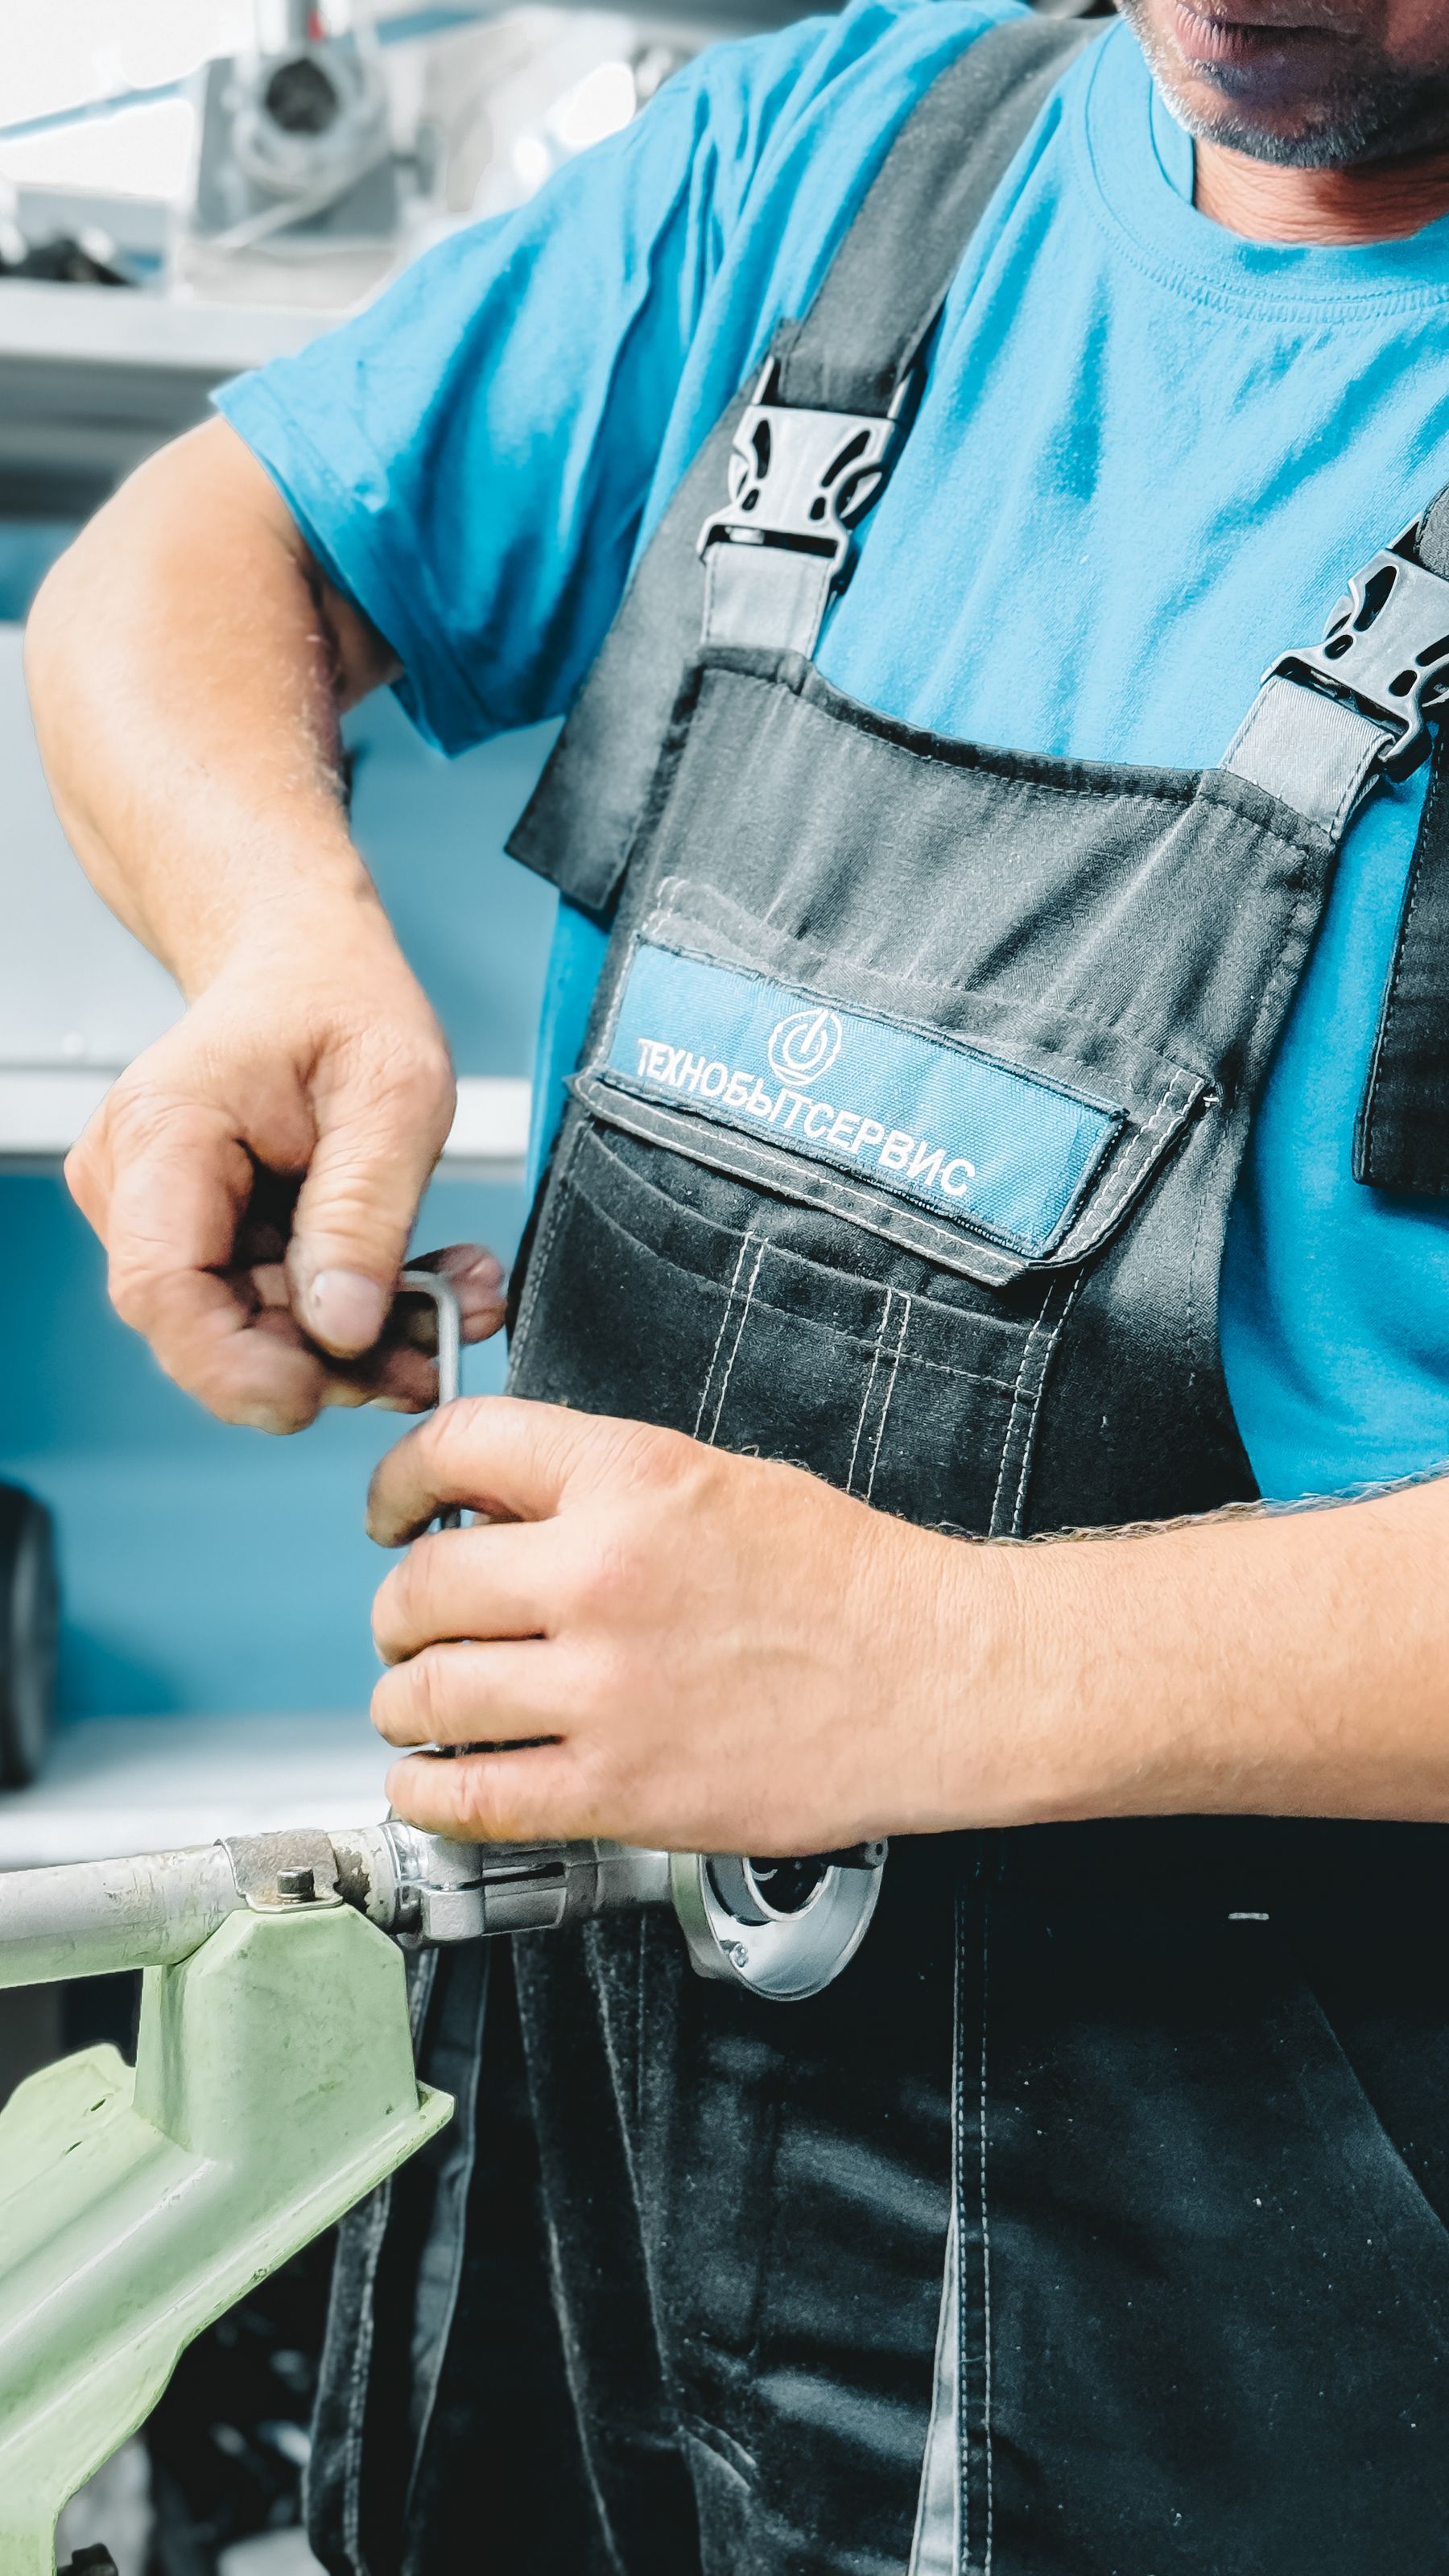
Repair Essentials
Start with the connection that needs attention.
Plumbing repairs often come down to identifying the affected fitting, controlling the water supply, selecting the correct tool, and restoring a stable connection without overworking surrounding components.
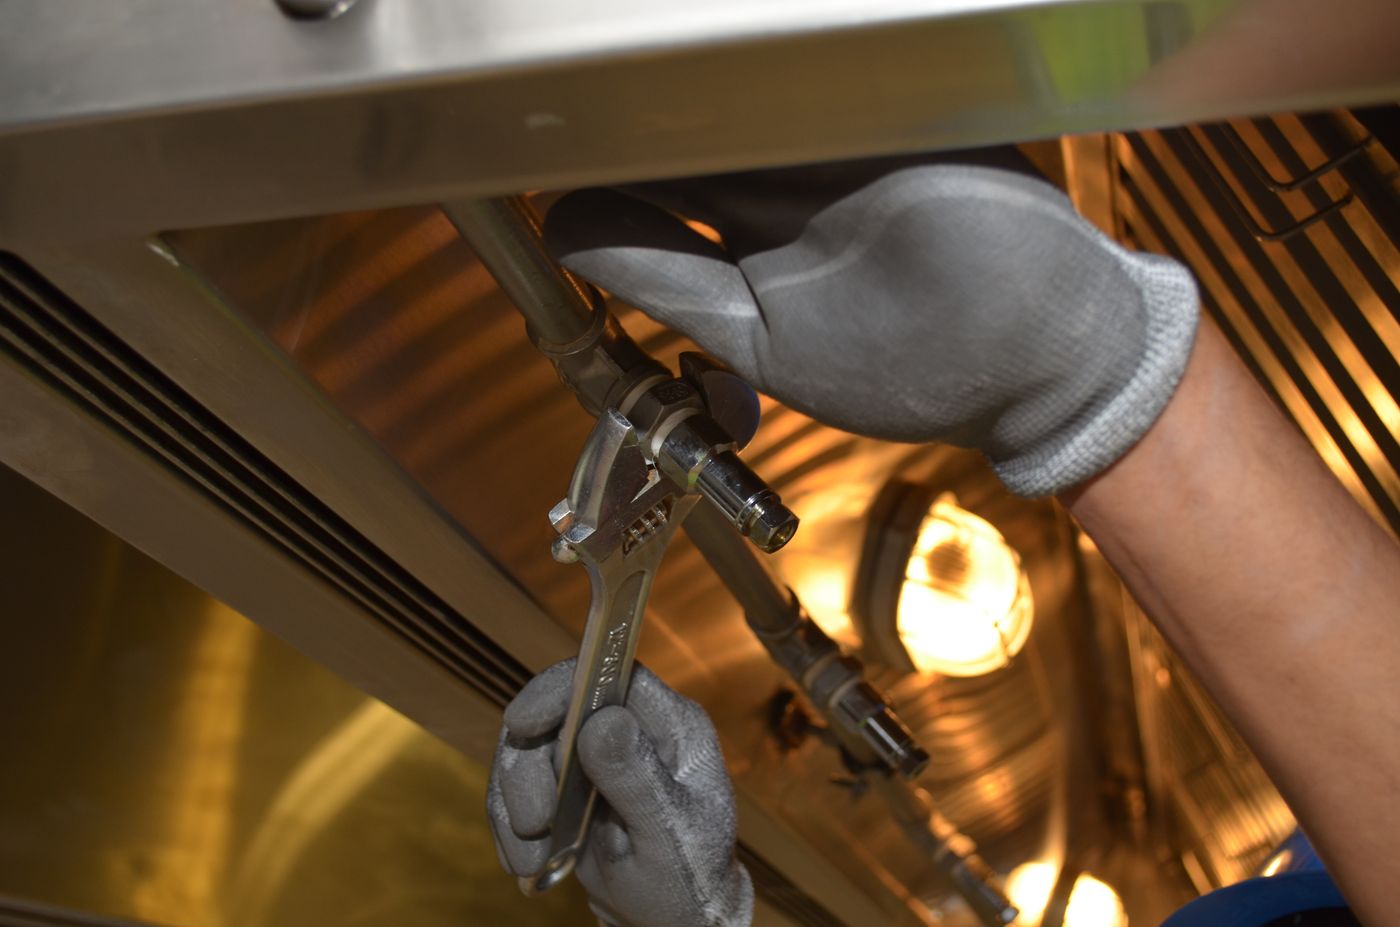
Pipe & Fitting Repair
Tools and repair supplies for working around threaded connections, pipe fittings, joints, and accessible plumbing lines.
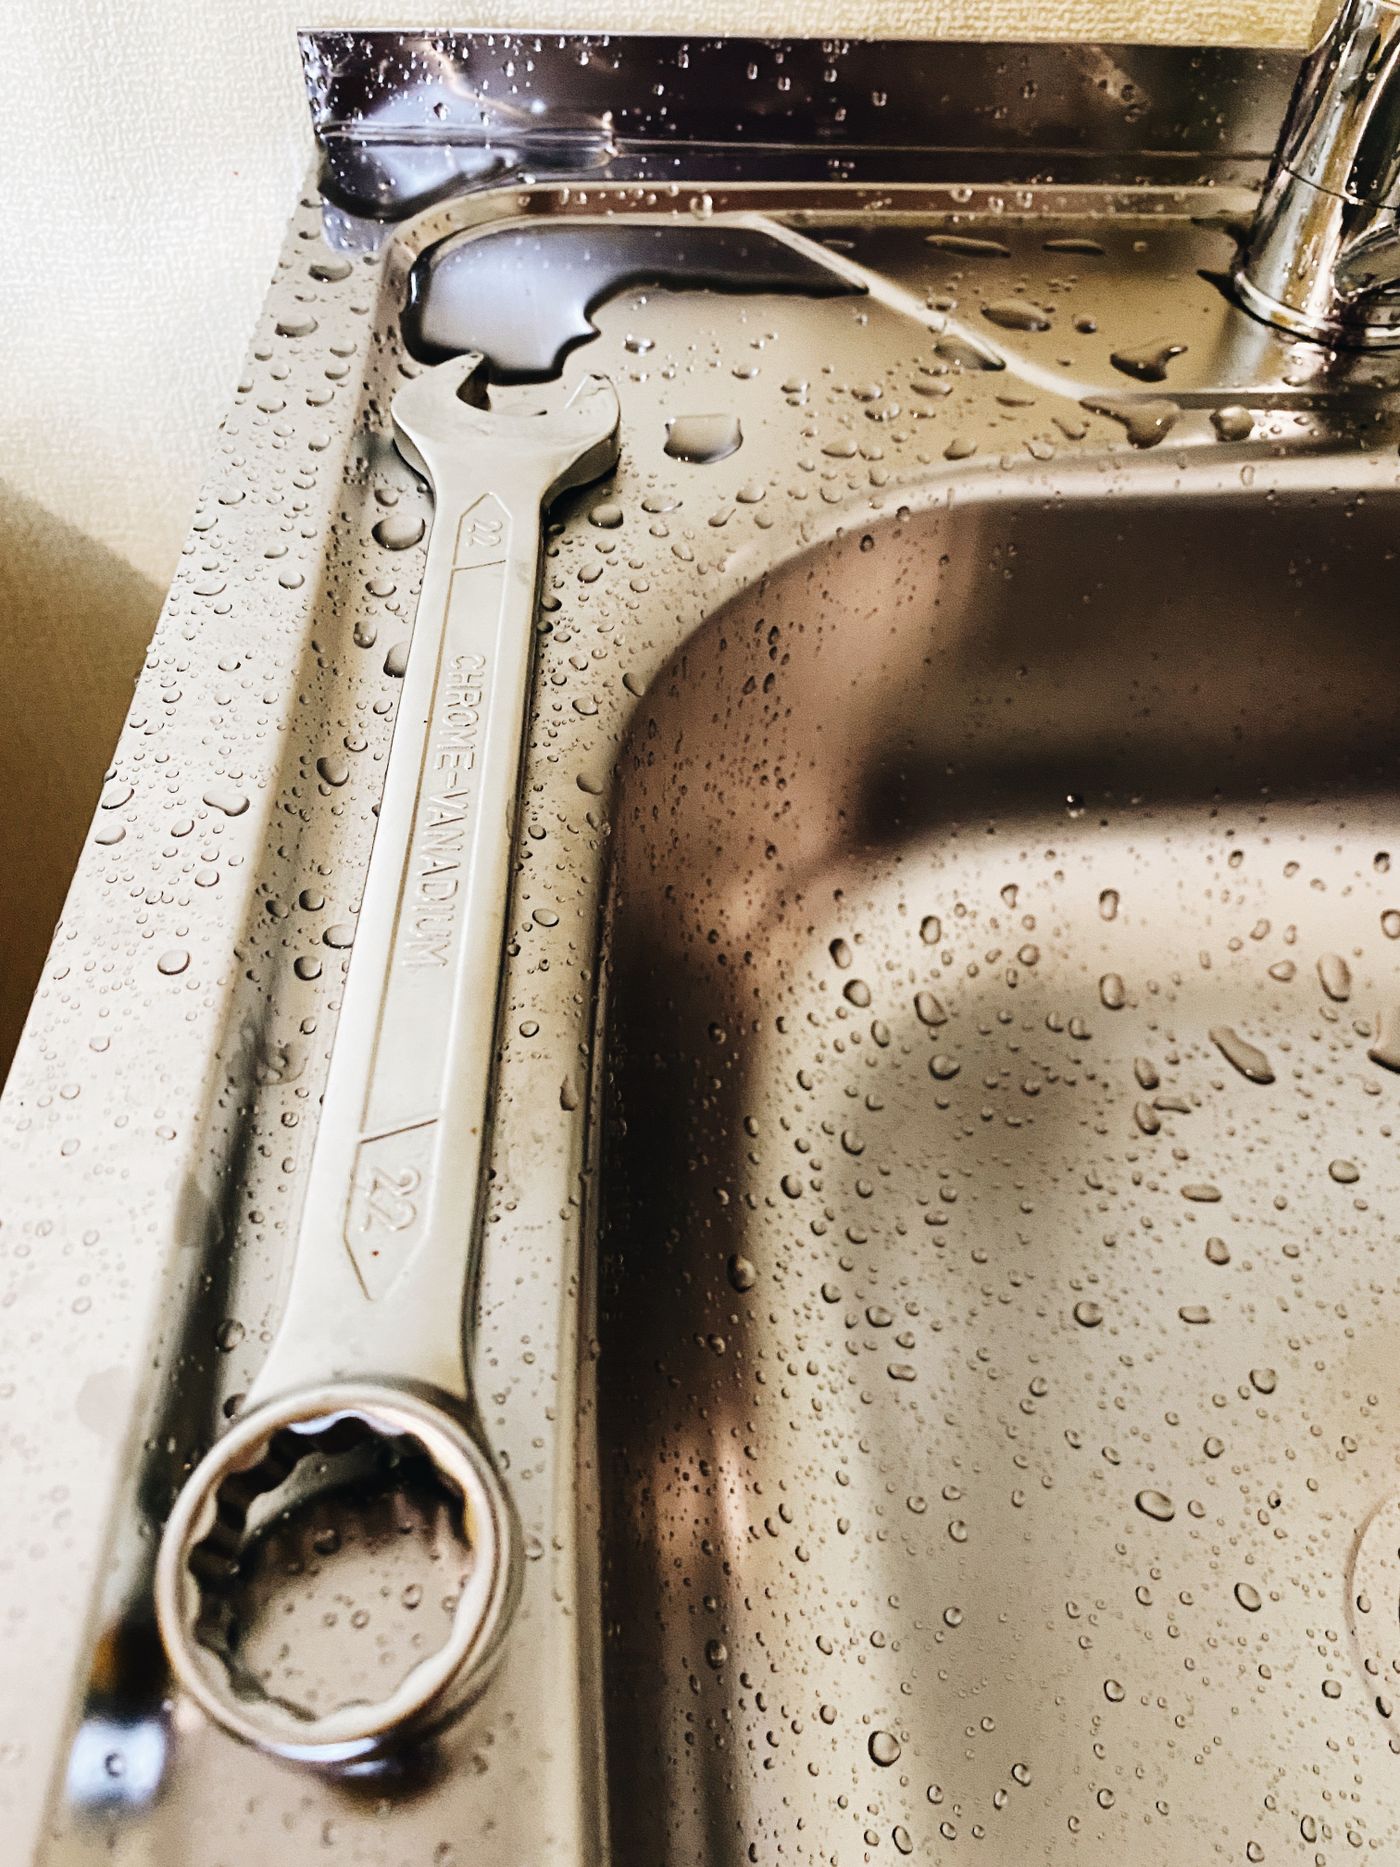
Faucet & Sink Maintenance
Practical repair work around faucets, sinks, accessible connections, mounting points, and water-control components.
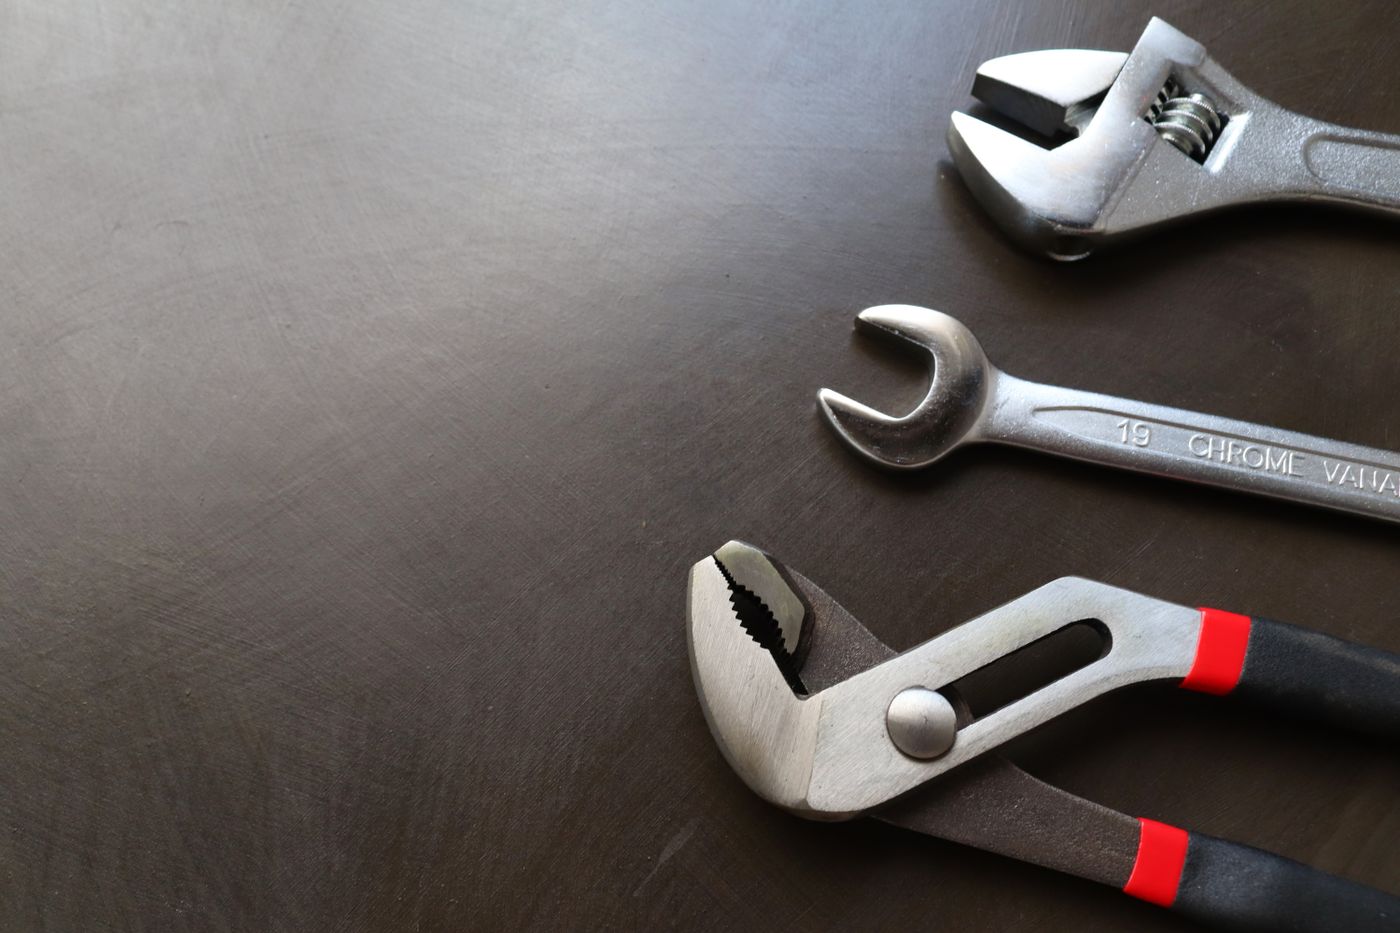
Plumbing Hand Tools
Wrenches, gripping tools, drivers, and general repair equipment for loosening, holding, tightening, and adjusting plumbing components.
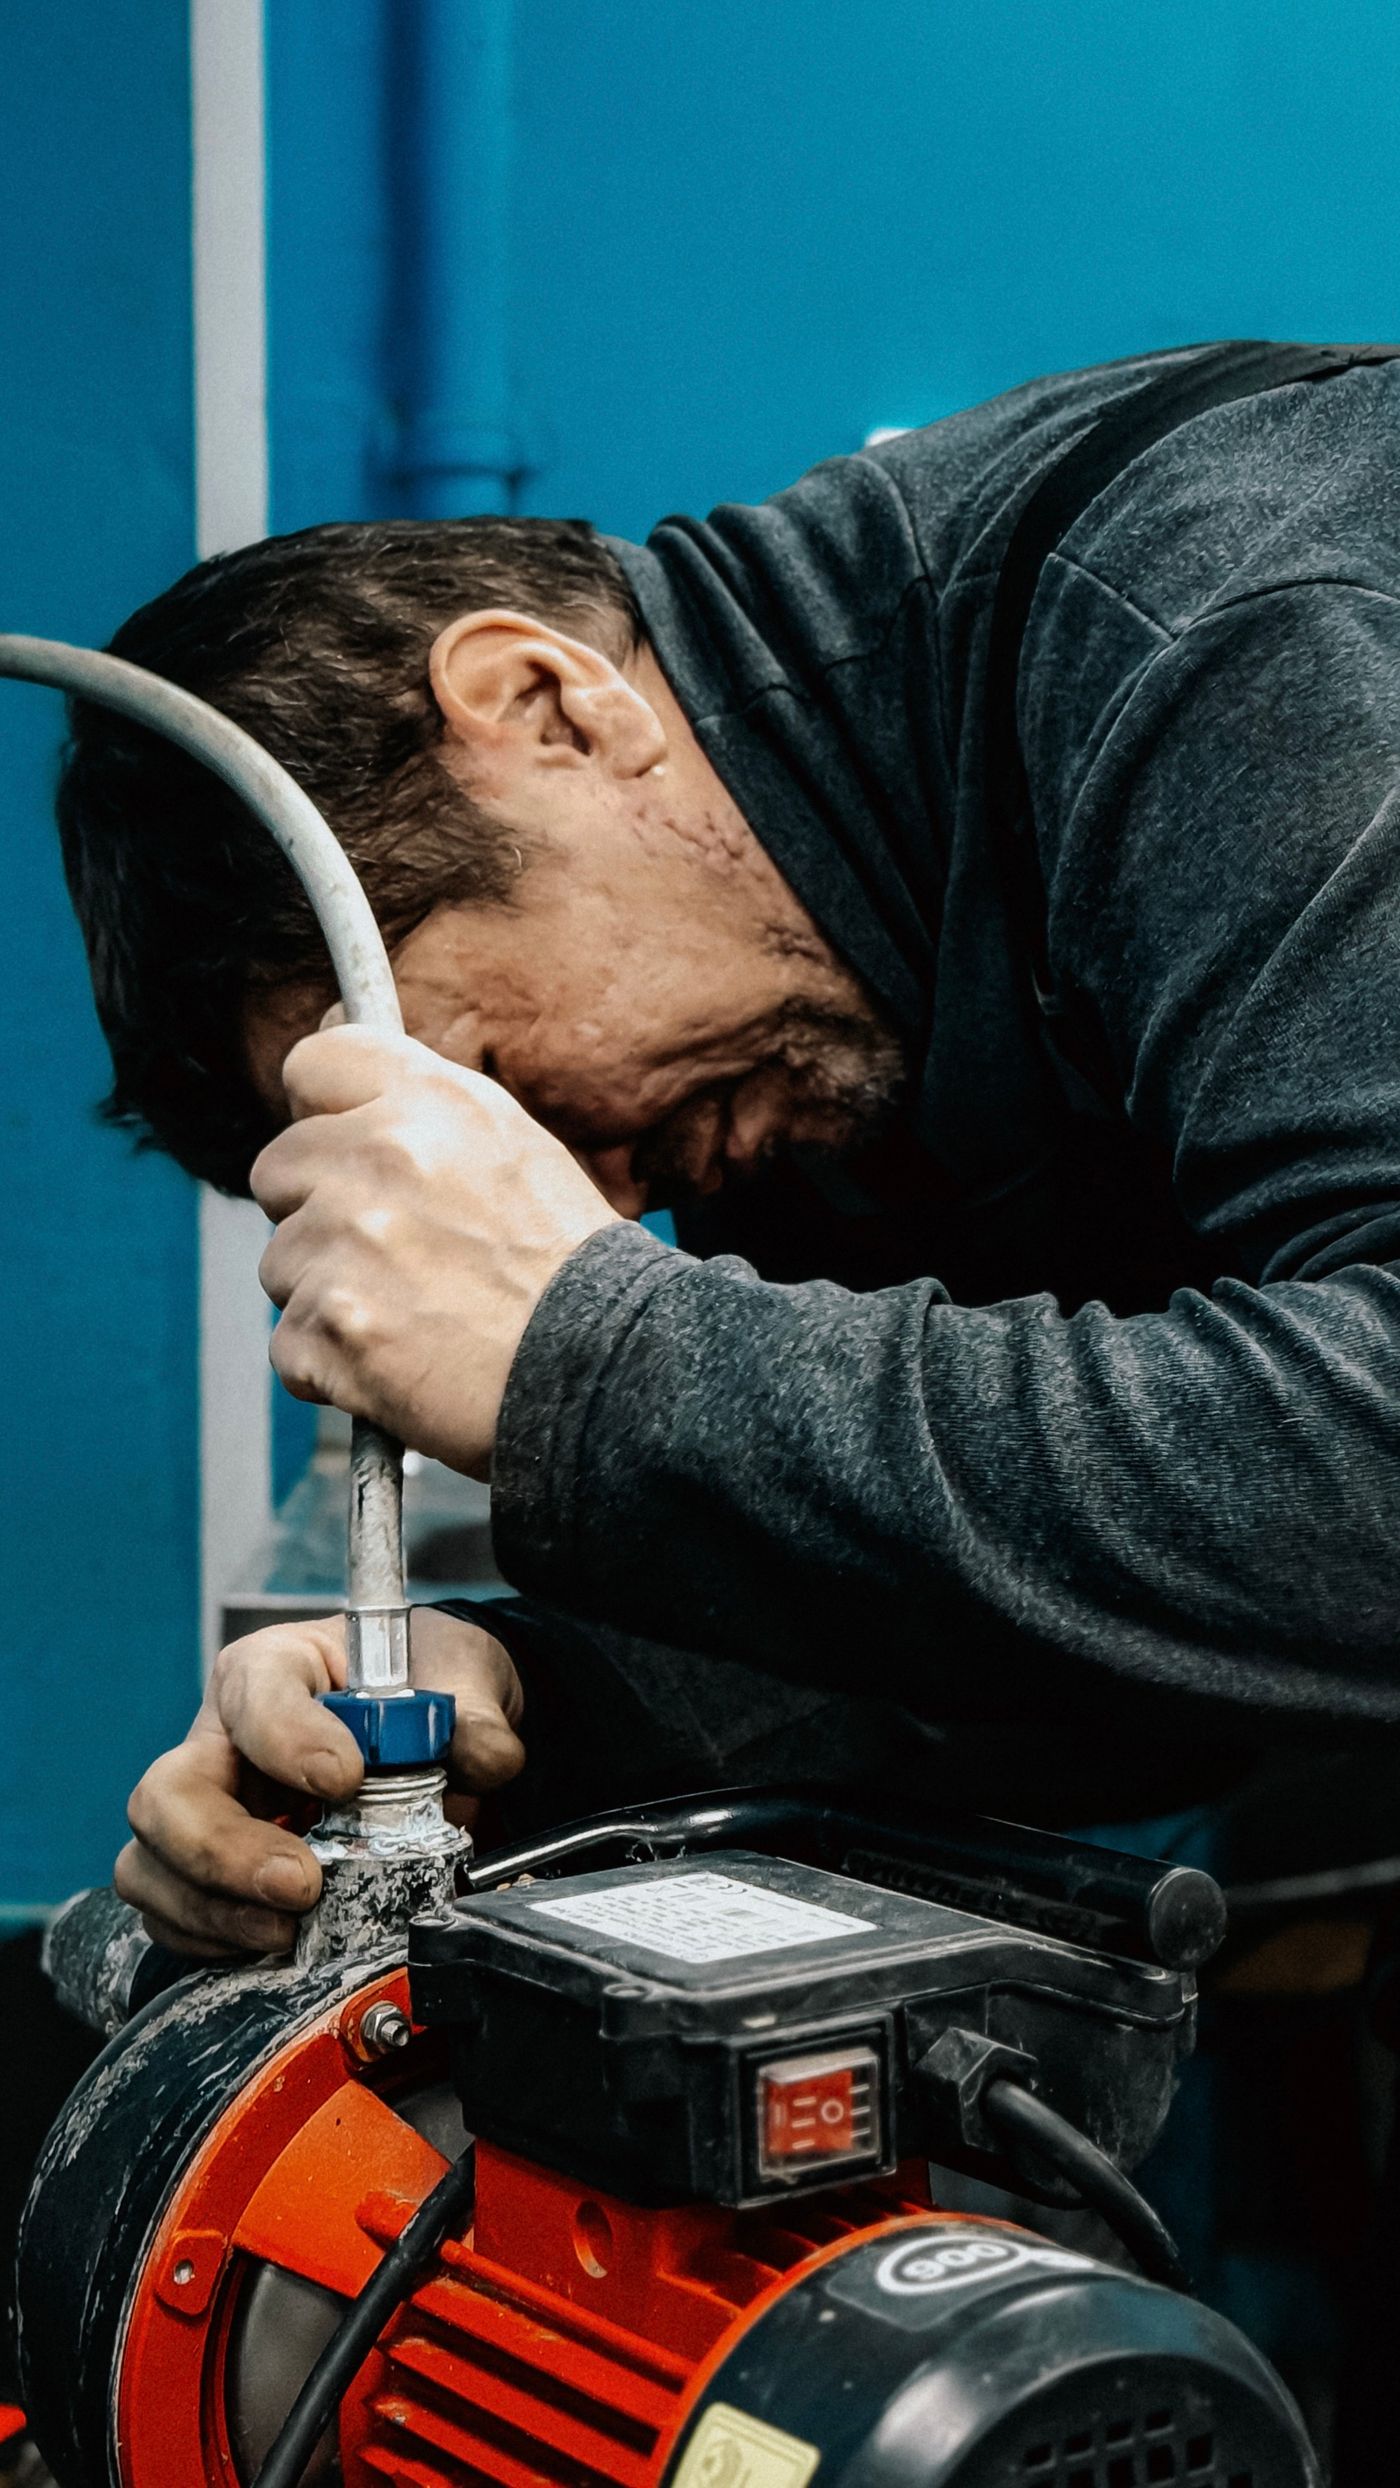
Water System Maintenance
Repair-focused equipment for maintaining accessible water-control components, connections, pumps, and related utility hardware.
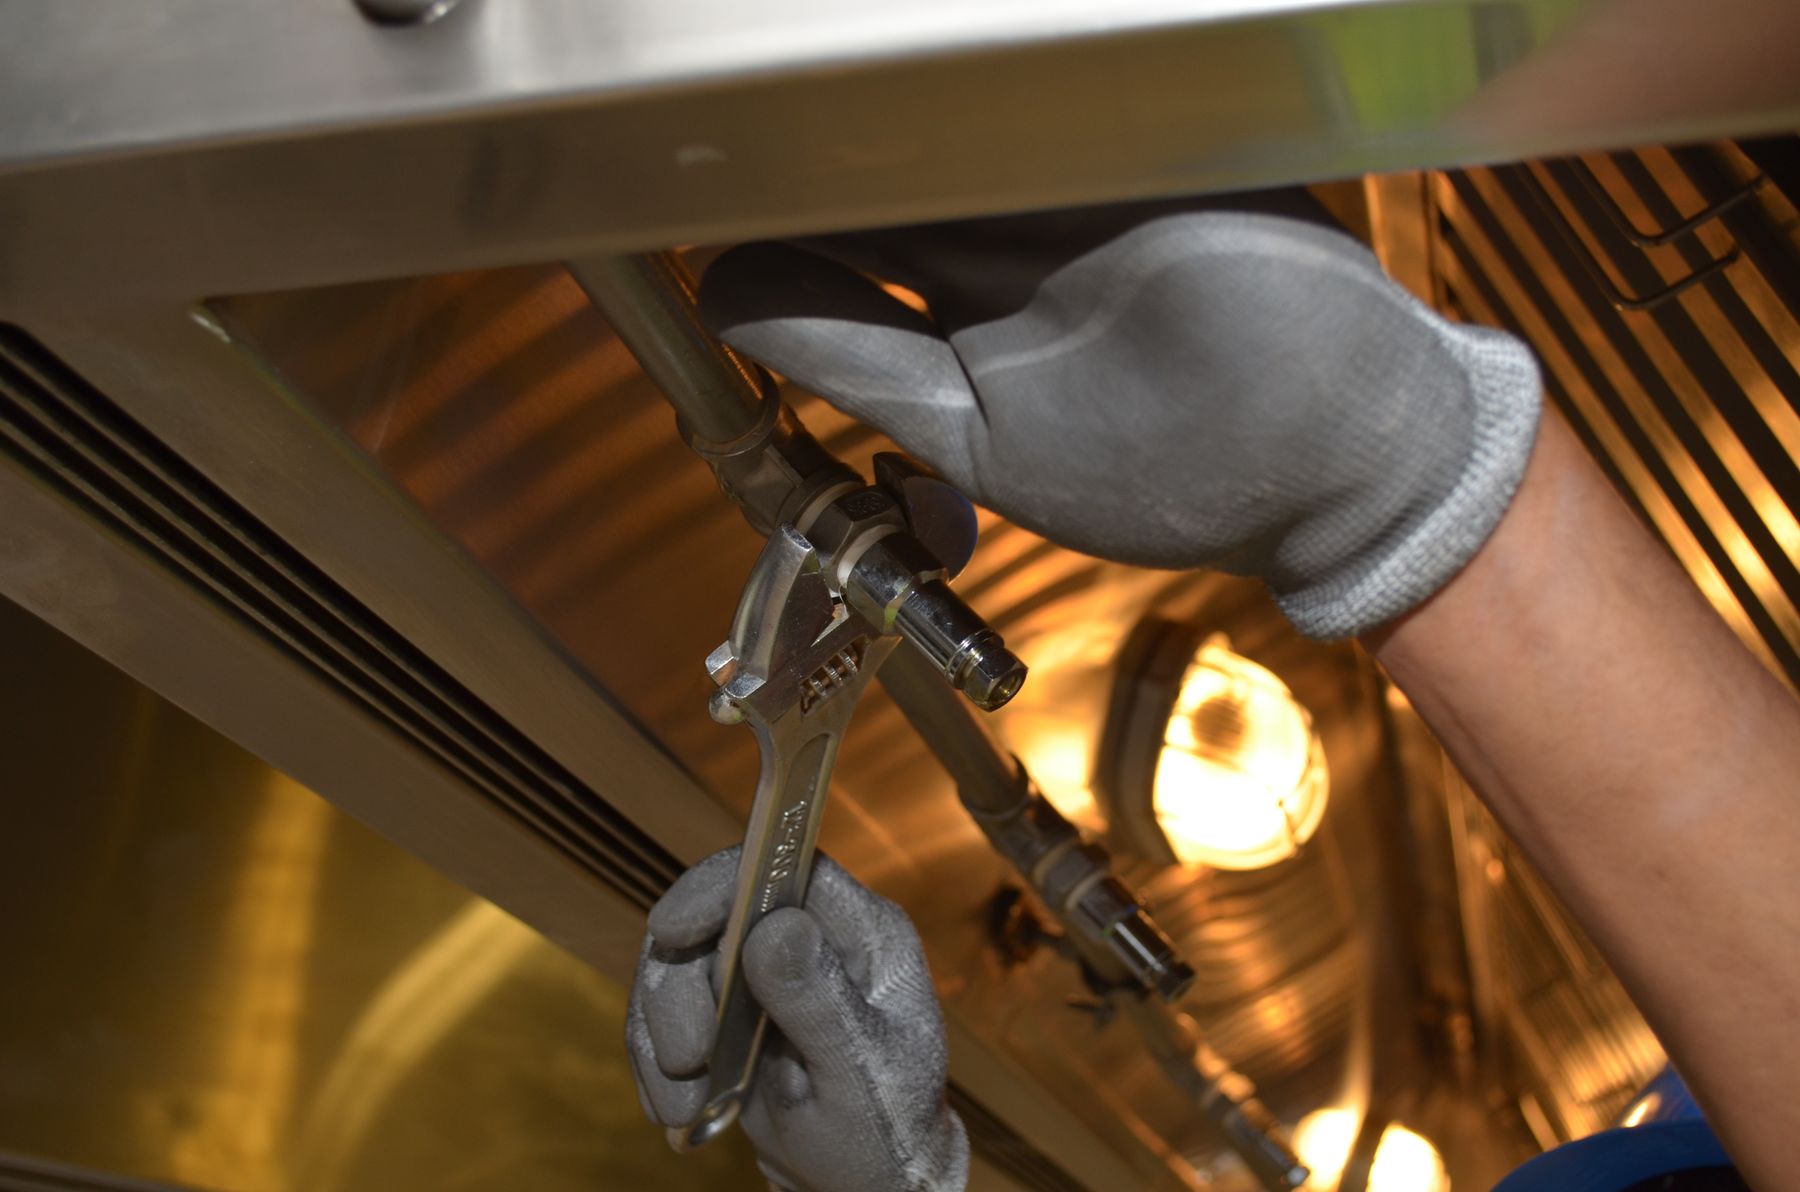
Repair Workflow
Control the water before working on the connection.
A clean plumbing repair starts with understanding where the water is coming from and which component needs attention. Isolate the affected supply where appropriate, inspect the connection, and work deliberately to avoid adding stress to nearby fittings.
- Identify the source. Trace visible moisture or poor operation back to the fitting, joint, fixture, or control point involved.
- Prepare the work area. Keep the repair accessible and have the required hand tools and materials ready before loosening components.
- Work with controlled force. Support adjoining fittings when loosening or tightening a connection.
- Inspect after repair. Restore operation carefully and check the repaired area before considering the work complete.
Common Repair Work
Practical fixes around everyday water systems.
From accessible connections to fixture maintenance, the right repair approach depends on the location of the problem and the components already installed.
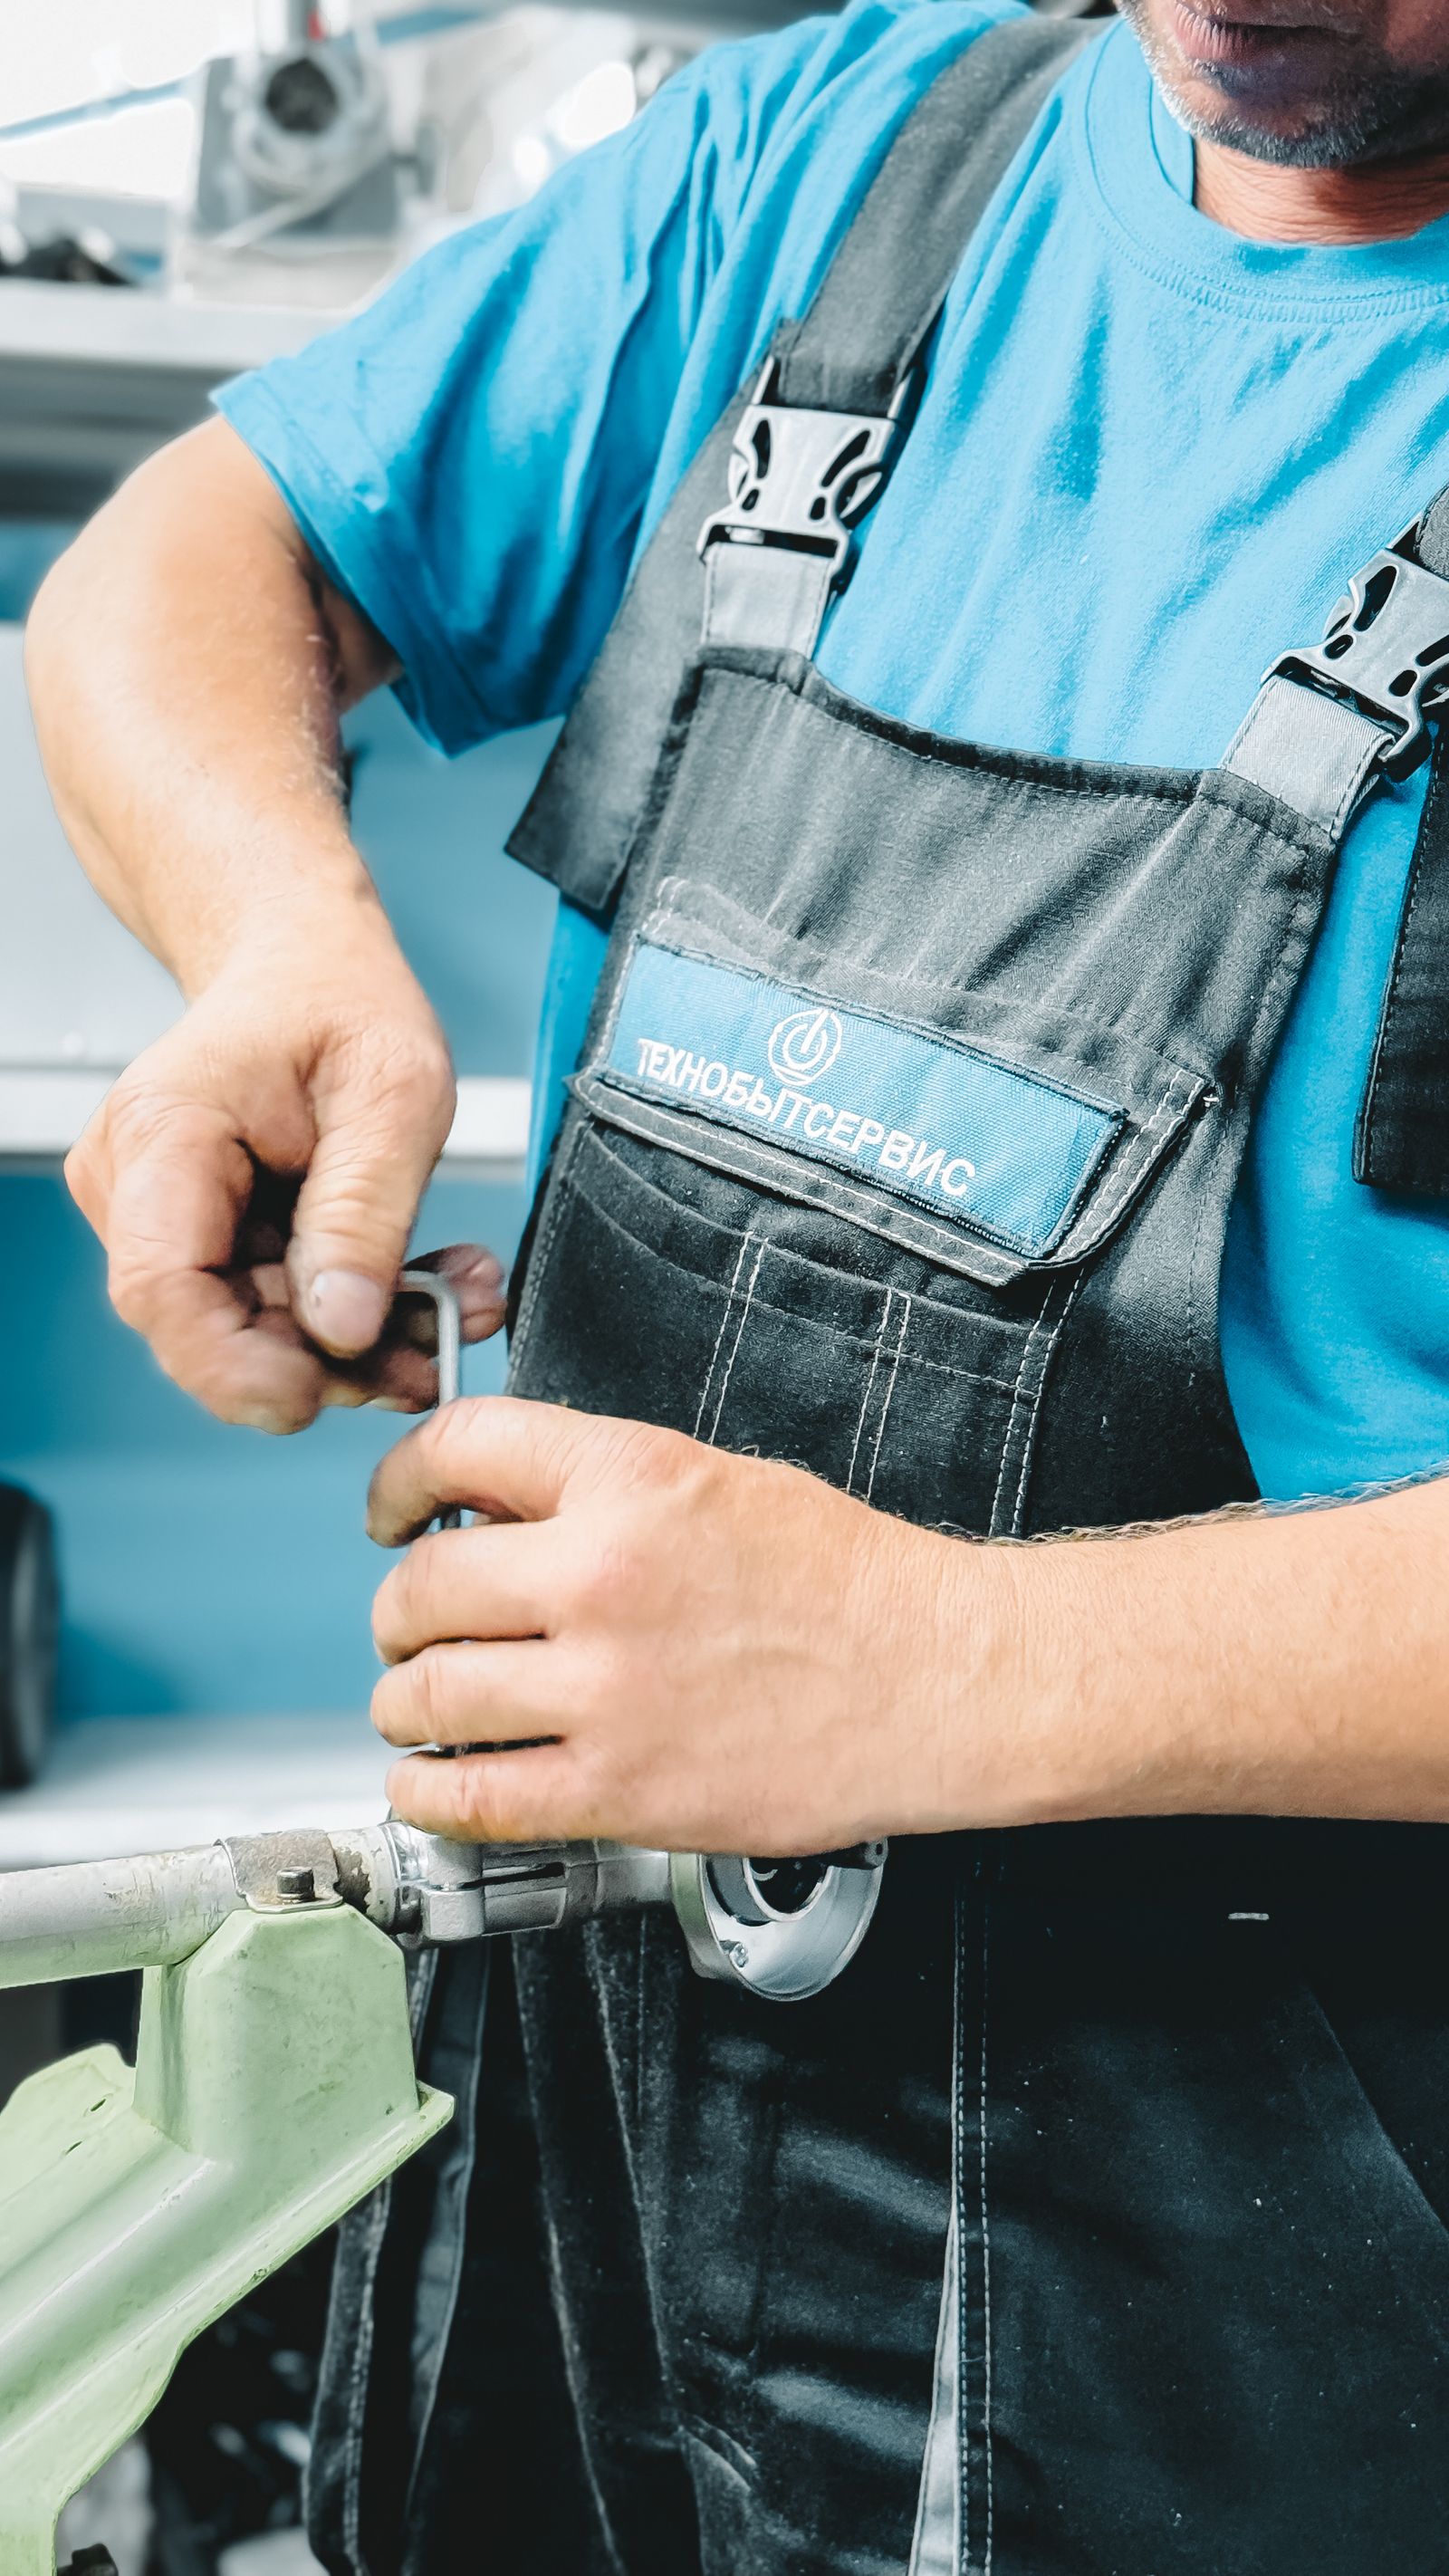
Tighten & Restore Fittings
Inspect accessible joints and fittings for movement or visible leakage, then select tools that provide controlled grip around the connection.
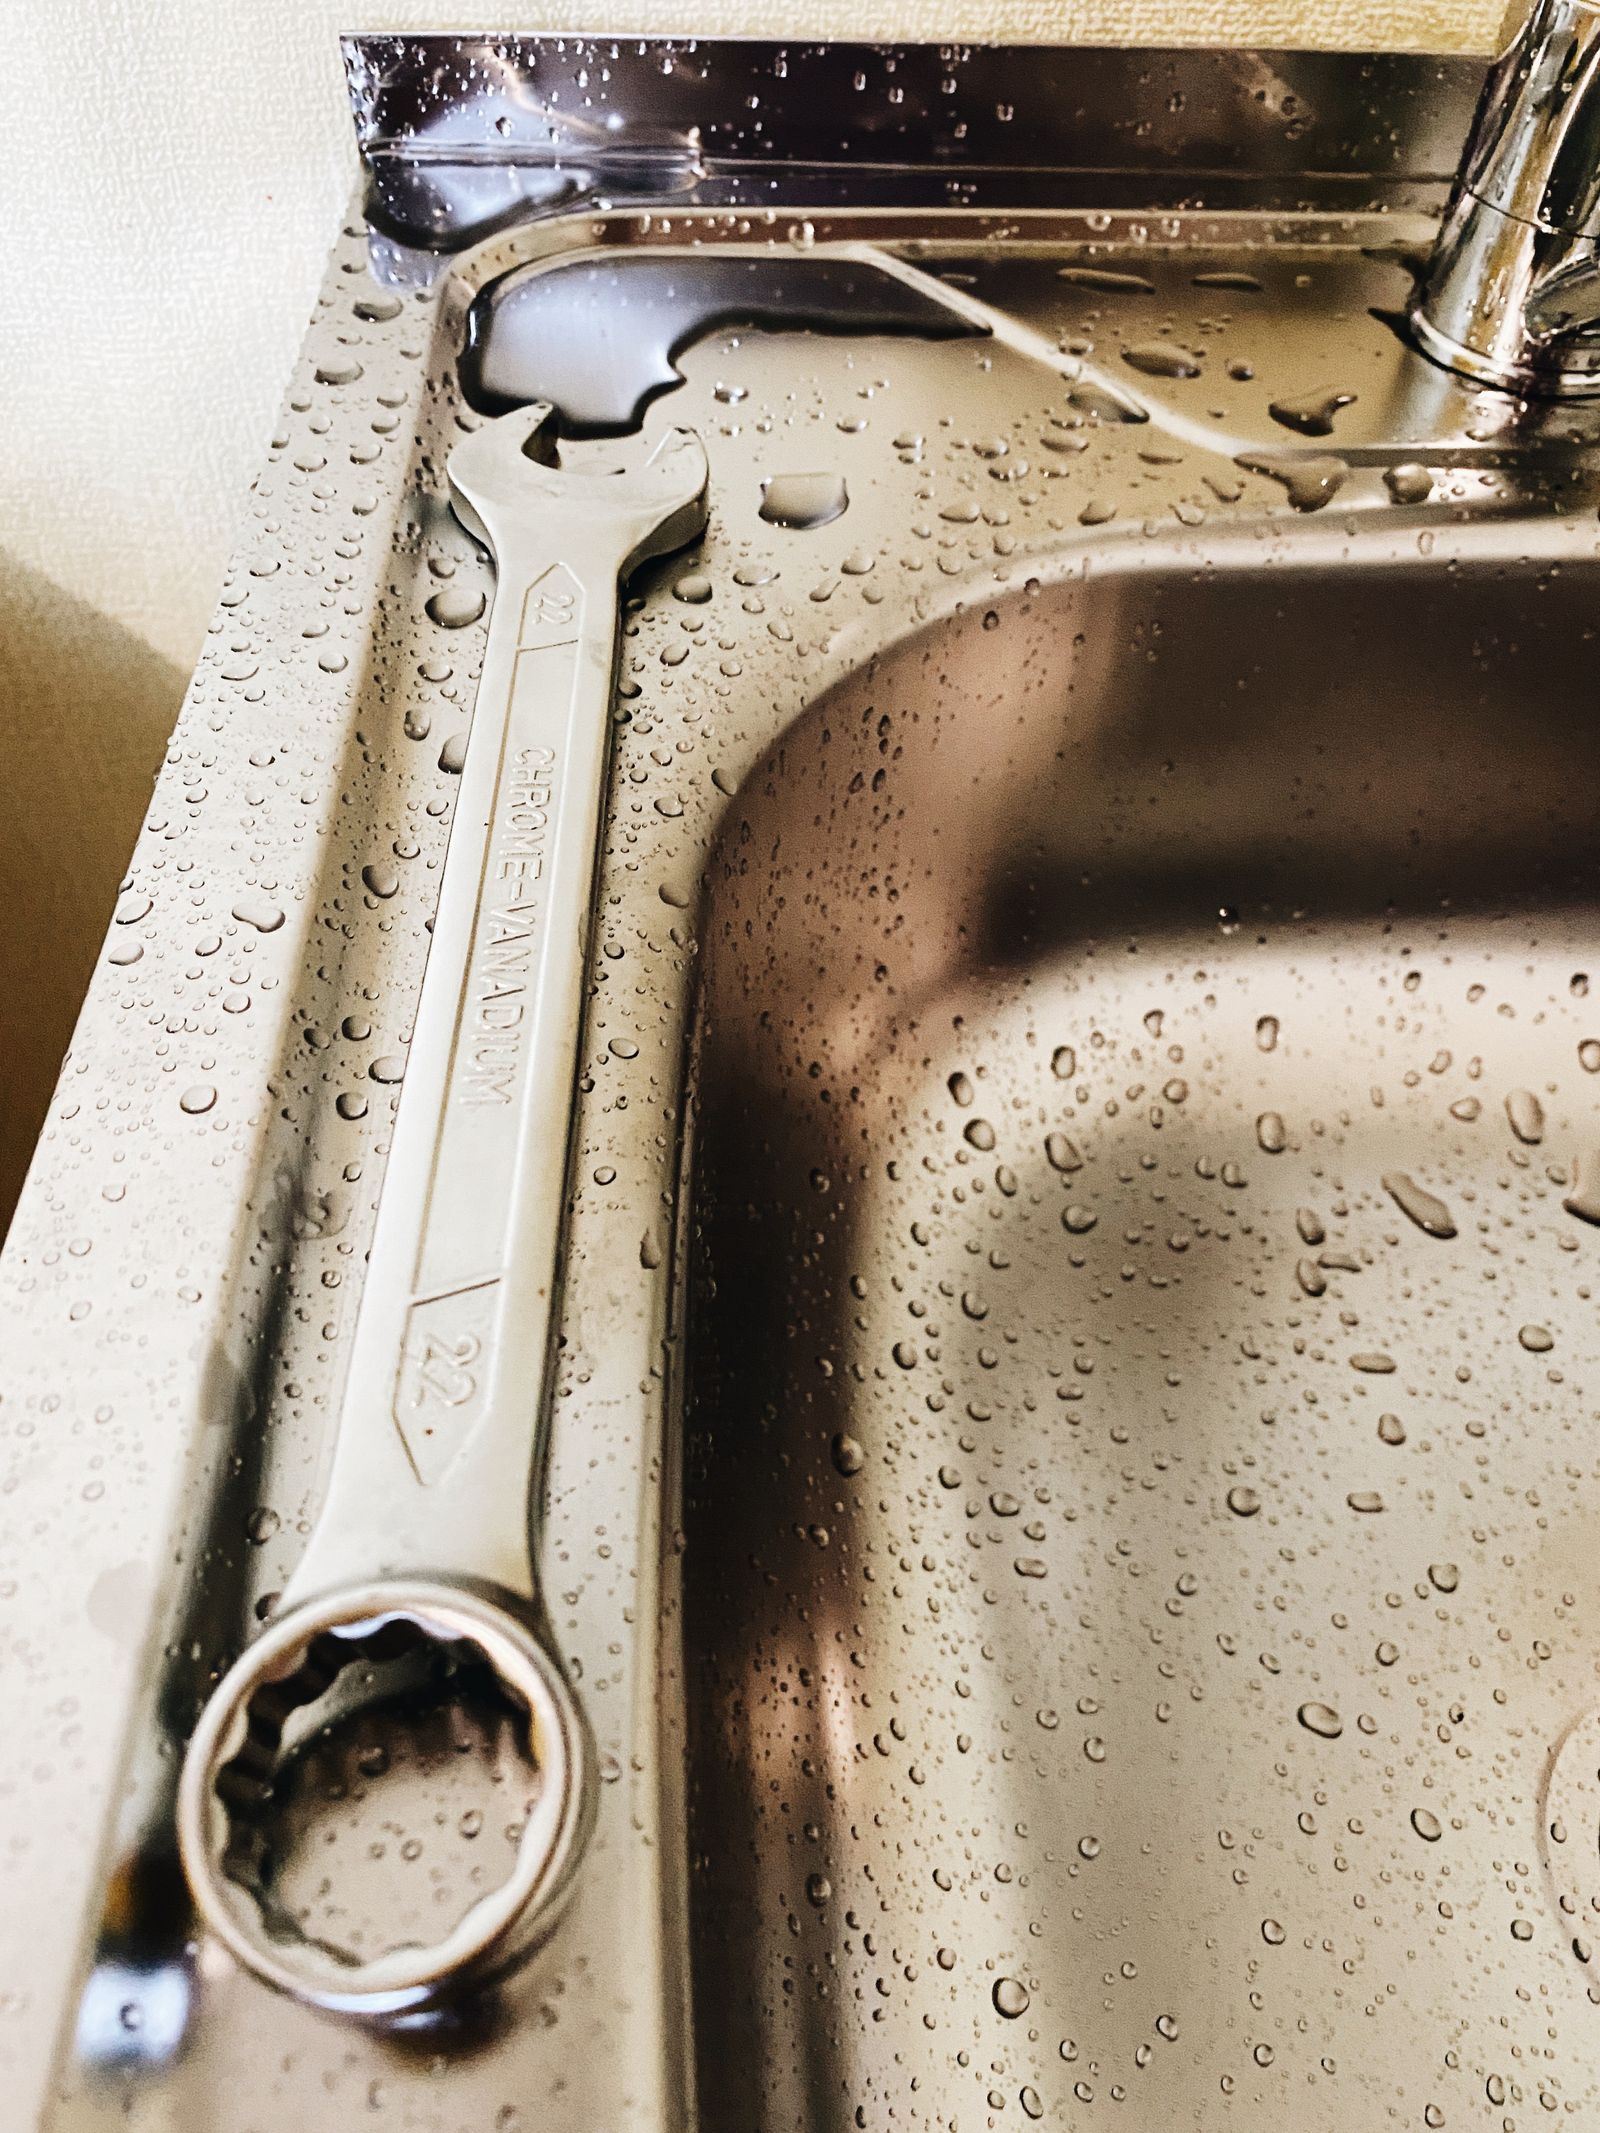
Work Around Faucets & Sinks
Address accessible fixture connections, mounting points, handles, fittings, and water-control components with a clean, organized workspace.
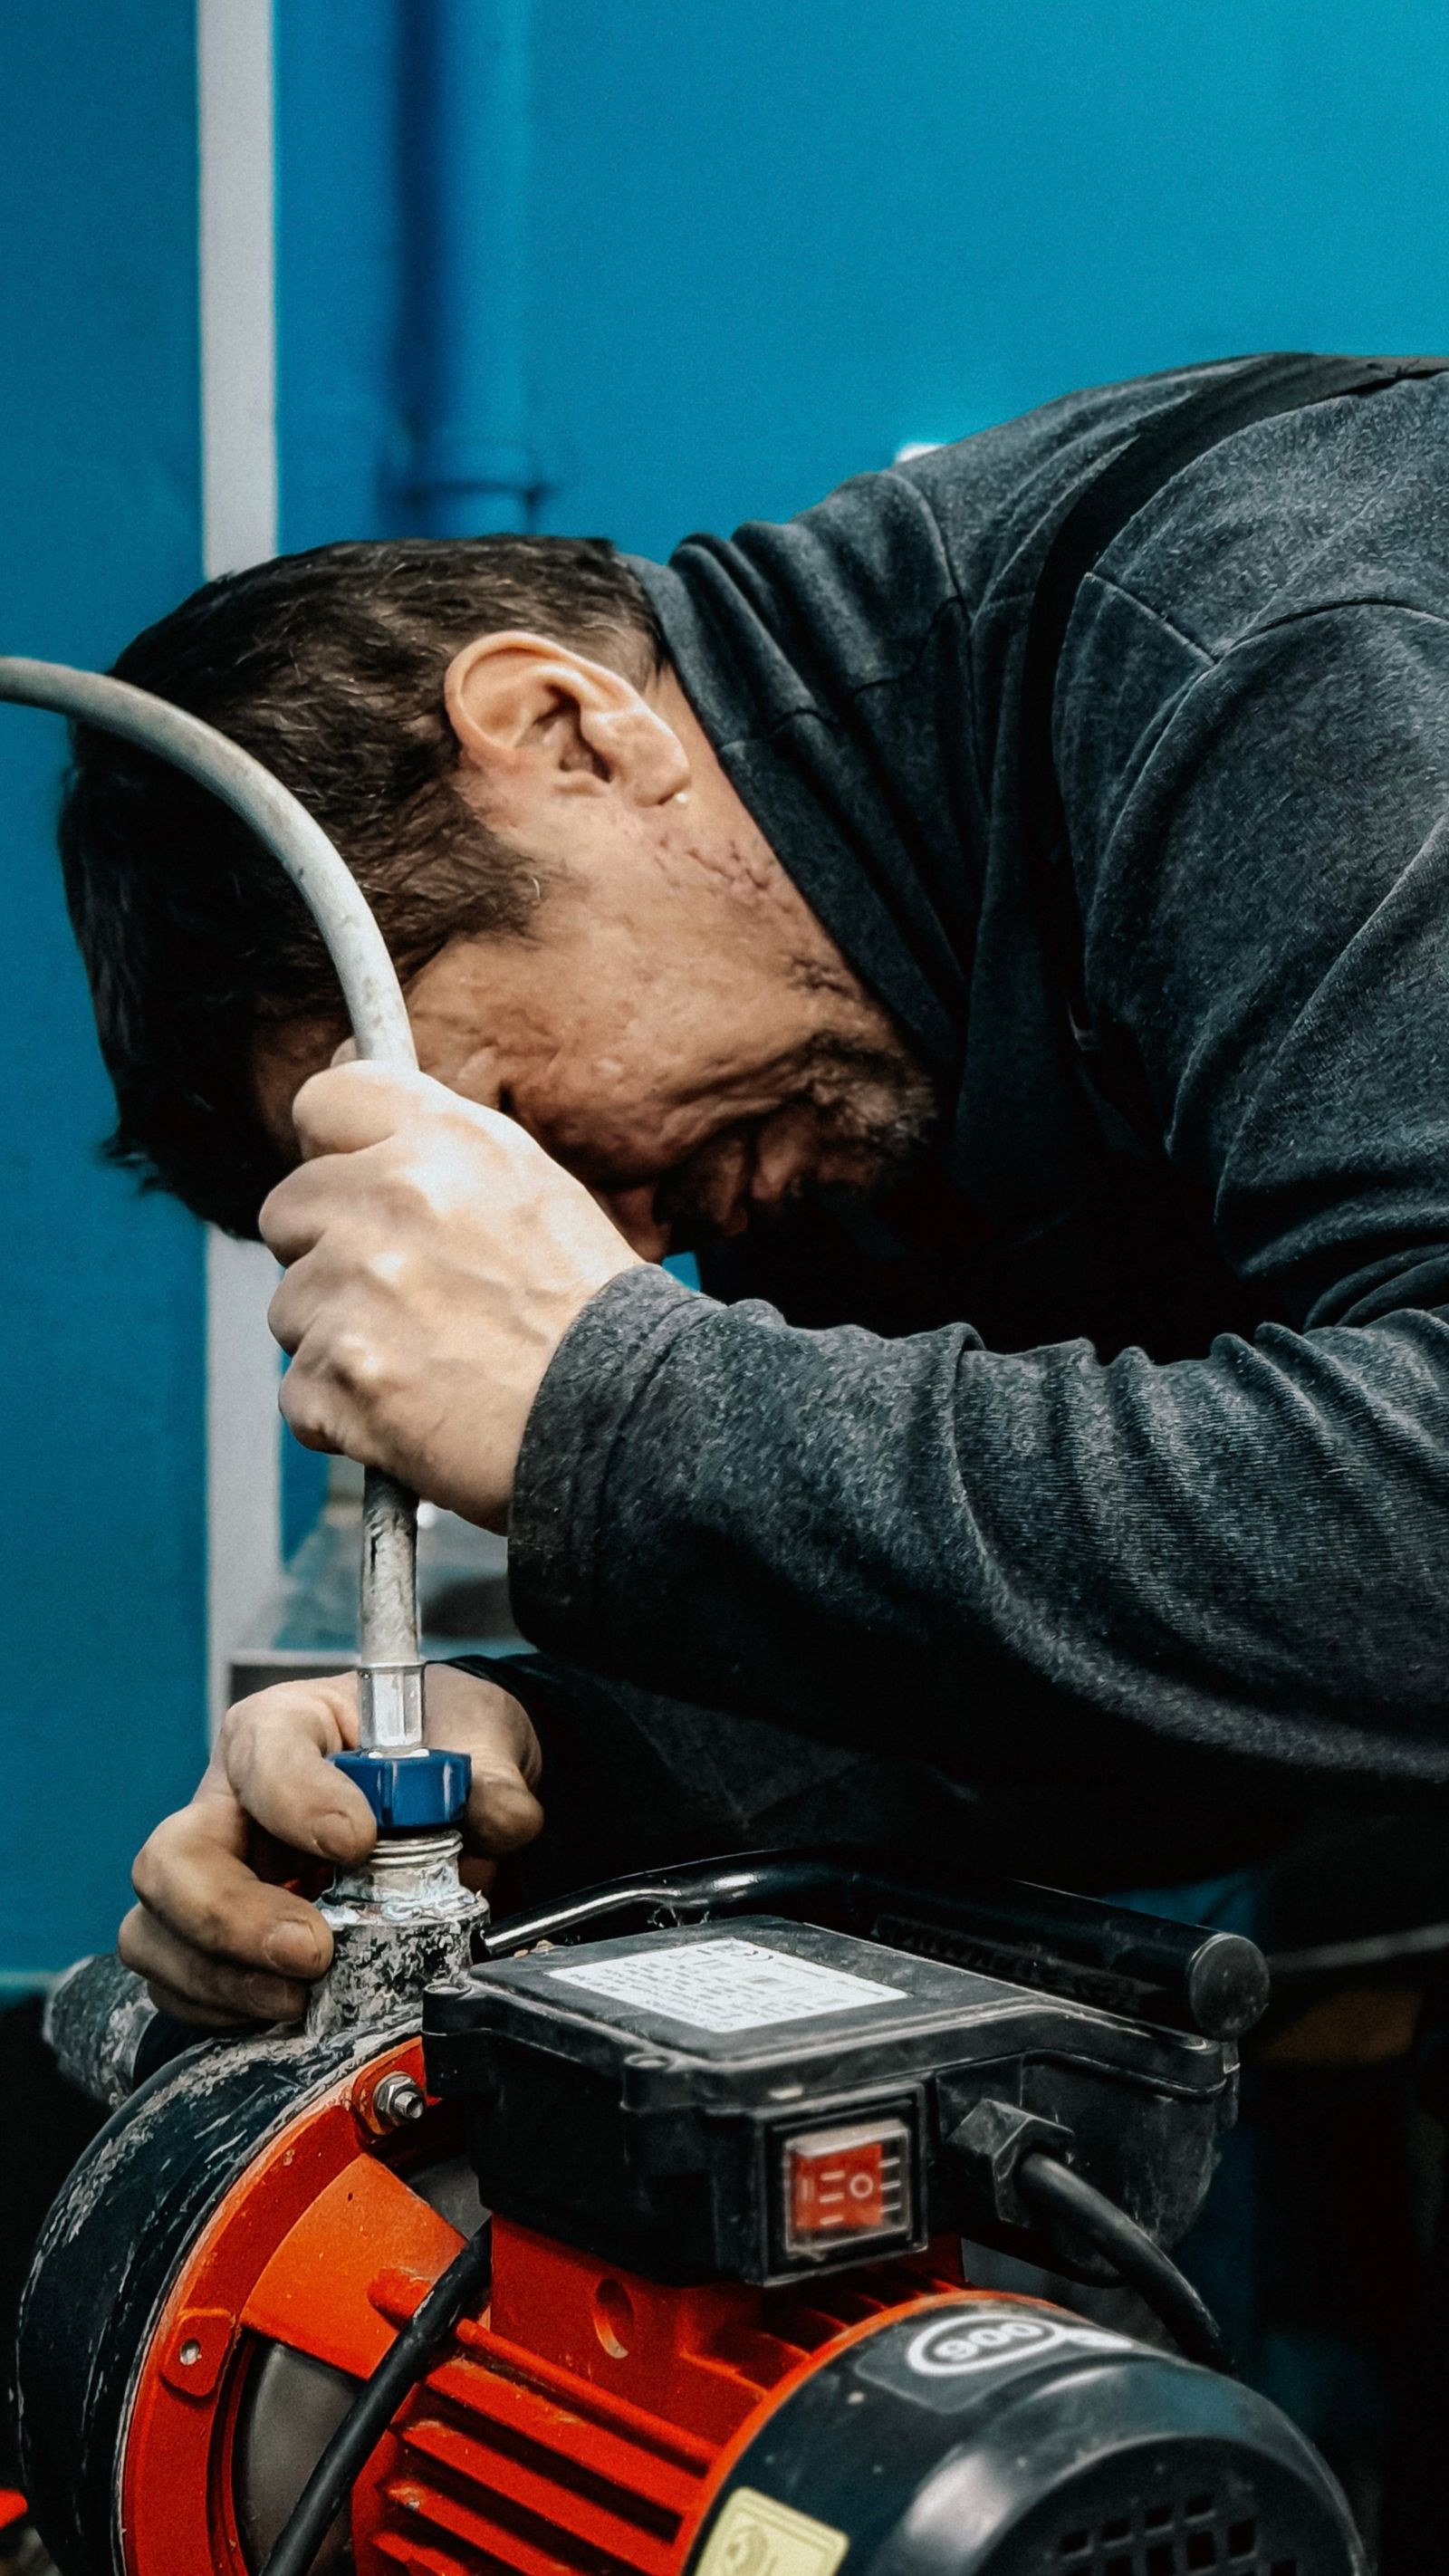
Inspect Water-Control Equipment
Keep accessible utility components, fittings, fasteners, and surrounding connections organized for inspection and maintenance work.
Selection Guide
Choose the repair tools around the connection.
Before selecting a plumbing repair item, identify the component being worked on and review the product details for its intended use, dimensions, and configuration.
Locate the problem.
Determine whether the issue is associated with a pipe connection, fitting, faucet, valve, drain area, or another accessible component.
Inspect the fitting.
Look at the connection type, surrounding space, installed hardware, and condition of the parts before choosing a tool.
Select the tool.
Choose gripping, turning, driving, sealing, or replacement supplies that match the specific repair work in front of you.
Repair and inspect.
Complete the connection carefully, restore normal operation as appropriate, and inspect the area before finishing the project.
Identify the affected component and understand how the surrounding connection is assembled.
Organize the required tools, protect the work area, and create safe access to the repair point.
Hold, loosen, adjust, replace, or tighten the appropriate component using controlled force.
Review the completed work and inspect the connection during normal operation before finishing.
RivetVale Support
Need help narrowing down your repair supplies?
Contact RivetVale with questions about products, product information shown on our store, orders, shipping, returns, or choosing a practical starting point for your plumbing repair project.