
Door & Window Hardware
RivetVale / Hardware System
Door &
Window Hardware
Practical hardware for fitting, fastening, adjusting, securing, and maintaining doors and windows throughout installation and everyday repair work.
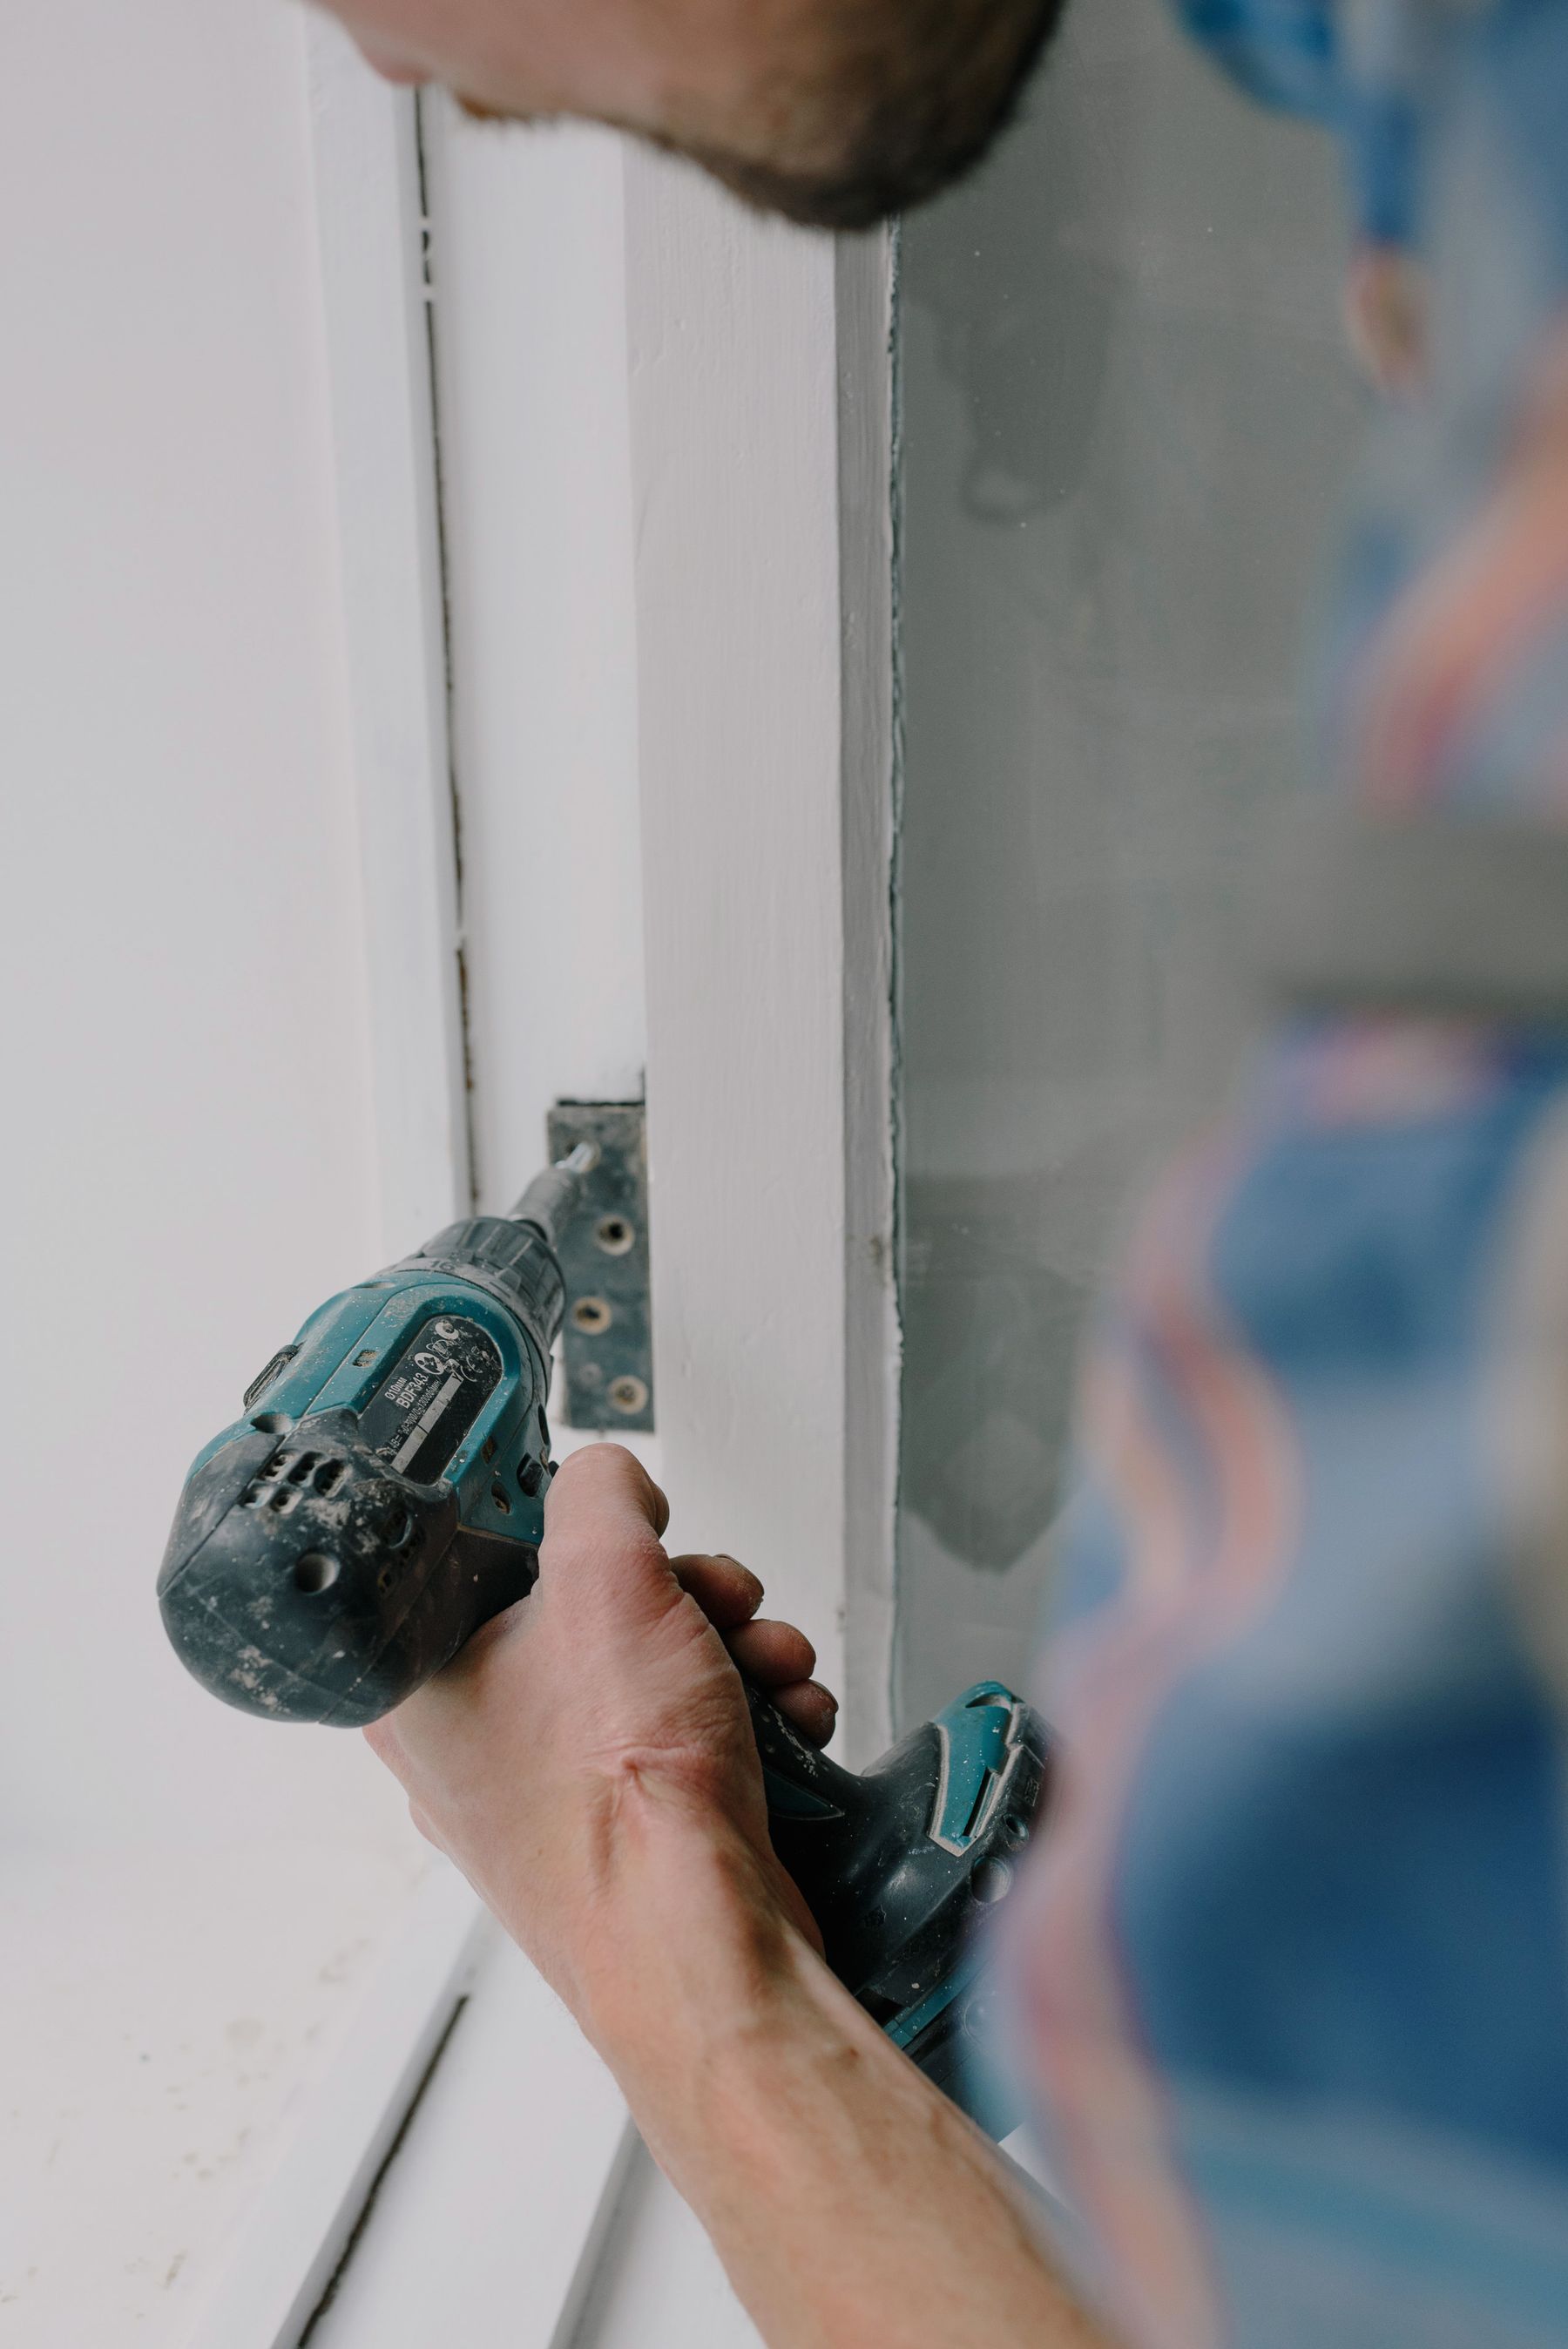
Hardware Groups
Small components. Critical fit.
Door and window hardware works as a system. Hinges, handles, latches, fasteners, and adjustment points all contribute to smooth movement, reliable closure, and consistent alignment.
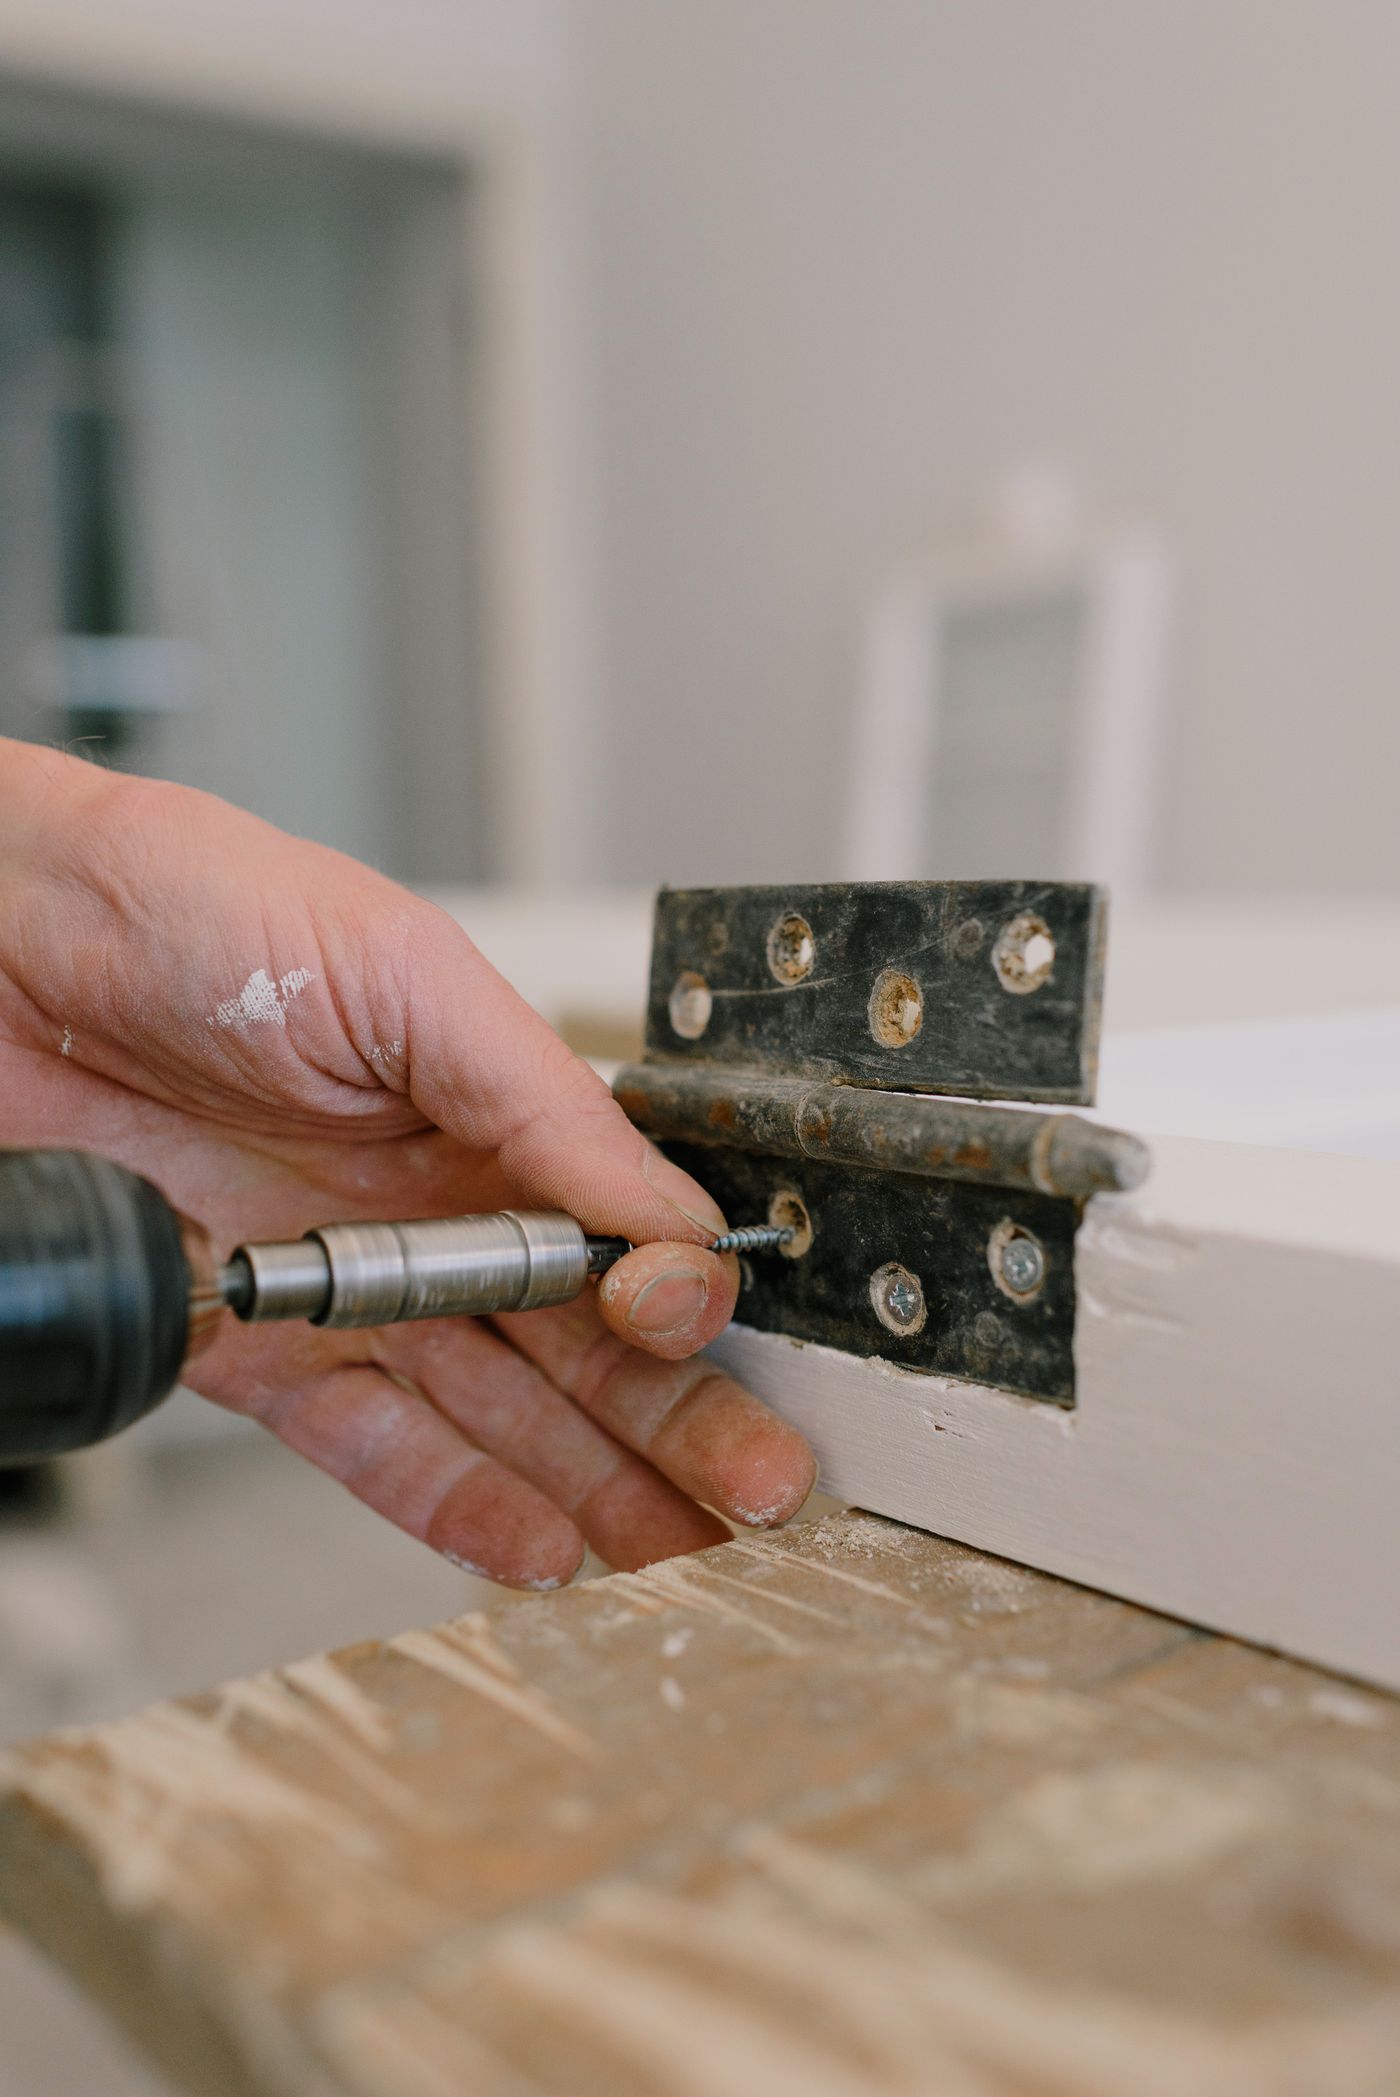
Hinges & Mounting Hardware
Components used to support movement, maintain alignment, and secure doors or window assemblies to their frames.
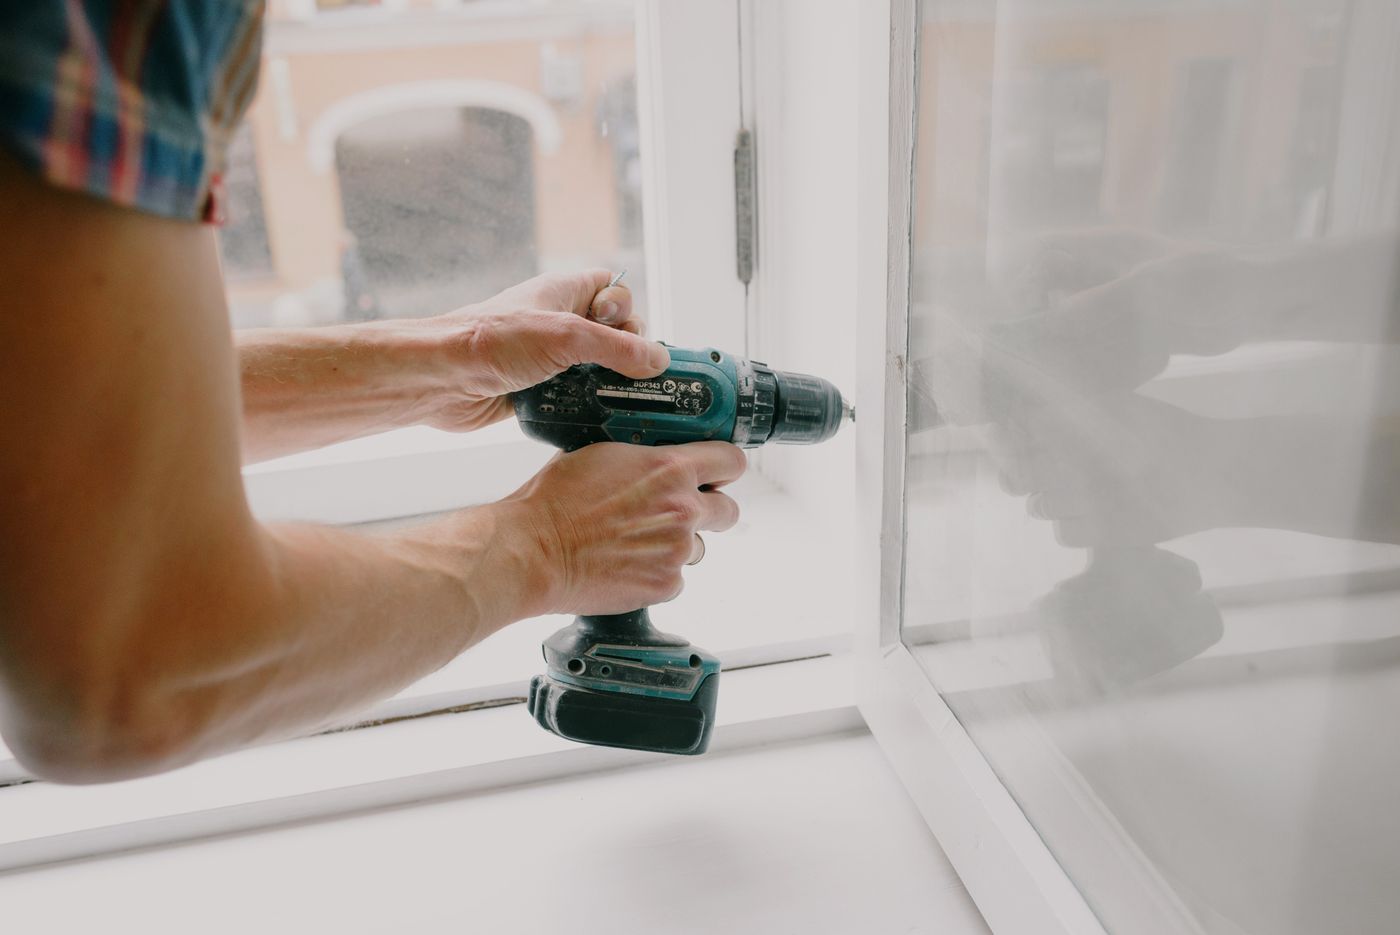
Handles & Operating Hardware
Functional hardware for opening, closing, gripping, and operating residential door and window assemblies.
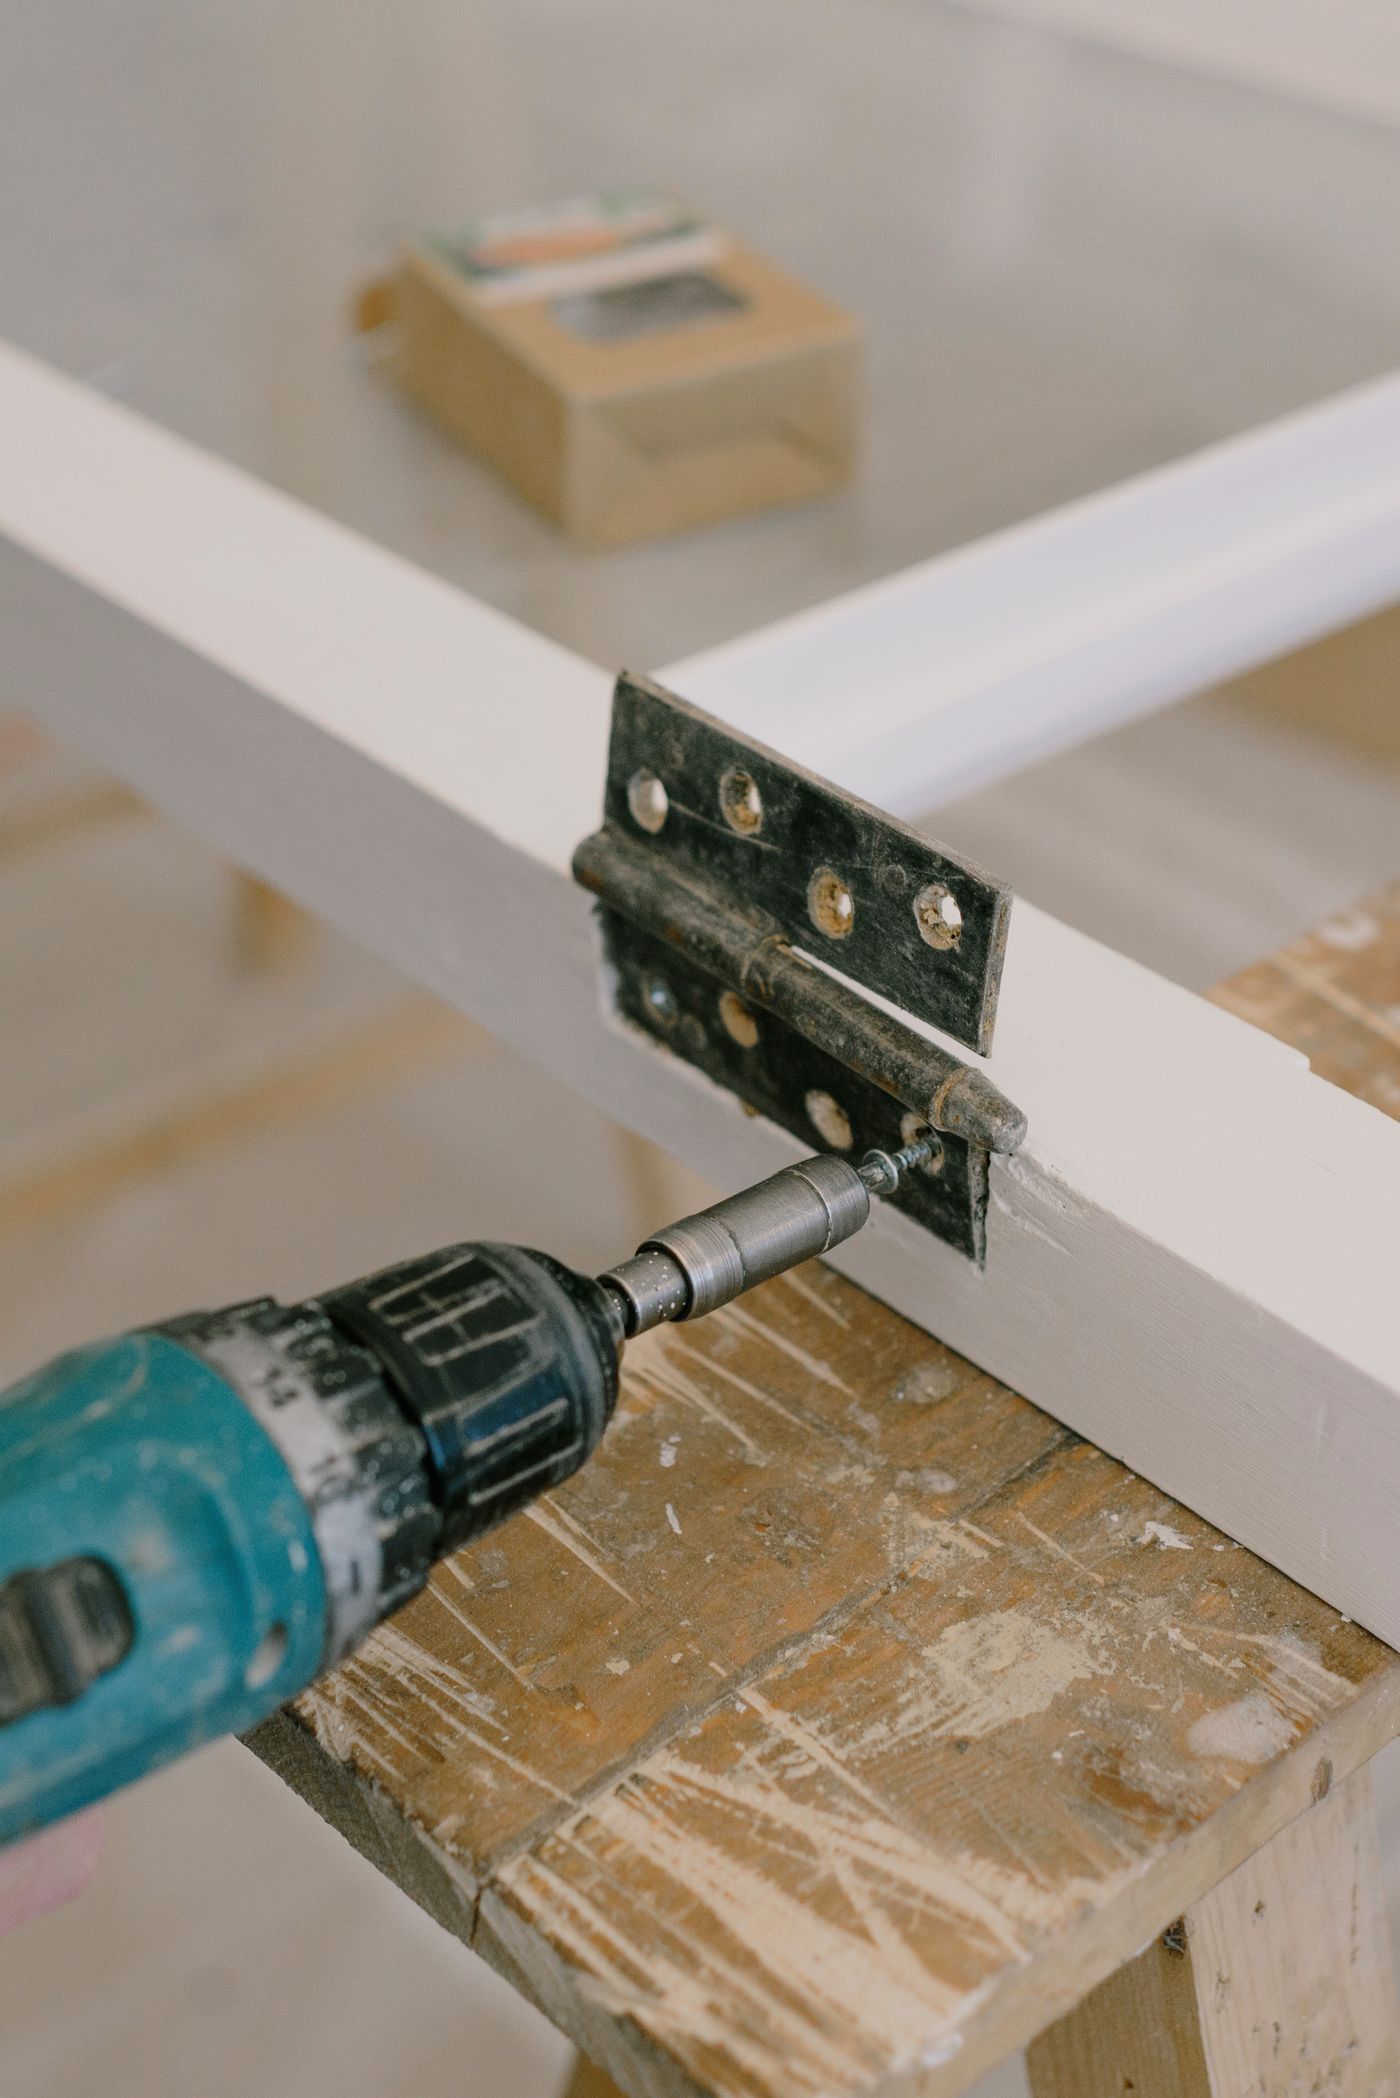
Latches & Securing Components
Hardware that helps hold doors and windows in position, support controlled closure, and maintain consistent contact points.
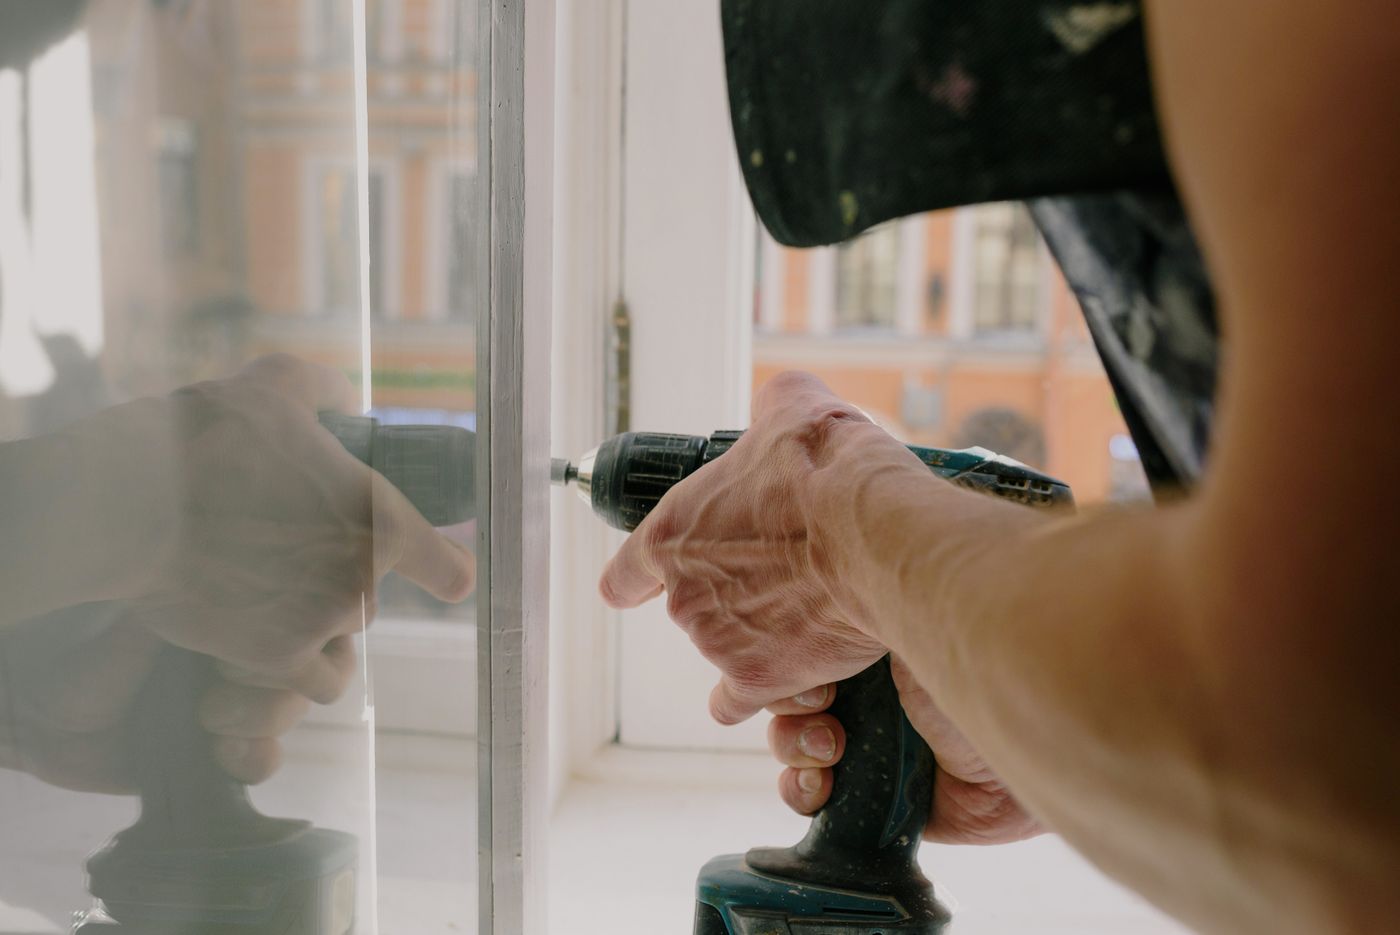
Repair & Adjustment Parts
Practical components for correcting fit, replacing worn hardware, and restoring controlled movement during maintenance.
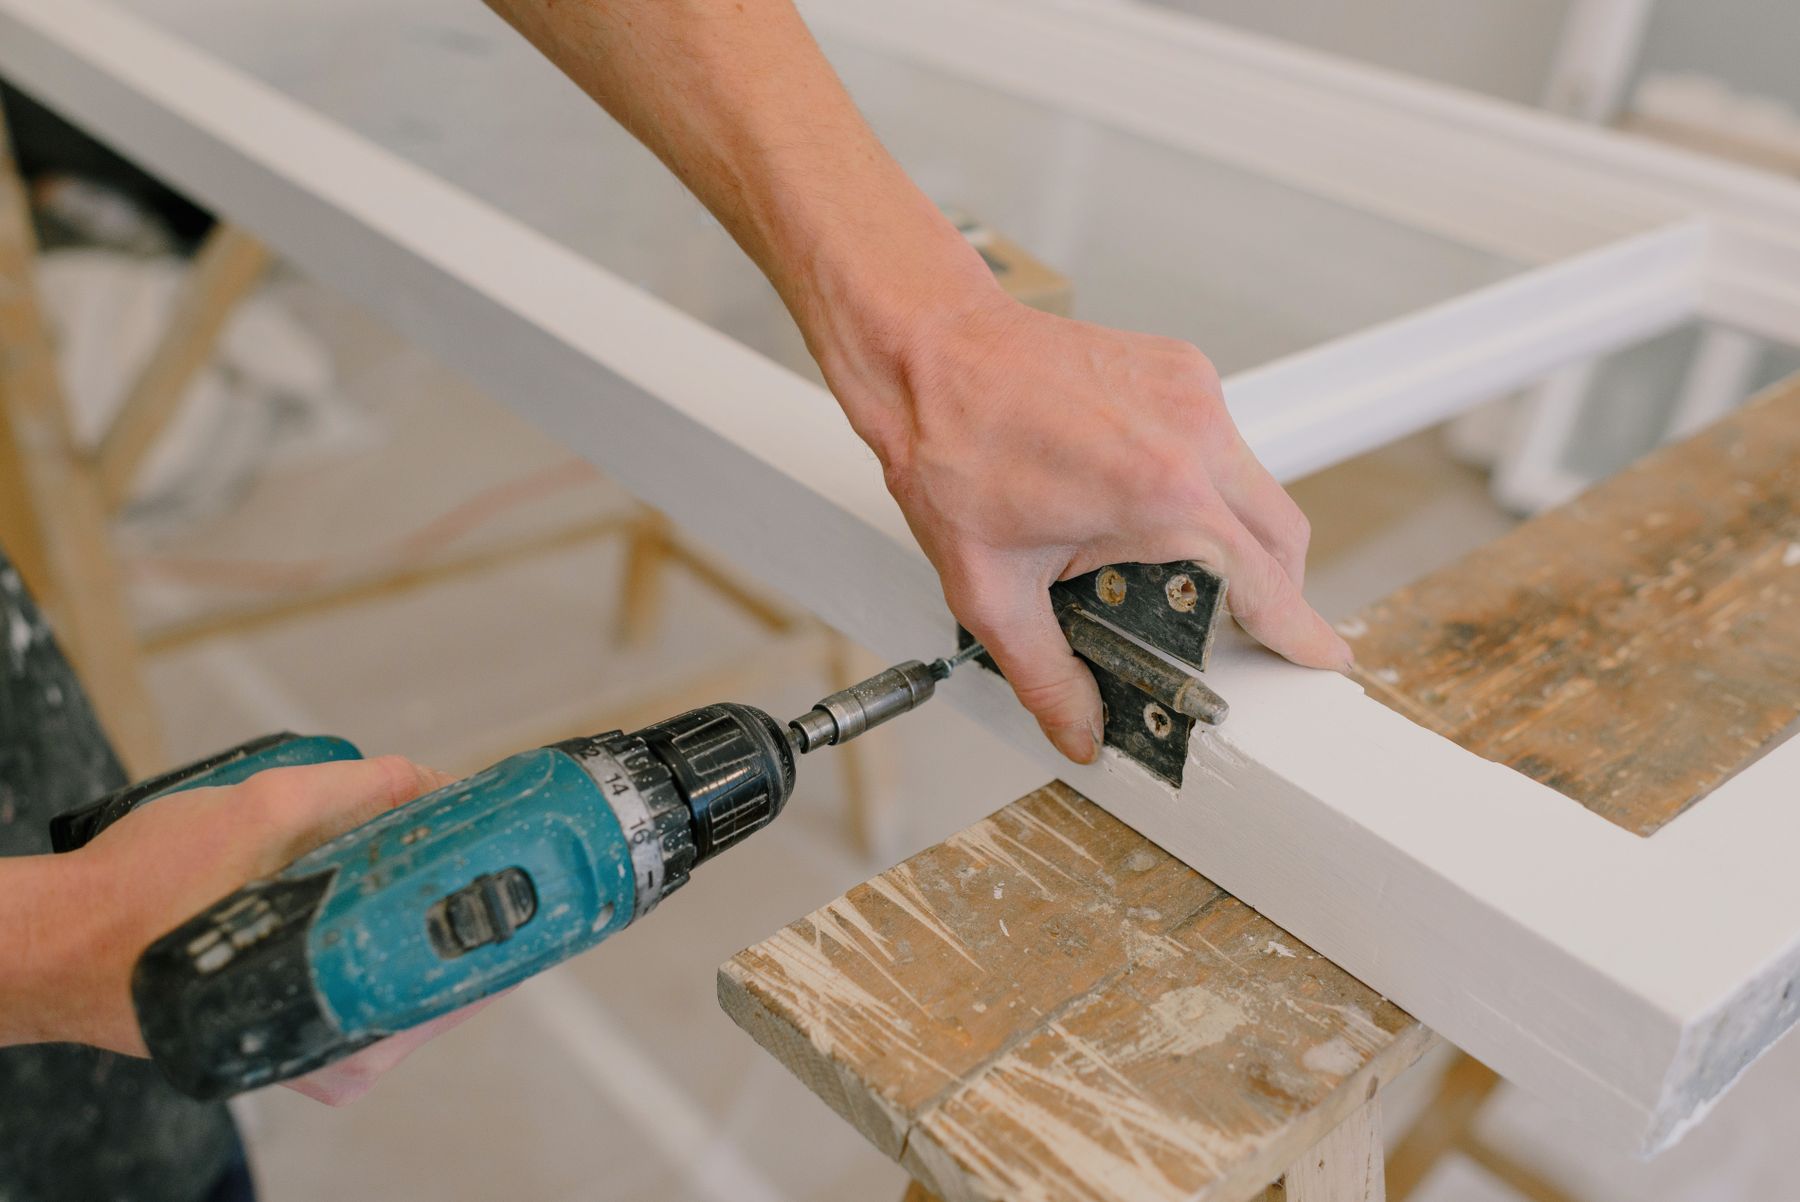
Installation Principle
Good hardware starts with accurate alignment.
Before tightening hardware into its final position, confirm the frame, mounting points, and moving components are aligned. Small positioning errors can affect movement, closure, and the way hardware meets its contact surfaces.
- Check the frame. Confirm the installation surface is stable and positioned for the hardware being fitted.
- Locate the mounting points. Mark hardware positions carefully before fastening.
- Fasten progressively. Seat components evenly instead of forcing one point fully tight first.
- Test the movement. Open, close, and inspect the assembly before completing the adjustment.
Common Project Types
Built around installation and repair.
Whether fitting new hardware or correcting an existing assembly, the work usually comes down to three fundamentals: secure mounting, accurate positioning, and controlled movement.
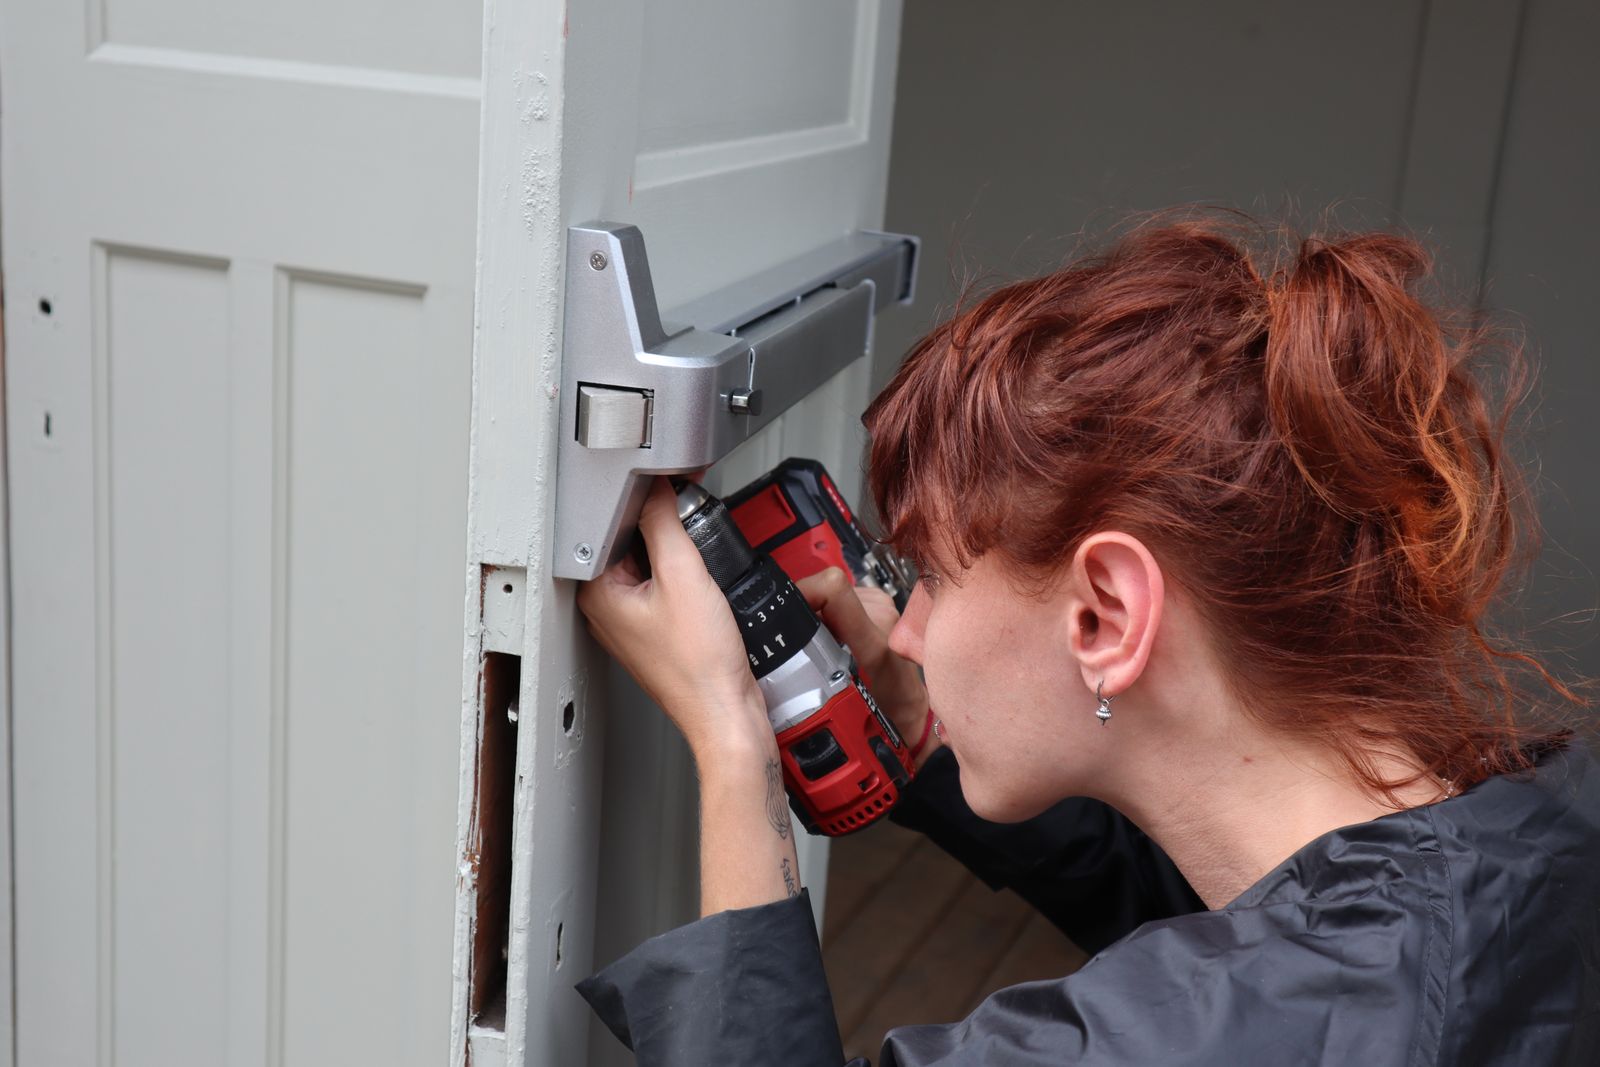
Fit & Replace Door Hardware
Install or replace hinges, handles, mounting components, catches, and fastening hardware while maintaining consistent spacing and movement.
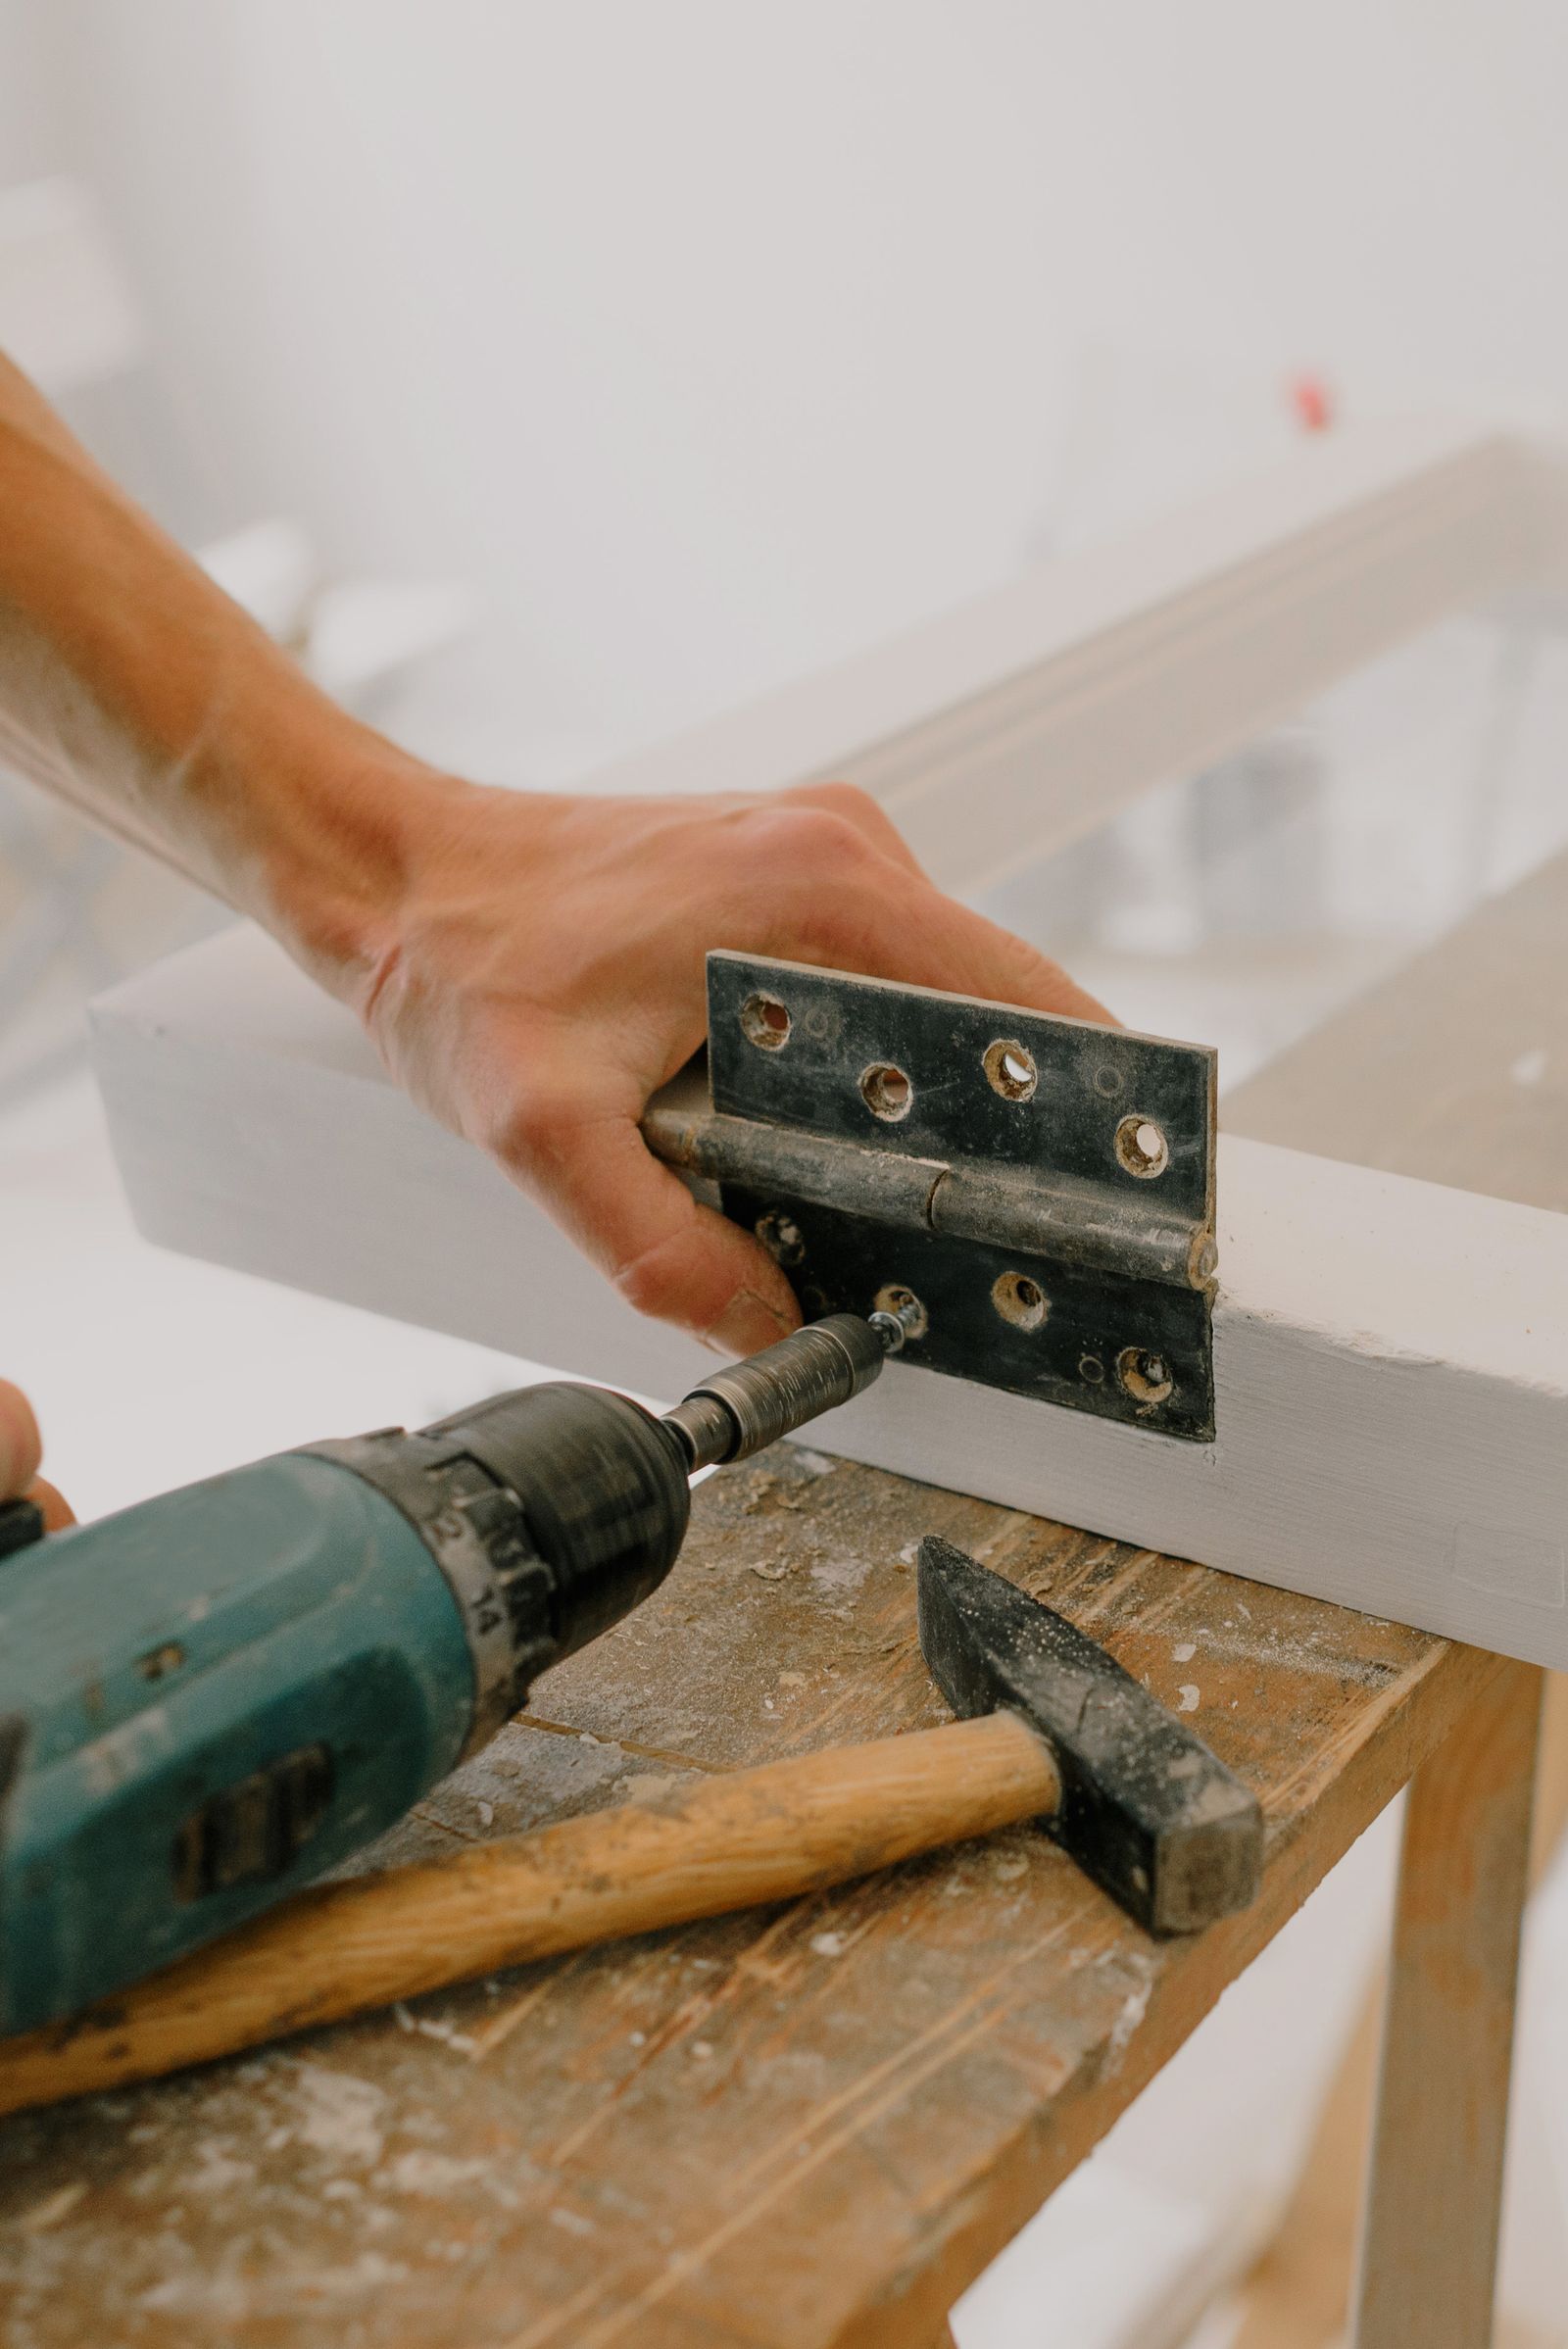
Adjust Window Components
Inspect hinges, handles, fasteners, and moving components when a window becomes difficult to operate, uneven, or requires hardware replacement.
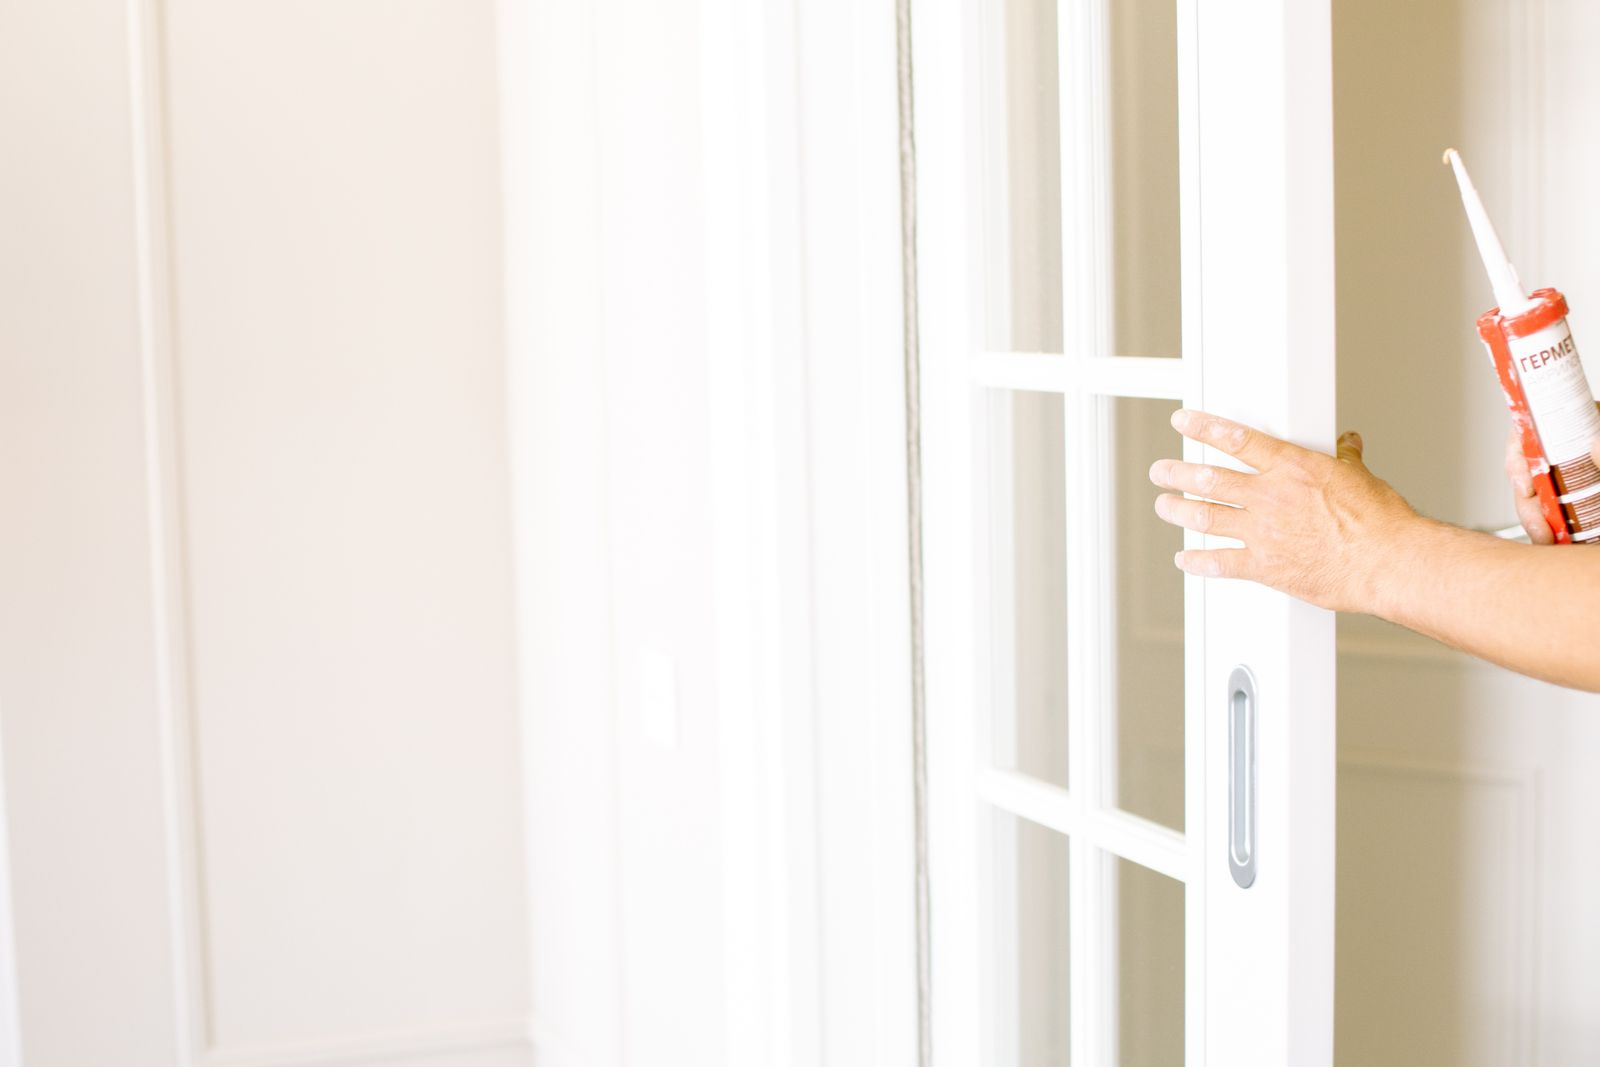
Complete the Installation
Review contact points, fastening, closure, and surrounding repair work so the completed door or window assembly operates cleanly.
Selection Guide
Choose hardware by function first.
Start with what the component needs to do, then review the dimensions and installation details of the individual product before use.
Identify the function.
Determine whether the part supports movement, closure, gripping, mounting, adjustment, or general repair.
Inspect the existing hardware.
Compare the original component, mounting points, frame condition, and available installation space.
Check the product details.
Review the listed dimensions, configuration, included components, and intended application before selecting a replacement.
Install and test.
Fit the component carefully, check alignment, then test opening, closing, and contact points before finishing the project.
Check the existing frame, mounting points, fasteners, wear, and movement before beginning.
Align the component and confirm its location before driving or tightening the final fasteners.
Secure the hardware evenly and avoid forcing components away from their intended alignment.
Confirm smooth movement, reliable closure, and stable mounting before completing the repair.
RivetVale Support
Working through a hardware replacement?
Contact RivetVale with questions about products, compatibility information shown on our store, orders, shipping, returns, or choosing a practical starting point for your repair project.